
Envoy 4WD L6-4.2L VIN S (2003)
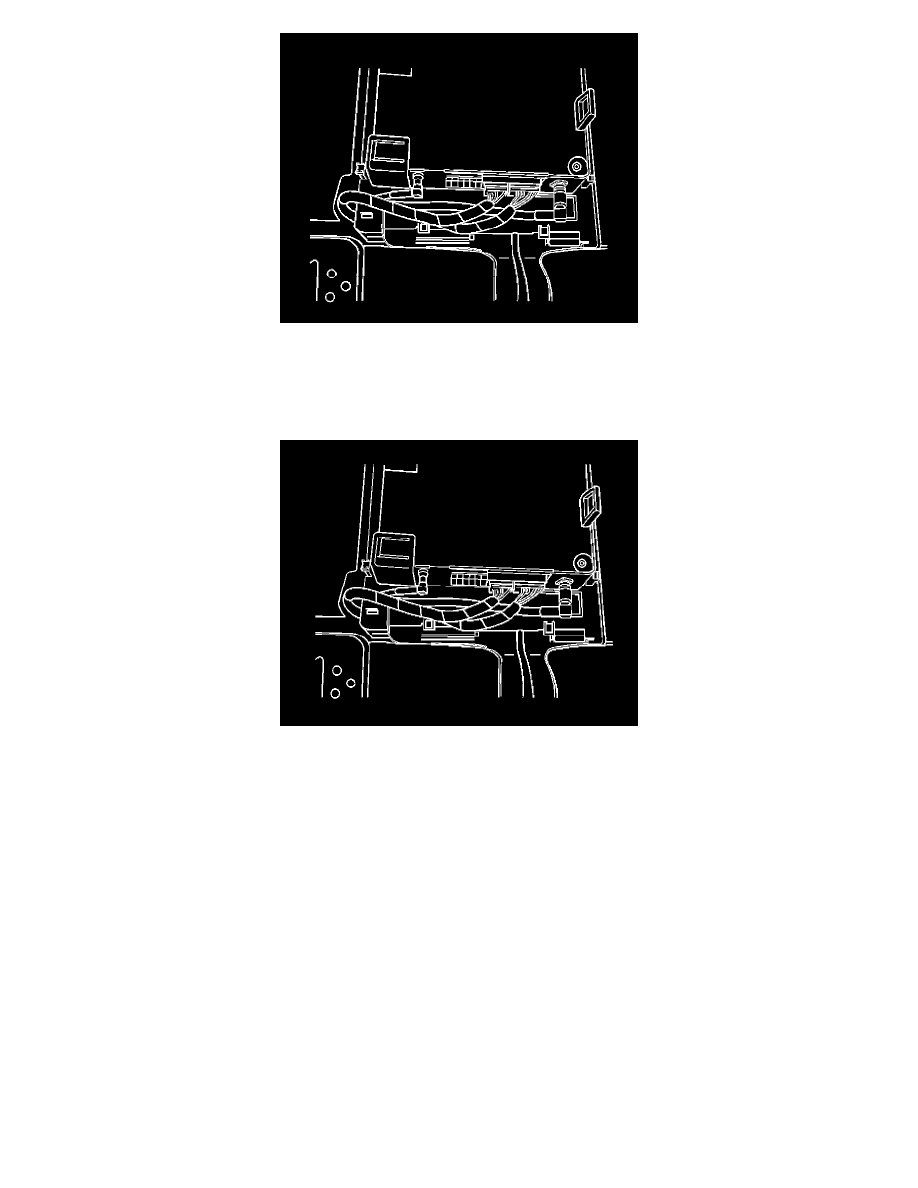
4. Remove the electrical connectors from the VCIM.
5. Remove the VCIM from the vehicle
INSTALLATION PROCEDURE
1. If replacing the VCIM, record the 10-digit STID number, and the 11-digit ESN number from the labels on the new module.
2. Install the module to the upper bracket ensuring the retaining tab is fully seated.
3. Connect the 2 electrical connectors.
NOTE: In order to avoid damage to the circuit board, do NOT over-tighten the thumb screws. Using your fingers, apply only a light pressure.
Tighten
Tighten the module thumb screw to a maximum of 0.2 N.m (2 lb in).