Envoy 4WD V8-5.3L VIN P (2004)

1. Remove the cargo shade/cover.
2. Remove the inflator access panel.
3. Remove the right rear quarter upper trim panel.
4. Remove the lift gate sill plate.
5. Remove the right rear door sill panel.
6. Remove the lower seat belt anchor bolt.
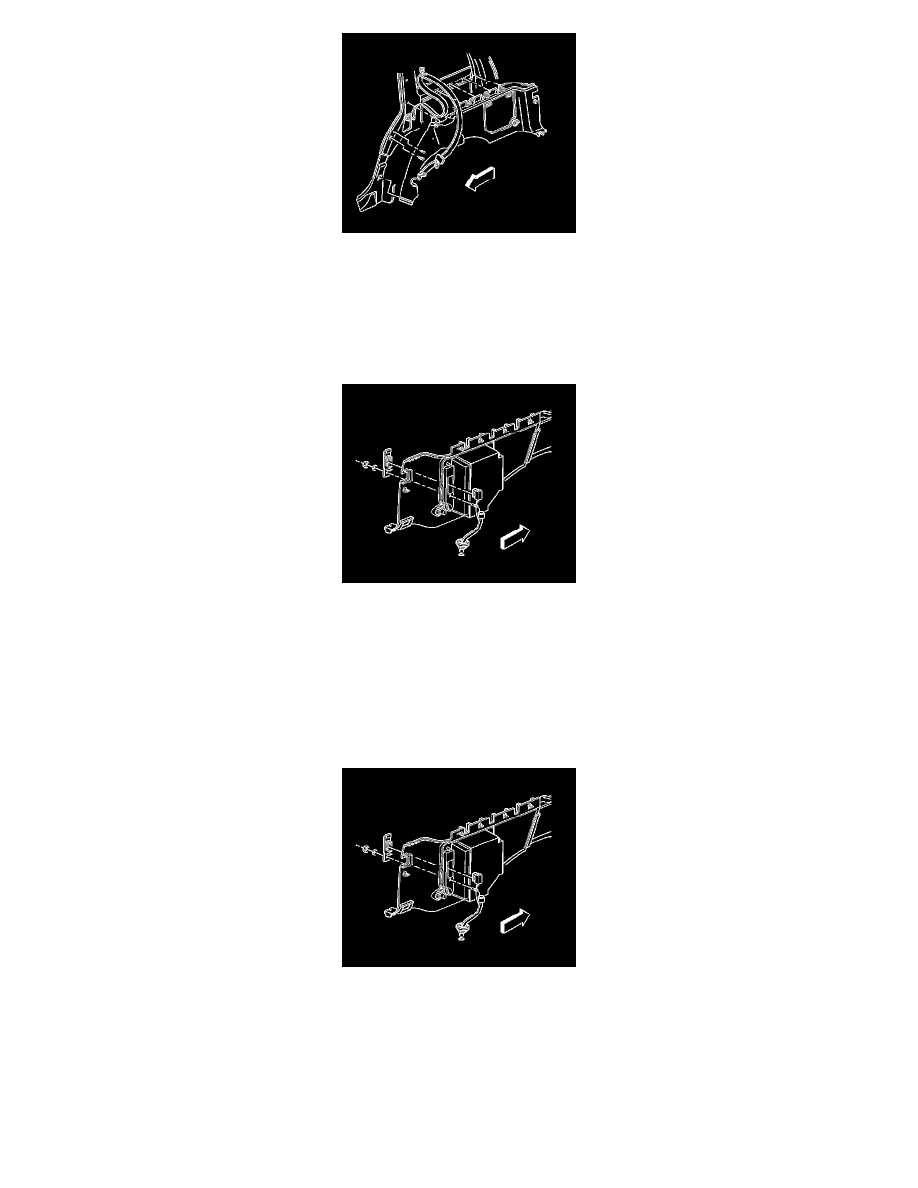
7. Release the retaining clips that retain the trim panel to the body.
8. Partially remove the trim panel in order to remove the inflator switch from the inflator bezel.
9. Remove the auxiliary air outlet washer and retaining nut.
10. Feed the auxiliary air outlet through the inflator bezel.
11. Remove the inflator bezel from the trim panel.
12. Disconnect the 12-volt power supply electrical connector.
13. Remove the 12-volt power supply.
14. Remove the trim panel from the vehicle.
INSTALLATION PROCEDURE
1. Position the trim panel to the vehicle.
2. Install the 12-volt power supply.
3. Connect the 12-volt power supply electrical connector.
4. Install the inflator bezel to the trim panel.
5. Feed the auxiliary air outlet through the hole in the inflator bezel.
6. Install the auxiliary air outlet washer and retaining nut.
NOTE: Refer to Fastener Notice in Service Precautions.
