G 2500 3/4 Ton Van V8-305 5.0L (1990)

Turn Signal Switch: Service and Repair
Removal
Remove or Disconnect
Tool Required: Lock Plate Compressor
1. Steering wheel.
2. Instrument panel trim cover.
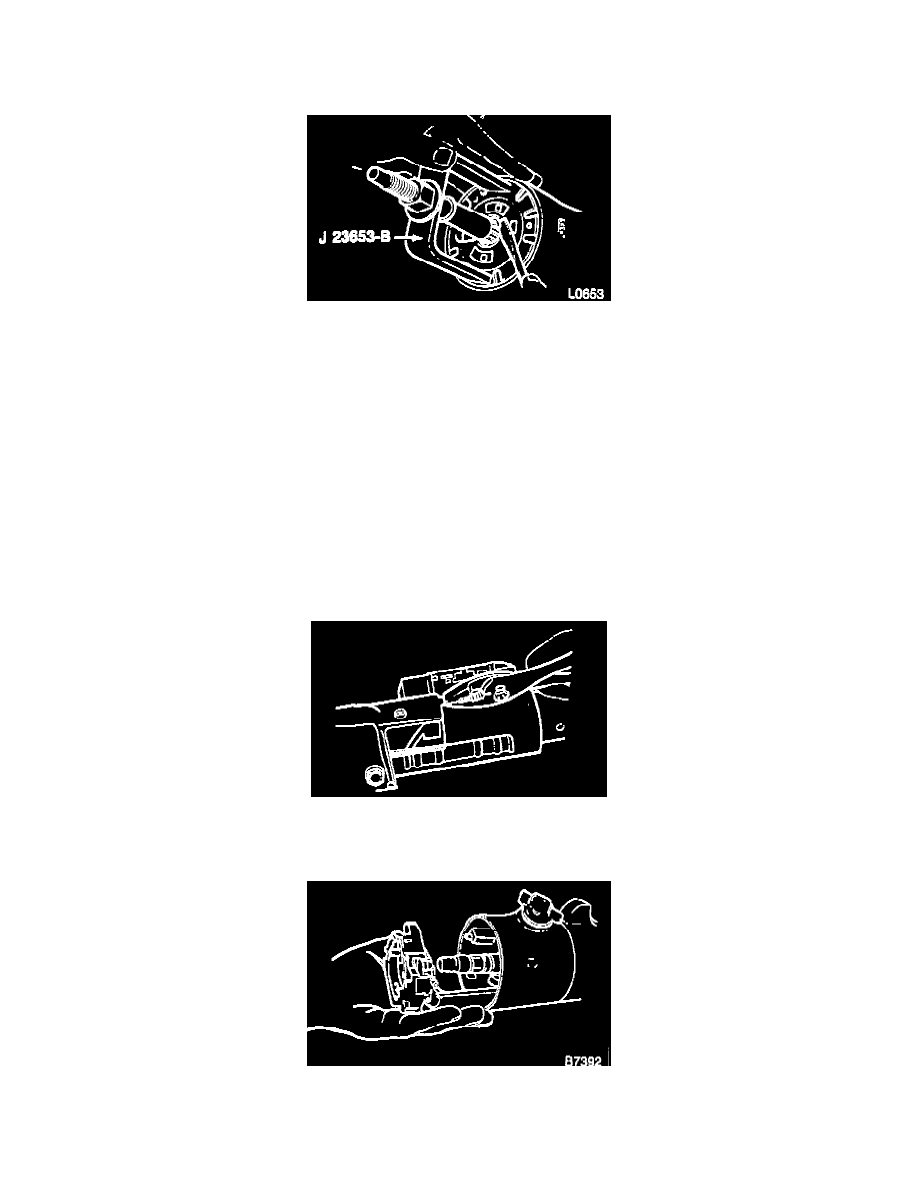
3. Lock plate.
^ Position a screwdriver blade into the steering shaft lock plate cover slot. Pry up and out to free the cover from the lock plate.
^ Screw the center post of J-23653-A onto the steering shaft as tar as if will go. Compress the lock plate by turning the center post nut clockwise.
Pry the retaining ring out of the shaft (figure 11). Remove J-23653-B.
IMPORTANT: If the column is being disassembled on a bench, the shaft could slide out of the end of the mast jacket when the snap ring is
removed.
4. Turn signal lever screw and lever.
5. Hazard warning knob. Press the knob inward and then unscrew.
6. Turn signal mounting screws.
Pull the switch connector out of the bracket on the jacket and feed switch connector through column support bracket and pull switch straight up.
guiding the wiring harness through the column housing and protector.
7. Wire protector. Pull downward out of the column with pliers using the tab provided.
^ Position the turn signal and shifter housing in the "low" position. Remove the harness cover by pulling toward the lower end of the column, be
careful not to damage the wires (tilt column).
8. Turn signal switch. Pull the switch straight up, guiding the wiring harness and cover through the column housing (figure 13).
