
K 1500 Truck 4WD V8-4.8L VIN V (1999)
Parking Lock Cable: Service and Repair
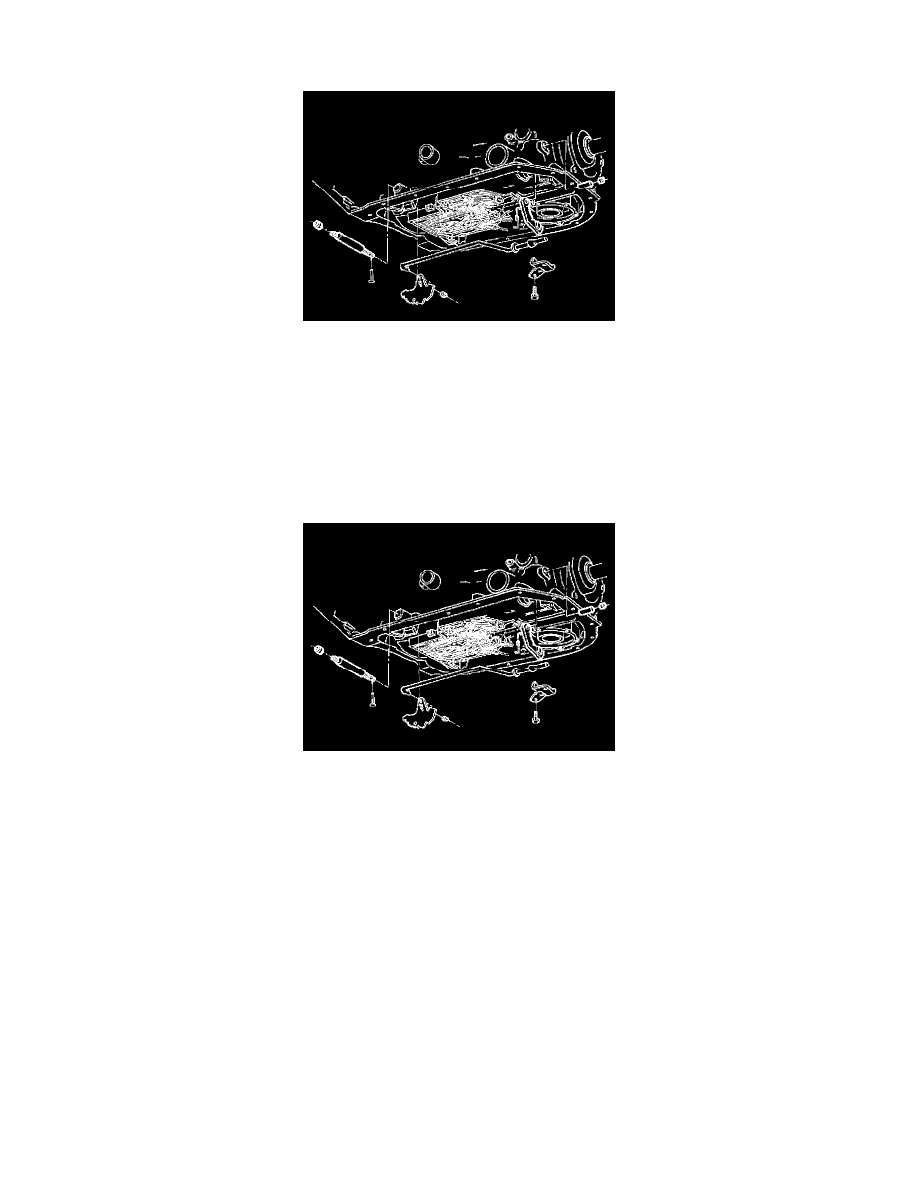
Removal Procedure
1. Remove the oil pan and filter. Refer to AT Fluid/Filter Changing.
2. Remove the nut and the pin.
3. Remove the detent lever and the actuator assembly.
4. Remove the bolts and the parking pawl bracket.
5. Remove the parking pawl return spring.
6. Use the modified screw extractor in order to remove the plug.
7. Remove the parking pawl shaft retainer, the shaft and the pawl.
8. Remove the seal and the manual shaft.
Installation Procedure
1. Install the pawl shaft.
2. Install the parking pawl.
3. Install the plug using a 5/16 inch rod with Loctite or the equivalent.
4. Install the retainer.
5. Install the pawl return spring.
6. Install the detent lever to the actuator assembly.
7. Install actuator assembly over the parking pawl.
8. Install the seal and the manual shaft.
9. Install the nut on the shaft.
10. Install the roll pin.
Notice: Refer to Fastener Notice in Service Precautions.
11. Install the parking lock bracket with the two bolts.
^
Tighten the bolts to 24 Nm (18 ft. lbs.).
12. Install the oil pan and filter. Refer to AT Fluid/Filter Changing.