
K 1500 Truck 4WD V8-5.7L VIN R (1997)
Exhaust Manifold: Service and Repair
Replacement
Removal
1. Disconnect the battery negative cable assembly from the battery negative terminal.
2. Raise the vehicle.
3. Support the vehicle with safety stands.
4. Remove the exhaust pipe at the manifold.
5. Remove the safety stands.
6. Lower the vehicle.
7. Remove the EGR inlet tube (left side manifold).
8. Remove the engine oil level indicator tube bracket (right side manifold).
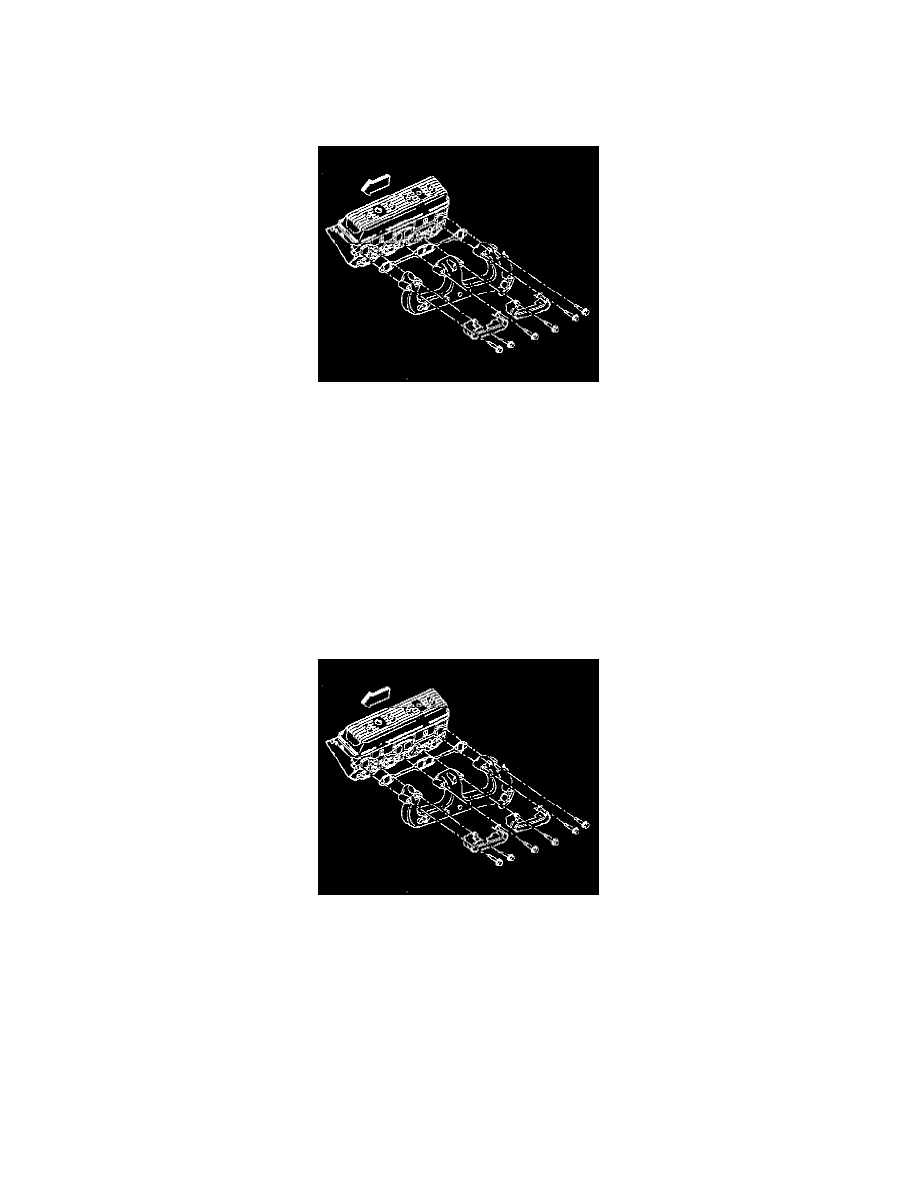
9. Remove the exhaust manifold bolts and washers.
10. Remove the exhaust manifold.
11. Clean the mating surfaces on the manifold and the cylinder head.
12. Clean the threads on the exhaust manifold bolts.
Installation
1. Install the exhaust manifold to the cylinder head.
2. Install the exhaust manifold fasteners. Install the flat washers against the manifold, then the bolts.
3. Tighten the bolts in two steps:
a. Tighten the bolts on the first pass to 20 Nm (15 ft. lbs.).
b. Tighten the bolts on the final pass to 30 Nm (22 ft. lbs.).
4. Install the engine oil level indicator tube bracket (right side manifold).
5. Raise the vehicle.
6. Support the vehicle with safety stands.
7. Install the EGR inlet tube (left side manifold).
8. Install the exhaust pipe.
9. Remove the safety stands.
10. Lower the vehicle.
11. Connect the battery negative cable assembly to the battery negative terminal.
^
Tighten the bolt to 15 Nm (11 ft. lbs.).