
K 2500 Truck 4WD V8-379 6.2L DSL VIN C FI (1989)
Remove or Disconnect
1. Negative battery cable.
-
Pry out the stop cable (67) inside the instrument panel compartment.
2. Center trim panel next to the compartment door by lifting from the bottom.
3. Bolt attaching the lower left part of the door to the carrier.
4. Door (66).
5. Four bolts holding the compartment (39) to the carrier.
6. Compartment.
-
Open the ash tray assembly (68).
7. Screws holding the tray to the carrier.
8. Tray assembly from the vehicle.
9. Wiring connector from the back of the assembly.
10. Four screws holding the bezel to the instrument panel carrier.
11. Bezel (54).
12. Headlamp switch connector.
13. Cargo lamp connector (if present).
14. Radio control.
15. Four screws retaining the heater control.
16. Wiring connector behind the heater control.
17. Heater control (48).
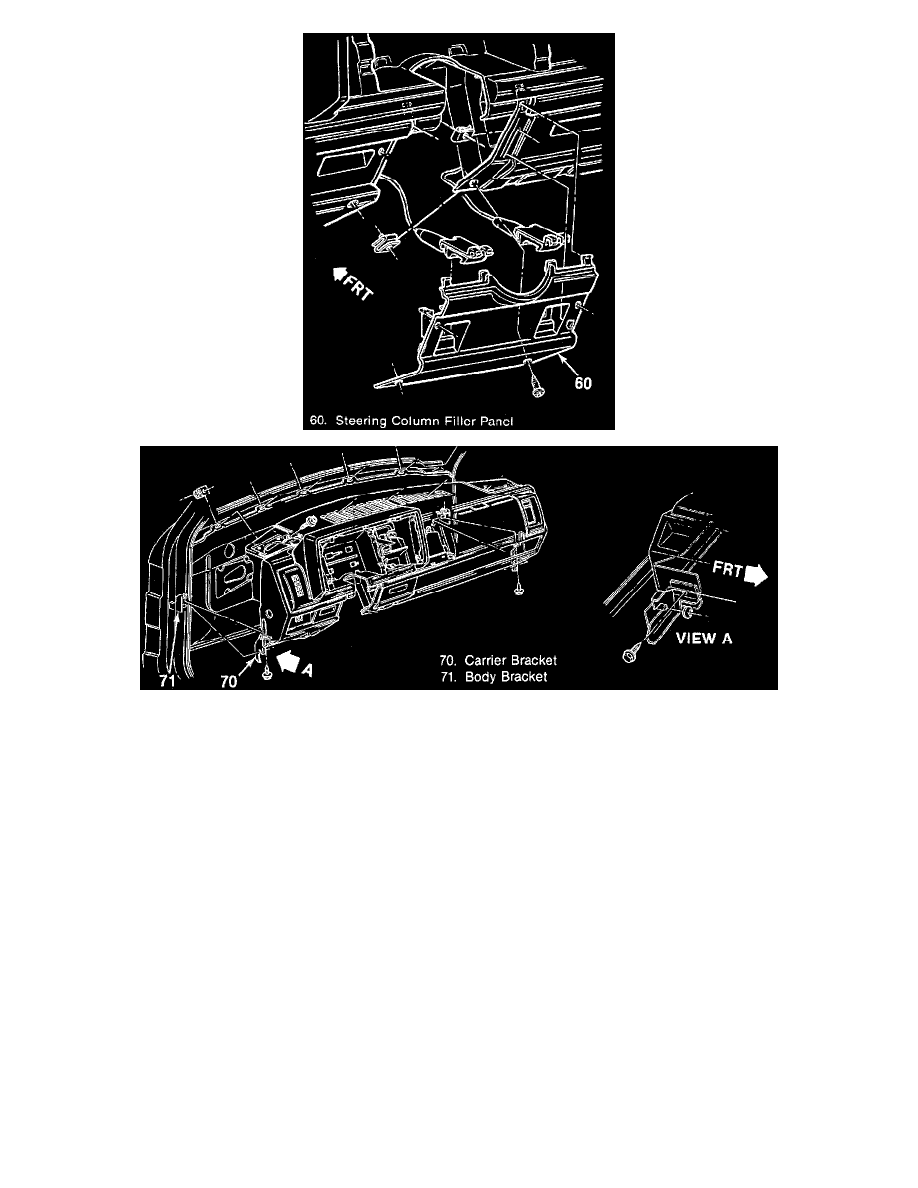
18. Two screws retaining the steering column filler panel.
19. Filler panel (60)
20. Shift indicator cable from behind the instrument cluster.
21. Four screws retaining the instrument cluster.
22. Instrument cluster (58).