
K 2500 Truck 4WD V8-379 6.2L DSL VIN C FI (1989)
NOTE: Carefully note the color of the spring and which hole it came out of. Liquid typewriting eraser or nail polish can be very useful
in marking the appropriate hole for later installation.
Installation
-
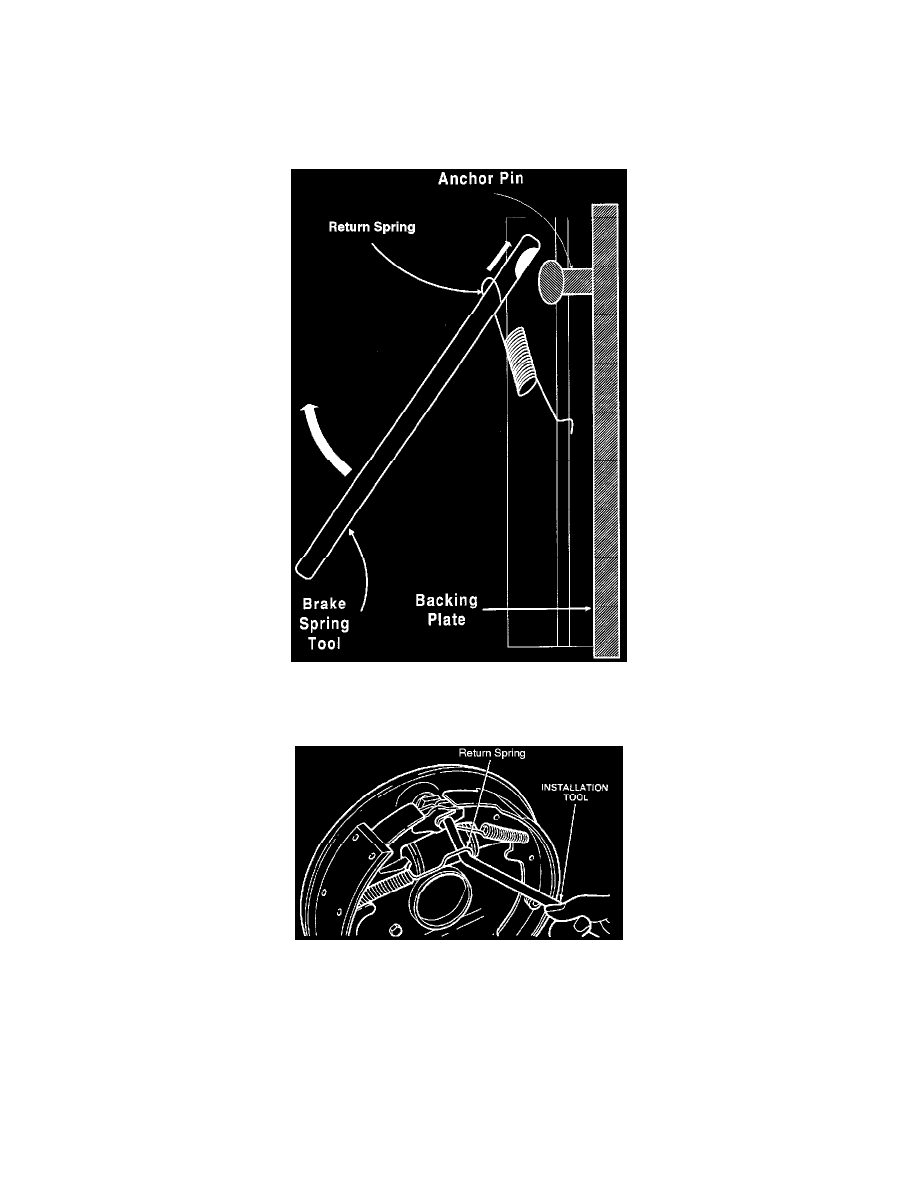
Install the spring into the brake shoe webbing first. The two 90 degree bends should slide into the hole and lie flat, locking the spring to the
webbing.
-
Slide the brake spring tool through the looped end of the spring and then hook the notched end of the tool over the anchor pin.
-
Pivot the tool upwards to stretch the spring over the anchor pin (a light film of grease on the backside of the brake tool will help the spring
slide over and onto the anchor pin).
-
Be careful not to over-extend the spring.
WARNING: Do not attempt to help the spring over the anchor pin with your fingers. Should the return spring slip off the tool
it could seriously lacerate your hand.
Shoe-to-Shoe Return Springs
Removal
-
Note the color and relationship of the spring and the holes in the brake shoe webbing it is attached to.
-
Using a pair of brake spring pliers, slide the hooked end of the pliers around and under one end of the spring.