
K 2500 Truck 4WD V8-379 6.2L DSL VIN C FI (1989)
REMOVE OR DISCONNECT
1. Battery ground cable.
2. Coolant from the radiator.
3. Refrigerant from the system.
4. Coolant overflow tank.
5. Heater hoses from the coil tubes (47).
6. Refrigerant inlet (45) and discharge (46) lines from the evaporator.
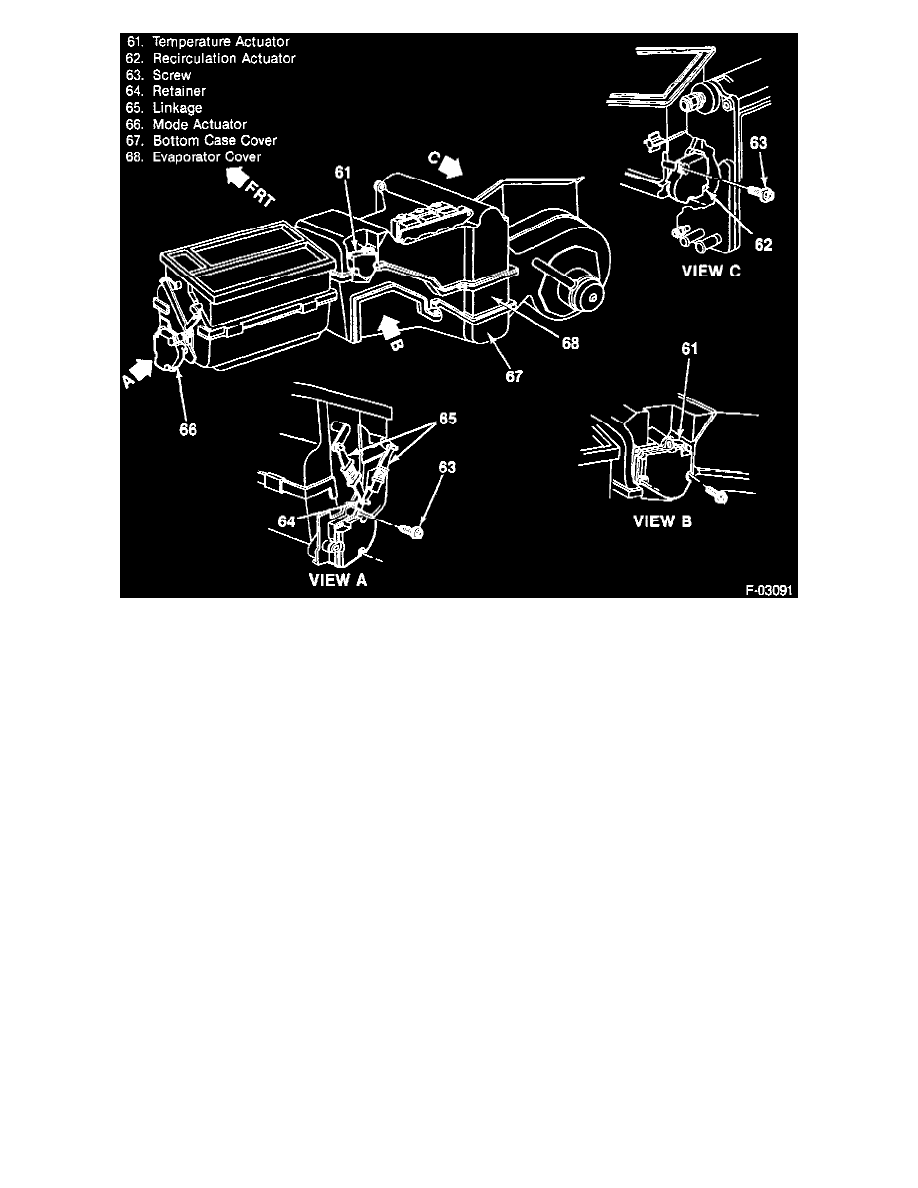
7. Electrical connection to the temperature actuator.
8. Seven screws that hold the heater case bottom cover (67) and remove cover.
9. Screws and brackets that hold the heater core to the case and remove core.
10. Four screws that hold the evaporator core cover (68) and remove cover.
11. Pull the core out and down from the evaporator case.
INSTALL OR CONNECT
1. Evaporator core.
2. Evaporator core cover (68) and screws.
3. Heater core and the three screws and bracket.
4. Heater assembly bottom plate (67) and the seven screws.
5. Electrical connection to the temperature activator.
6. Refrigerant inlet (45) and discharge (46) lines to the evaporator. Tighten connections to:
^
Inlet (45) line connection to 41 Nm (30 ft lbs).
^
Discharge (46) line connection to 24 Nm (18 ft lbs).
7. Heater hoses to the heater core (47).
8. Coolant overflow tank.
9. Charge system with refrigerant and leak test.
10. Fill cooling system.
11. Battery ground cable.