
K 3500 Truck 4WD V8-6.5L DSL Turbo VIN S (1999)
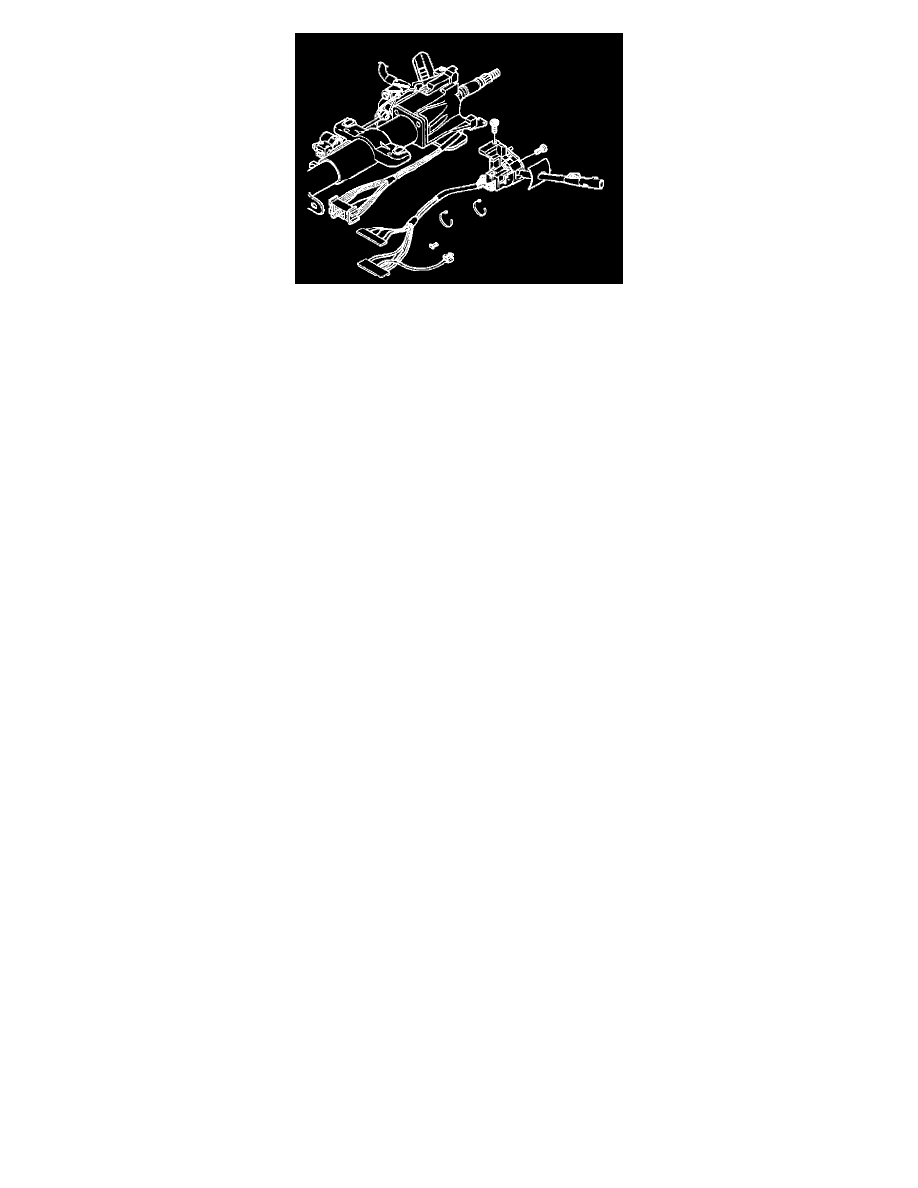
1. Install the multifunction turn signal/hazard switch.
1.1. Use a small blade screwdriver in order to compress the electrical contact. Move the multifunction switch into the position.
1.2. Make sure the electrical contact rests on the canceling cam assembly.
2. Install the two TORX head screws on the switch.
^
Tighten the screws to 6 Nm (53 inch lbs.).
Notice: Refer to Fastener Notice in Service Precautions.
3. Connect the gray and the black connectors of the switch to the column bulkhead connector.
4. Install the steering column bulkhead connector to the vehicle wire harness.
5. Install the connector and the Connector Position Assurance (CPA) retainer to the BTSI.
6. Install the two wire straps on the steering column wire harness.
7. Install the upper column cover.
8. Install the steering column bracket nuts.
^
Tighten the nuts to 30 Nm (22 ft. lbs.).
9. Install the knee bolster.
10. Install the steering column cylinder lock set.
11. Install the two TORX head screws to the upper column cover.
^
Tighten the screws to 1.4 Nm (12 inch lbs.).
12. Install the lower column cover.
13. Install the two TORX head screws to the lower column cover.
^
Tighten the screws to 6 Nm (53 inch lbs.).
14. Make sure the lever is in the center or the OFF position.
15. Install the steering wheel onto the steering shaft.
16. Install the steering wheel nut.
^
Tighten the steering wheel nut to 40 Nm (29 ft. lbs.).
17. Install the horn pad assembly.
18. Install the horn contract.
19. Install the inflator module.
20. Install the tilt lever.
21. Enable the SIR system.