
K Yukon/Denali 4WD V8-5.7L VIN R (2000)
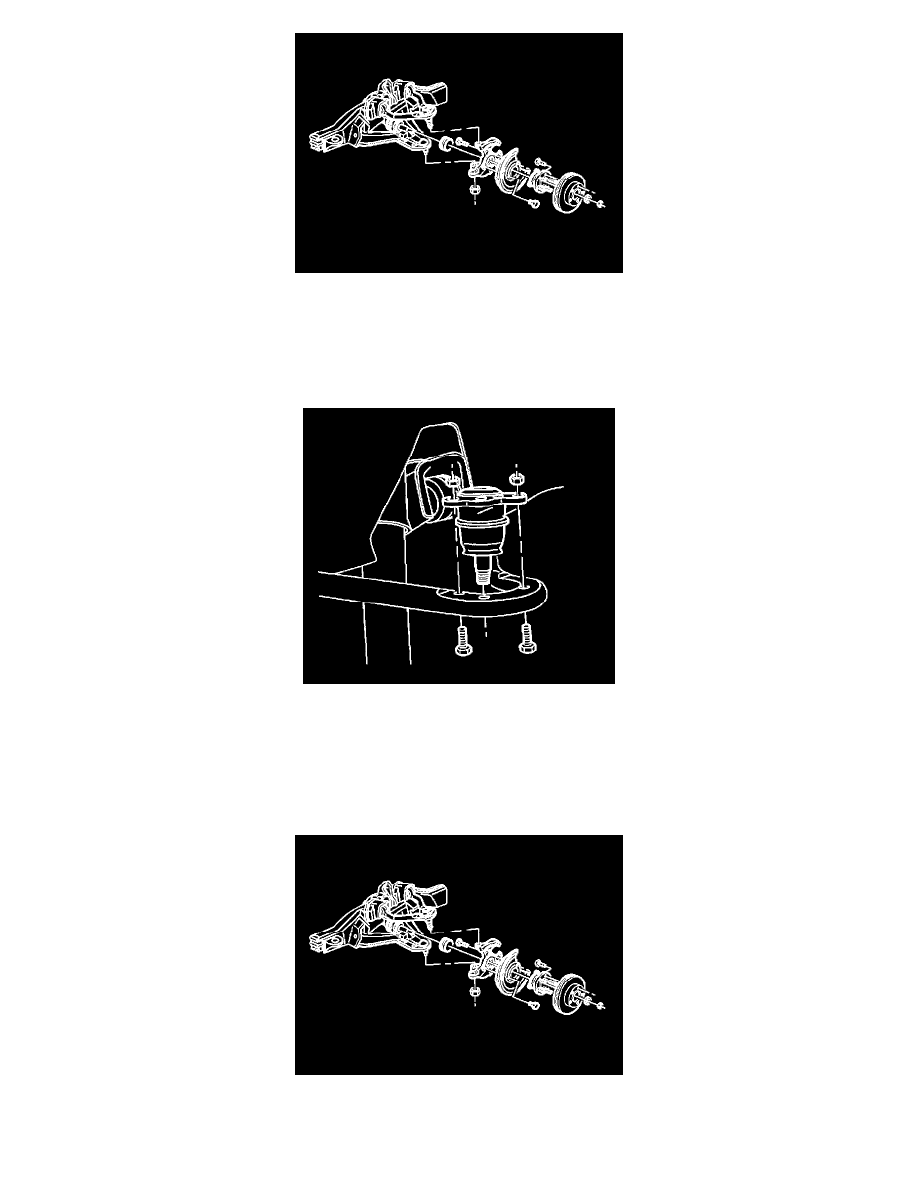
8. Remove the cotter pin.
9. Remove the stud nut from the upper ball joint.
10. Using the J 36607, remove the ball joint from the knuckle. Support the knuckle.
11. Remove the ball joint.
Installation Procedure
1. Install the ball joint to the control arm.
Notice: Refer to Fastener Notice in Service Precautions.
2. Install the bolts and the nuts to the ball joint.
-
For K1 and K2, tighten the nuts to 23 Nm (17 ft. lbs.).
-
For K3, tighten the nuts to 70 Nm (52 ft. lbs.).
3. Install the ball joint to the knuckle.
Important: Tighten the nut with the control arm at the proper Z height. Refer to Trim Height Inspection Procedure in Suspension General Diagnosis.