
K Yukon/Denali 4WD V8-5.7L VIN R (2000)
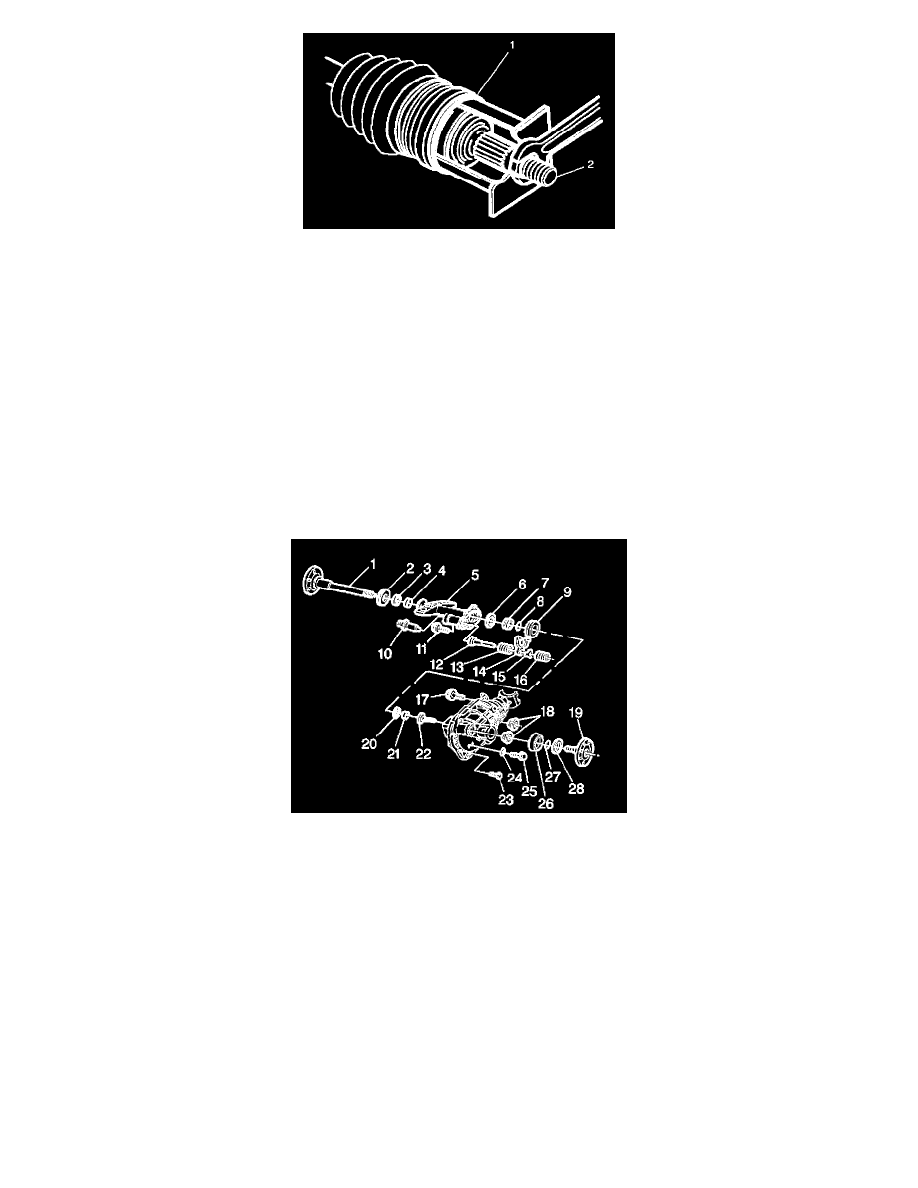
3. Install the M24 x 2.0 nut on the halfshaft bar. Tighten the M24 x 2.0 nut until the deflector ring (1) bottoms against the CV joint.
Important: If the tripot end of the halfshaft assembly does not require service, follow the directions for the installation of the halfshaft boot
cover; refer to Wheel Drive Shafts Boot Cover Replacement.
4. Remove the M24 x 2.0 nut, the 12 cm steel plate and the 3 inch or 4 inch pipe coupling.
Inner Axle Shaft and/or Housing Replacement
FRONT AXLE SHAFT AND SEAL
Removal Procedure
^
Tools Required
-
J36600 Seal Installer (K2 Models)
-
J22833 Seal Installer (K3 Models)
-
J23907 Puller/Slide Hammer/Clutch Pilot Bearing Remover
1. Raise the vehicle and support with safety stands.
2. Remove the differential carrier assembly. Refer to Differential Carrier Assembly Replacement.
3. Remove the axle shaft (output shaft) (19).
Important: Do not damage the case.
4. Attach a slide hammer with adapter to the axle shaft (output shaft) and pull the axle shaft from the case.
5. Remove the deflector (28).
6. Remove the seal (26).
7. Remove the bearing (21). Use the J23907.
Installation Procedure
^
Tools Required
-
J36600 Seal Installer (K2 Models)
-
J22833 Seal Installer (K3 Models)
-
J23907 Puller/Slide Hammer/Clutch Pilot Bearing Remover
-
J22761 Differential Side Bearing Installer