S15/T15 Jimmy 2WD L4-119 1.9L VIN A 2-BBL (1983)

2.
Remove the end gate inner panel reinforcement from the end gate (Figure 1, Item 1).
3.
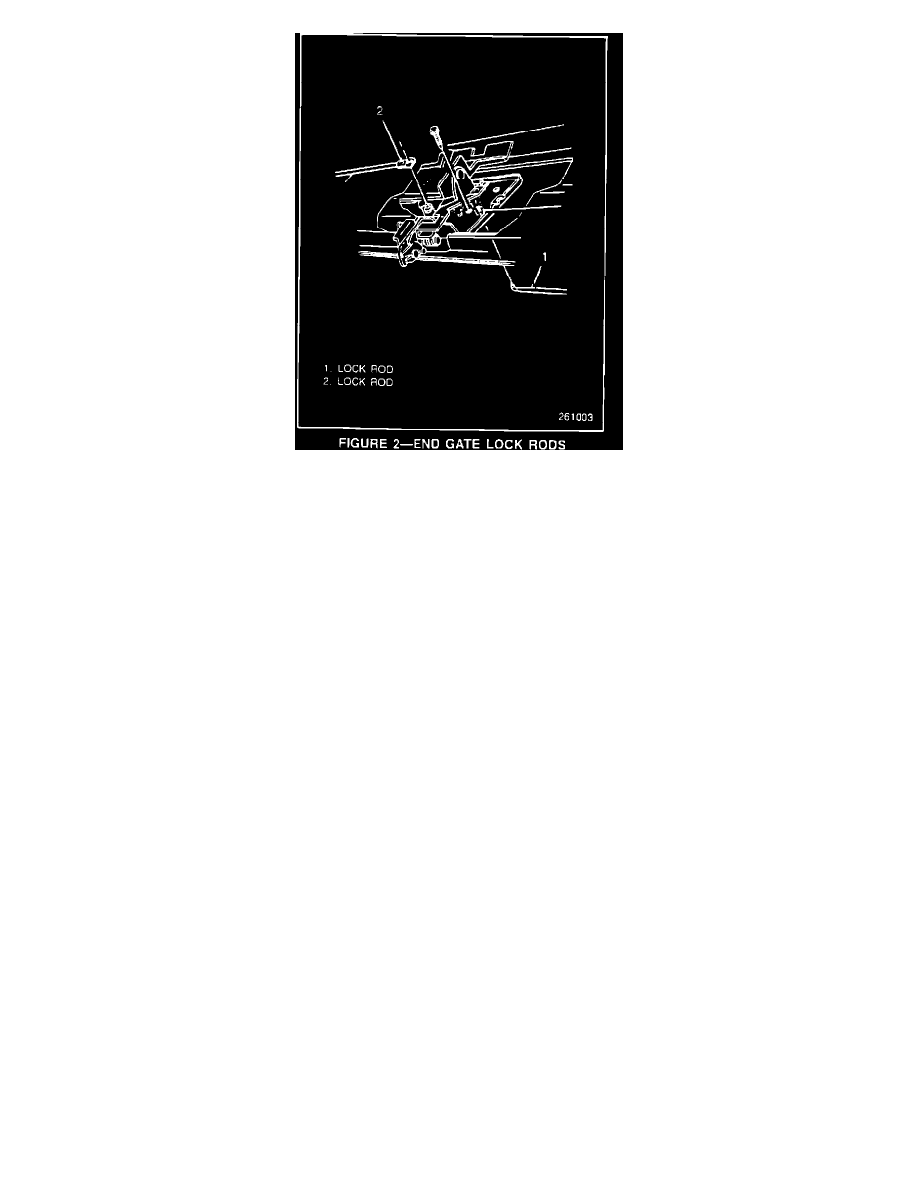
Disconnect the end gate lock rods (Figure 2, Items 1 and 2).
4.
Remove the lock cylinder retainer (Figure 3, Item 2).
5.
Working through the access hole, remove the lock cylinder and gasket (Figure 3, Items 4 and 3) through the outer panel.
6.
Remove the spring (located on the lock assembly) and carefully bend the spring ends just far enough to eliminate any clearance between the lock
pawl assembly and the lock cylinder housing (Figure 3, Items 6 and 4).
Note:
If the spring breaks while bending, it will be necessary to replace the lock cylinder assembly.
7.
Reinstall the spring in the lock assembly. Next, shake the assembly to check for looseness. If loose, replace the lock cylinder assembly.
8.
Reinstall the gasket, lock cylinder and retainer (Figure 3, Items 3, 4 and 2).
9.
Reconnect the end gate lock rods (Figure 2. Items 1 and 2).
10.
Reinstall the end gate inner panel reinforcement to the end gate (Figure 1, Item 1).
11.
Reinstall the inner trim panel.
WARRANTY INFORMATION
For vehicles repaired under warranty use:
Labor Op:
B5810
Labor Time:
0.3 hrs
Technical Service Bulletin # 9110A1189
Date: 920801
Endgate Lock Cylinder Assembly - Rattle
GMC NUMBER: 91-10A1-189
GROUP: 10A1 Doors
