
S15/T15 Jimmy 2WD L4-119 1.9L VIN A 2-BBL (1983)
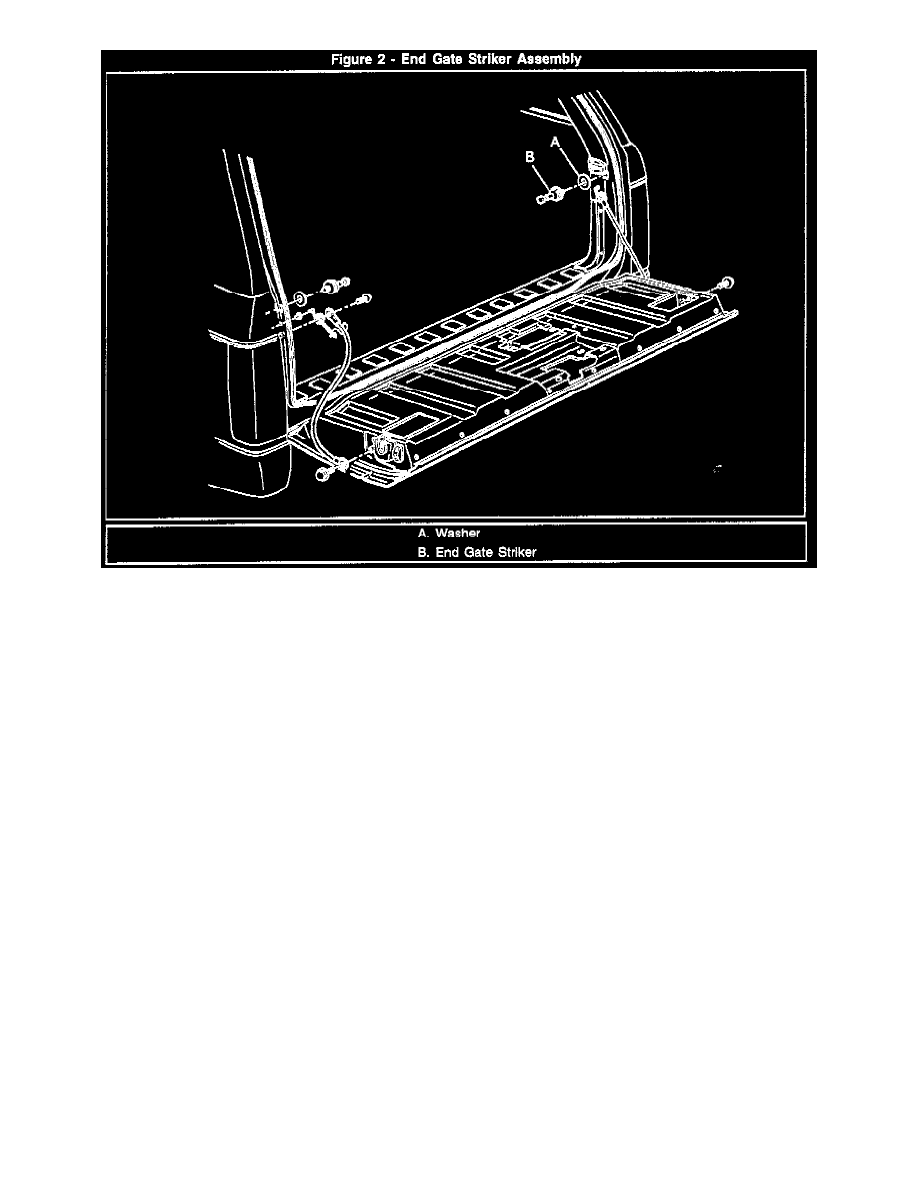
5. Use a grease pencil to mark around the circumference of each washer (Figure 2, A) located behind the strikers.
6. Unscrew and remove the existing striker assemblies from the vehicle (Figure 2, B).
7. Install one new striker (P/N 15966638) and one 1 mm thick washer, positioning them so that the end gate latch rests completely on the urethane
striker sleeve. The end gate should seat completely with a minimum of closing effort.
Important:
It may be necessary to add a second 1 mm thick washer to the striker to ensure that the head of the striker does not contact the latch.
6. Install the other new striker in the same manner.
Important:
Each striker should be moved approximately the same amount. The strikers MUST exhibit an equal amount of pressure on the seal.
9. Inspect the sliding wedges located in the end gate opening to ensure that they are located at approximately half of their travel distance when the end
gate is closed.
10. Readjust the strikers it the wedges are not located as specified or if the end gate is not flush.
11. Torque the striker assemblies to 63 Nm (47 lb.ft.).
12. Check the window latch assembly for proper adjustment by referring to Section 10A5 of the Service Manual.
Important:
To prevent further squeaks and rattles it is very important that the liftglass firmly compress the weatherstrip.
13. Reinstall the trim panel by referring to Section 10A5 of the Service Manual.
14. Close the end gate.
PARTS INFORMATION