
S15/T15 Jimmy 2WD L4-119 1.9L VIN A 2-BBL (1983)
Camshaft: Service and Repair
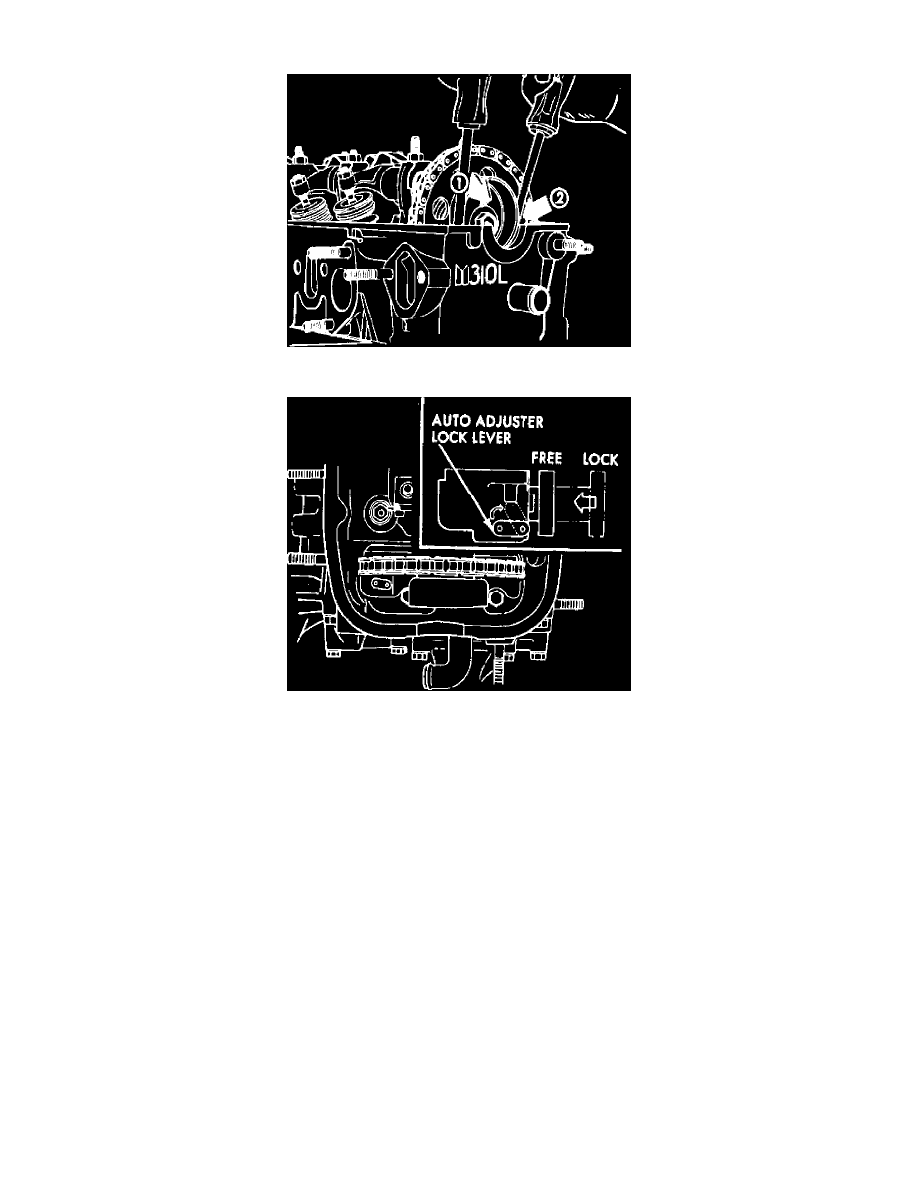
Fig. 2 Depressing adjusting lock lever
Fig. 6 Locking timing chain adapter
REMOVAL
1.
Remove cam cover.
2.
Rotate camshaft until No. 4 cylinder is in firing position. Remove distributor cap and mark rotor to housing position, then remove distributor.
3.
Remove the fuel pump.
4.
Lock the shoe on timing chain automatic adjuster in fully retracted position by depressing the adjuster lock lever with a screwdriver or equivalent
in direction as indicated, Figs. 2 and 6. After locking the automatic adjuster, check that the chain is loose.
5.
Remove timing sprocket to camshaft bolt. Remove sprocket and fuel pump drive cam from camshaft. Do not remove sprocket from chain.
6.
Remove rocker arm, shaft and bracket assembly.
7.
Remove camshaft assembly.
INSTALLATION
1.
Lubricate camshaft and journals of cylinder head with engine oil.
2.
Install camshaft assembly.
3.
Install rocker arm, shaft and bracket assembly.
4.
Align mark on the No. 1 rocker arm shaft bracket with the mark on the camshaft. Also, ensure crankshaft pulley groove is aligned with TDC mark
on front cover.
5.
Assemble timing sprocket to camshaft by aligning sprocket with pin on camshaft. Use caution not to remove chain from sprocket.
6.
Install fuel pump drive cam and sprocket retaining bolt and washer. Remove the half-moon seal at front of head, then torque retaining bolt to 60 ft.
lbs. Then install the half-moon seal in cylinder head.
7.
Install distributor.
8.
Release lock by depressing shoe on timing chain automatic adjuster and check timing chain for proper tension.
9.
Check that distributor rotor and mark on distributor housing are aligned with No. 4 piston firing position in distributor cap, then install distributor.