
S15/T15 Jimmy 2WD L4-119 1.9L VIN A 2-BBL (1983)
Steering Column: Service and Repair
Steering Column - Removal and Installation
S/T 10-15
Removal
1.
Disconnect battery ground cable.
2.
Remove bolt attaching pot joint to steering column lower shaft.
3.
Disconnect all electrical connectors and switches from steering column.
4.
Remove steering column bracket attaching nuts and bolts, then the bracket.
5.
Remove cover and seal attaching bolts, then remove steering column together with cover and seal.
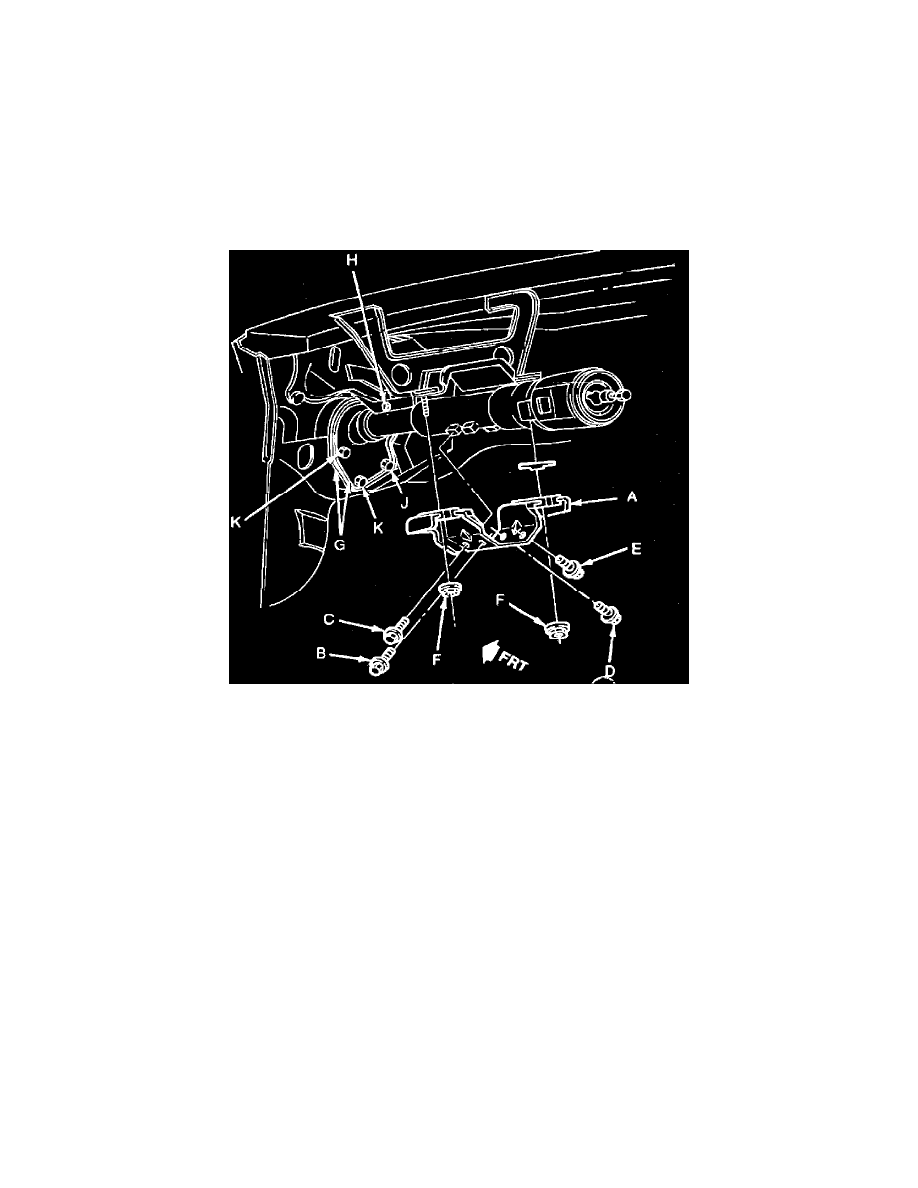
Fig. 7 Steering column installation. S/T 10-15
Installation
1.
Attach bracket (A), Fig. 7, to jacket and install bolt (B) first, bolt (C) second and bolts (D and E) last, torquing all bolts to 22 ft. lbs.
2.
Install ignition switch connector to ignition switch.
3.
Position steering column in body and loosely assemble capsule nuts on studs.
4.
Position cover and seal (G) on front of dash and install bolt (H) at net location, torquing to 13 ft. lbs.
5.
Install bolt (J), torquing to 13 ft. lbs.
6.
Install bolt (K), torquing to 13 ft. lbs.
7.
Torque capsule nuts to 20 ft. lbs.
8.
Lock steering column in straight ahead position and align front wheels in straight ahead position.
9.
Install pot joint over steering column lower shaft.
10.
Install nut and joint in pot joint, torquing nut to 44 ft. lbs.