
S15/T15 Sonoma P/U 2WD L4-2.2L VIN 5 Flex Fuel (2001)
Windshield Moulding / Trim: Service and Repair
Windshield Upper Reveal Molding Replacement
Windshield Upper Reveal Molding Replacement
Removal Procedure
1. Remove the side reveal molding.
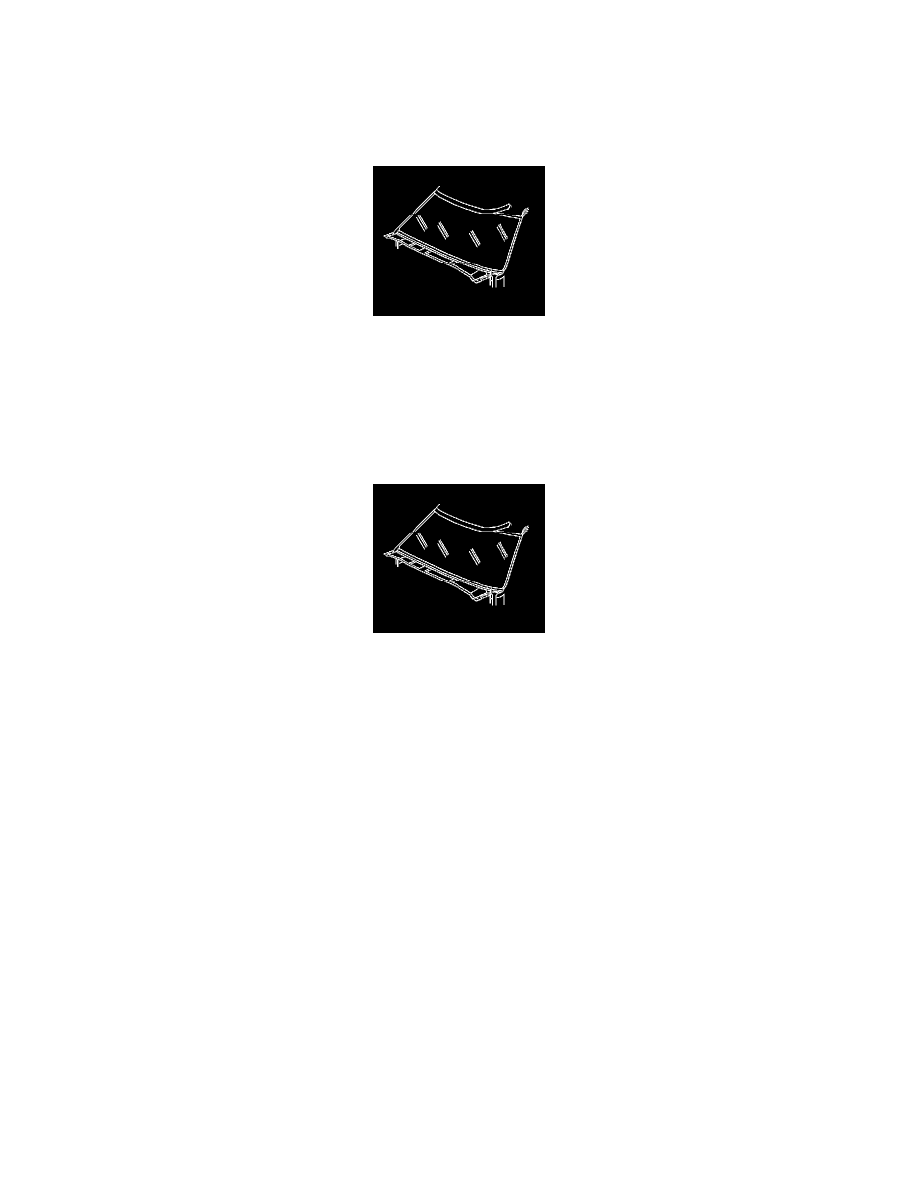
2. Use a flat-bladed tool in order to carefully pry the end of the upper reveal molding assembly out about 76 mm (3 in).
3. Grasp the molding with pliers and slowly pull the upper reveal molding assembly from the body.
4. If the original upper reveal molding assembly cannot be reused (due to damage, cut short, etc.), discard the molding. Replace the molding with a
new upper reveal molding assembly. Ensure that the new molding is prefit by locating the molding on the body prior to installation.
5. Clean the window assembly of all traces of urethane using an alcohol-dampened cloth.
Installation Procedure
1. Install the clear primer from the urethane adhesive kit GM P/N 12346284 or the equivalent in the glass edge channel of the reveal molding
assembly.
2. Install the black primer from the urethane adhesive kit GM P/N 12346284 or the equivalent over the clear primer.
3. Install the urethane adhesive from kit GM P/N 12346248 or the equivalent evenly in the glass edge channel of the revel molding over the black
primer.
4. Install the upper reveal molding assembly.
5. Use the following procedure in order to install the side reveal molding:
1. Start from the center and hand-press the reveal molding assembly into place over the edge of the windshield assembly.
2. Pour warm water over the reveal molding assembly in order to speed the setup time of the adhesive.
Tape may be applied in order to hold the reveal molding flush with the body.