
S15/T15 Sonoma P/U 2WD V6-4.3L VIN X (1998)
21. Install the HVAC module mounting bolt through the blower motor resistor or service access cover opening.
Tighten the HVAC module mounting bolt to 4.5 N.m (40 lb in).
22. On vehicles without automatic climate control, install the blower motor resistor. Refer to Blower Motor Resistor Assembly Replacement (C42) or
Blower Motor Resistor Assembly Replacement (C60).
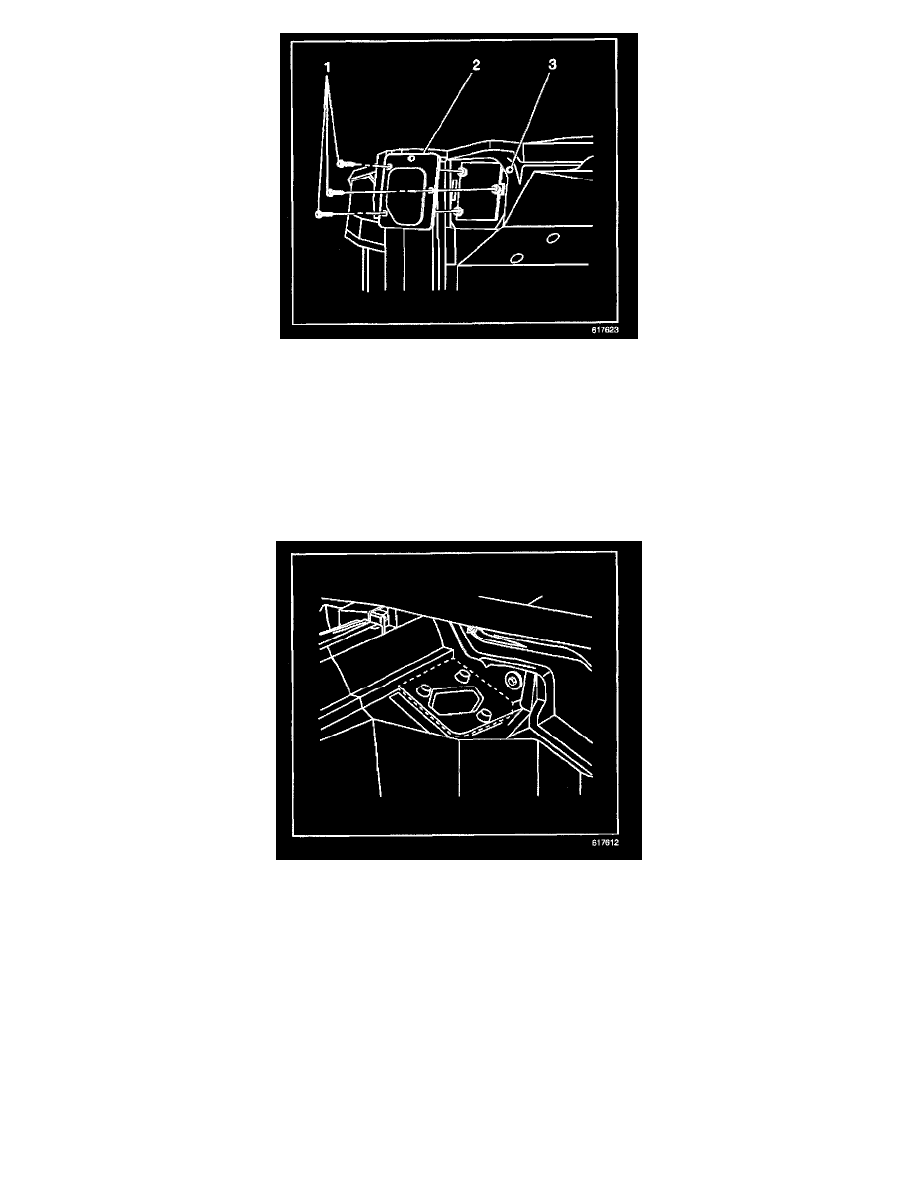
23. On vehicles with automatic climate control only, install the service access cover (2).
24. On vehicles with automatic climate control only, install the service access cover mounting screws (1).
Tighten the screws to 1.9 N.m (17 lb in).
25. On vehicles with automatic climate control only, install the outer layer of the A/C evaporator and blower module.
IMPORTANT: Do not use RTV. Apply the adhesive bead as straight as possible. Allow the adhesive to set for 15 minutes or until the adhesive
becomes tacky.
26. Seal the cut line using black weather-strip adhesive.
27. Refill the engine coolant. Refer to Draining and Filling Cooling System in Cooling System.
28. Install the instrument panel.
29. Calibrate the HVAC module actuator. Refer to Re-Calibrating Actuators in HVAC Systems - Automatic.