Safari Van 2WD V6-4.3L VIN X (2003)

Trunk / Liftgate Weatherstrip: Service and Repair
Weatherstrip Replacement - Lift Gate
Removal Procedure
1. Open the door.
2. Remove the fourth pillar trim. Refer to Trim Replacement - Fourth Pillar Left (See: Interior Moulding / Trim/Trim Panel/Service and Repair/Trim
Replacement - Fourth Pillar Left) and Trim Replacement - Fourth Pillar Right (See: Interior Moulding / Trim/Trim Panel/Service and Repair/Trim
Replacement - Fourth Pillar Right) in Interior Trim.
3. Remove the rear upper garnish molding. Refer to Garnish Molding Replacement - Rear Upper (See: Interior Moulding / Trim/Trim Panel/Service
and Repair/Garnish Molding Replacement - Rear Upper) in Interior Trim.
4. Remove the body side trim panel. Refer to Trim Panel Replacement - Left Body Side (See: Interior Moulding / Trim/Trim Panel/Service and
Repair/Trim Panel Replacement - Left Body Side) and Trim Panel Replacement - Right Body Side (See: Interior Moulding / Trim/Trim
Panel/Service and Repair/Trim Panel Replacement - Right Body Side) in Interior Trim.
5. Remove the rear trim plate. Refer to Carpet Retainer Replacement (See: Interior Moulding / Trim/Carpet/Service and Repair/Carpet Retainer
Replacement) in Interior Trim.
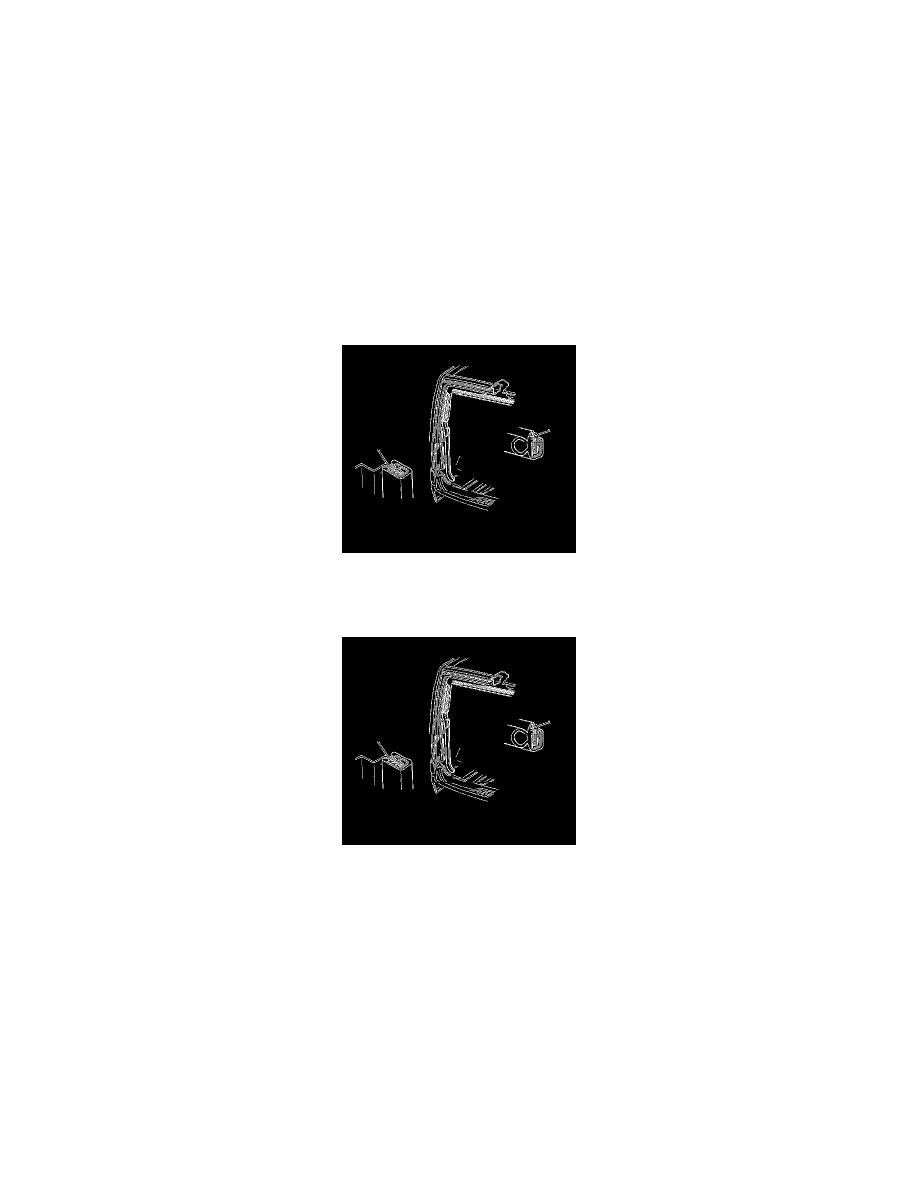
6. Pull the weatherstrip from the pinch-weld flange. Start at the upper right corner.
Installation Procedure
Important: The weatherstrip attaches to the pinch-weld flange in 6 areas. The weatherstrip length distributes equally around the door
opening.
1. Install the weatherstrip at the top right corner. Seat the weatherstrip onto the pinch-weld flange.
2. Position and install the weatherstrip by hand.
3. Using a rubber mallet during the final installation may be required in the thick flange areas and in each corner.
4. Install the rear trim plate. Refer to Carpet Retainer Replacement (See: Interior Moulding / Trim/Carpet/Service and Repair/Carpet Retainer
Replacement) in Interior Trim.
5. Install the body side trim panel. Refer to Trim Panel Replacement - Left Body Side (See: Interior Moulding / Trim/Trim Panel/Service and
Repair/Trim Panel Replacement - Left Body Side) and Trim Panel Replacement - Right Body Side (See: Interior Moulding / Trim/Trim
Panel/Service and Repair/Trim Panel Replacement - Right Body Side) in Interior Trim.
6. Install the rear upper garnish molding. Refer to Garnish Molding Replacement - Rear Upper (See: Interior Moulding / Trim/Trim Panel/Service
and Repair/Garnish Molding Replacement - Rear Upper) in Interior Trim.
7. Install the fourth pillar trim. Refer to Trim Replacement - Fourth Pillar Left (See: Interior Moulding / Trim/Trim Panel/Service and Repair/Trim
Replacement - Fourth Pillar Left) and Trim Replacement - Fourth Pillar Right (See: Interior Moulding / Trim/Trim Panel/Service and Repair/Trim
Replacement - Fourth Pillar Right) in Interior Trim.
8. Close the door.
