
Savana 2500 V8-6.6L DSL Turbo (2008)
1. Install the auxiliary HVAC module.
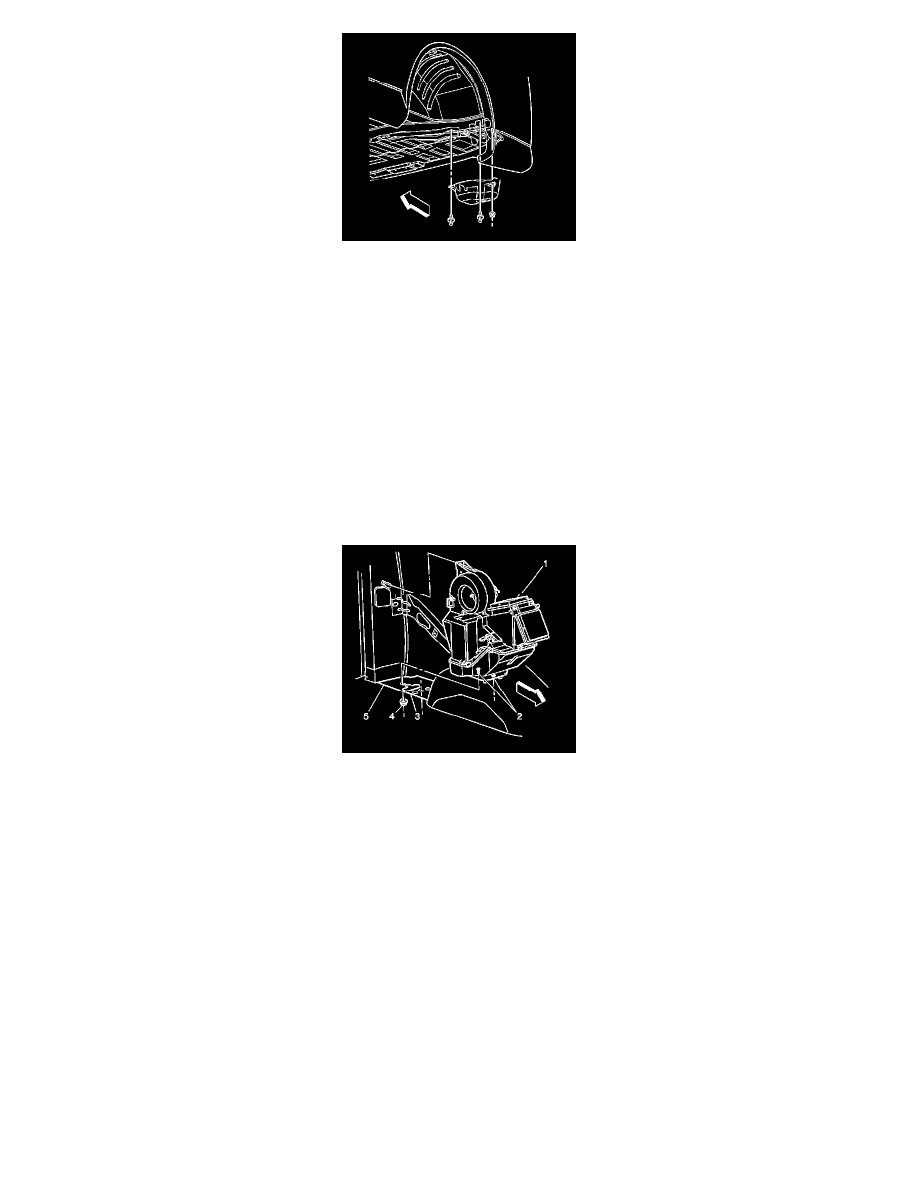
2. Raise and suitably support the vehicle. Refer to Vehicle Lifting.
Notice: Refer to Fastener Notice.
3. Install the retaining nuts to the underside of the auxiliary HVAC module.
Tighten the auxiliary heater retaining nuts to 10 N.m (89 lb in).
4. Connect the heater lines to the underside of the auxiliary heater.
5. Install the one retaining nut to the auxiliary evaporator underbody rear tube assembly to the core.
Tighten the nut to 28 N.m (21 lb ft).
6. Install the cover to the underside of the auxiliary HVAC module.
7. Lower the vehicle.
8. Connect the electrical connectors to the auxiliary HVAC module (1).
9. Install the air distribution duct upper.
10. Install the air distribution duct lower.
11. Install the left rear corner garnish molding.
12. Install the left rear quarter trim panel.
13. Evacuate and recharge the A/C system. Refer to Refrigerant Recovery and Recharging.
14. Fill the engine coolant. Refer to Cooling System Draining and Filling (Static Fill) Cooling System Draining and Filling (Vac N Fill).