Savana 3500 V8-4.8L (2009)

5. Disconnect the internal wire harness from the transmission fluid pressure (TFP) manual valve position switch.
Note: Use care not to loose the 5 O-rings that are located between the TFP manual valve position switch and the valve body.
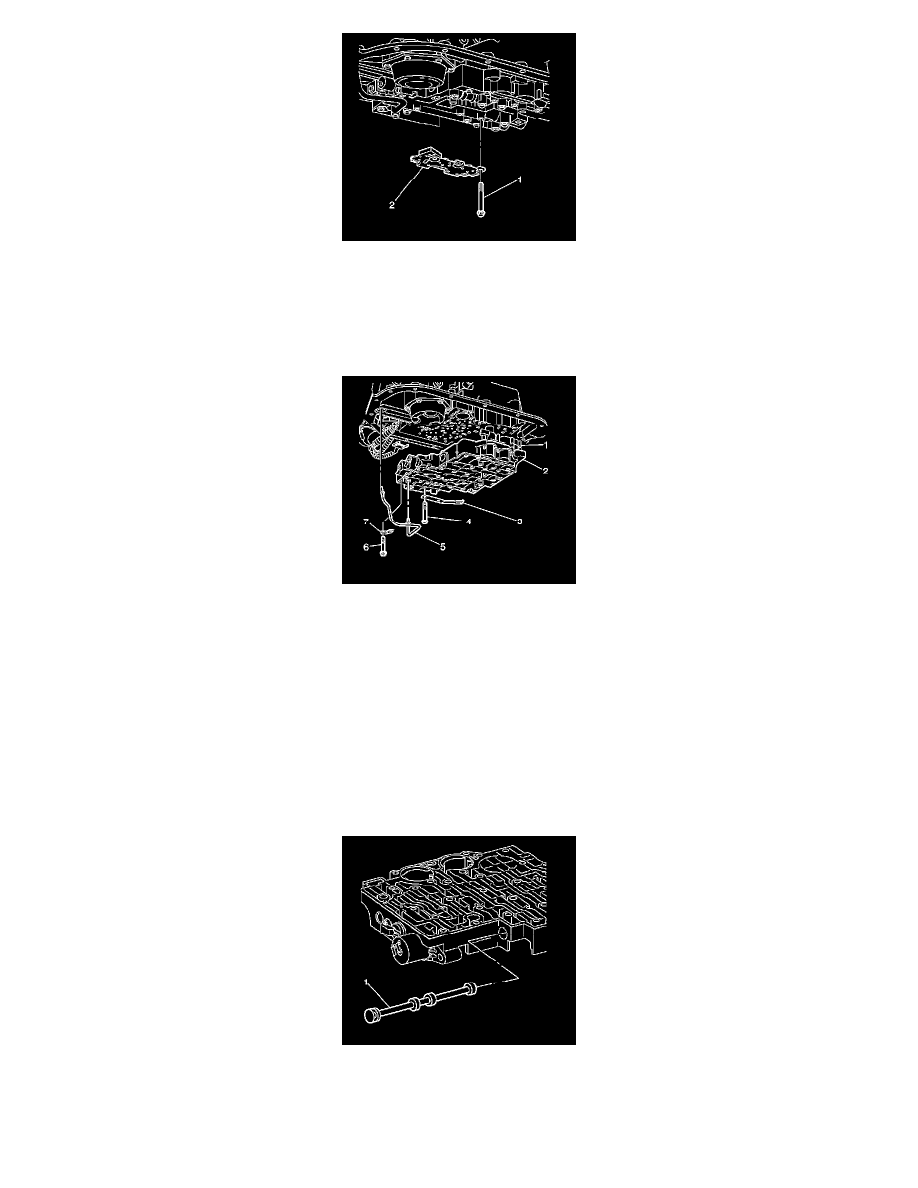
6. Remove the control valve body bolts (1) that retain the (TFP) manual valve position switch (2) to the control valve body.
7. Remove the TFP manual valve position switch.
8. Disconnect the internal wiring harness electrical connectors from the remaining valve body electrical components.
9. Remove the lube oil pipe bolt (6) and retainer (7).
10. Remove the lube oil pipe (5).
11. Remove the bolts and remove the manual shaft detent spring (3).
Note: Keep the control valve body level when lowering it from the vehicle. This will prevent the loss of checkballs located in the transmission
case passages.
12. Remove the remaining control valve body bolts.
13. Carefully lower the valve body down from the transmission case. Use care not to drop the manual shaft valve.
14. Remove the control valve assembly (2) which includes the following:
*
The accumulator housing assembly (1)
*
The control valve assembly to the spacer plate gasket
*
The spacer plate
15. Remove the manual valve (1) from the control valve body.
16. Inspect the manual valve for nicks and burrs.
