
Sierra 2500 Denali 2WD V8-6.0L (2011)
7. Pressing the J-38125-12A - tool in the release cavity of the terminal you are removing, gently pull the wire out of the back of the connector.
Always remember never use force when pulling a terminal out of a connector.
8. Repair the terminal by following the Repairing Connector Terminals (Terminated Lead Repair) (See: General Electrical Diagnostic
Procedures/Connector Repairs/Repairing Connector Terminals (Terminated Lead Repair))Repairing Connector Terminals (Terminal Repair) (
See: General Electrical Diagnostic Procedures/Connector Repairs/Repairing Connector Terminals (Terminal Repair)) procedure.
9. Insert the repaired terminal back into the cavity. Repeat the diagnostic procedure to verify the repair and reconnect the connector bodies.
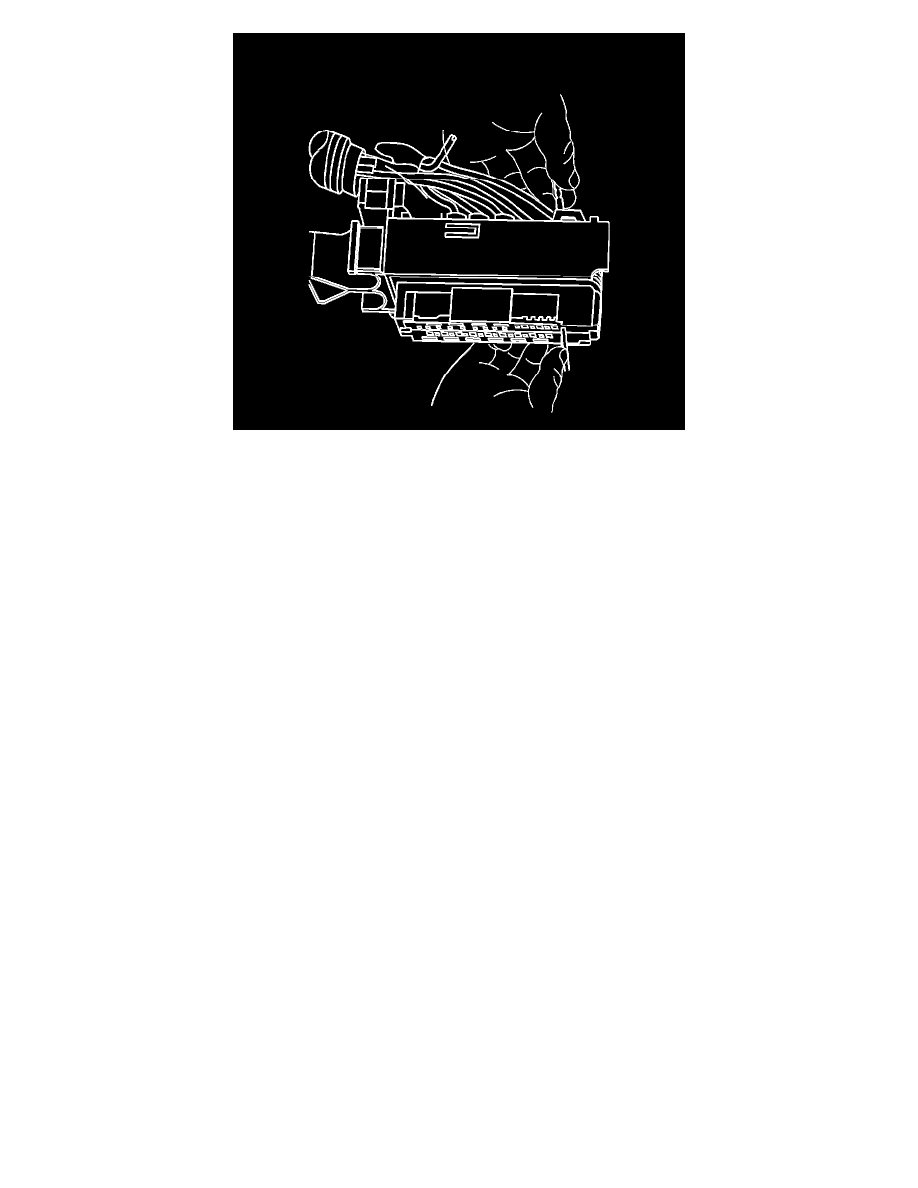
Tyco/AMP Connectors (43-Way)
Tyco/AMP Connectors (43-Way)
Special Tools
*
EL-38125-580 - Terminal Release Tool Kit
*
J-38125-12A - Terminal Release Tool
*
J-38125-13A - Terminal Release Tool
For equivalent regional tools, refer to Special Tools (See: Power and Ground Distribution/Tools and Equipment).
Terminal Removal Procedure
Follow the steps below in order to remove terminals from the connector.
1. Locate the lever lock on the wire dress cover. Slide the lever lock away from the connector body.
2. Disconnect the connector from the component.
3. Locate the dress cover locking tabs on the dress cover of the connector. Using a small flat-bladed tool release all of the locking tabs.
4. Once the locks are unlocked, lift the dress cover off.