Sierra 2500 Denali 2WD V8-6.0L (2011)

Ball Joint: Service and Repair
Lower Control Arm Ball Joint Replacement (1500)
Lower Control Arm Ball Joint Replacement (1500)
Special Tools
*
CH-41805 - Ball Joint Remover Install Kit
*
CH-49240 - Ball Joint Crimper and Install Kit
For equivalent regional tools, refer to Special Tools (See: Transmission and Drivetrain/Drive Axles, Bearings and Joints/Axle Shaft Assembly/Tools
and Equipment).
Removal Procedure
1. Raise and support the vehicle. Refer to Lifting and Jacking the Vehicle (See: Wheels and Tires/Vehicle Lifting/Service and Repair).
2. Remove the wheel drive shaft, if needed. Refer to Wheel Drive Shaft Replacement (1500) (See: Transmission and Drivetrain/Drive Axles,
Bearings and Joints/Axle Shaft Assembly/Service and Repair/Wheel Drive Shaft Replacement (1500))Wheel Drive Shaft Replacement
(2500/3500) (See: Transmission and Drivetrain/Drive Axles, Bearings and Joints/Axle Shaft Assembly/Service and Repair/Wheel Drive Shaft
Replacement (2500/3500)).
Note: Ensure that the knuckle is secured away from the lower control arm.
3. Remove the steering knuckle from the vehicle. Refer to Steering Knuckle Replacement (See: Front Steering Knuckle/Service and Repair).
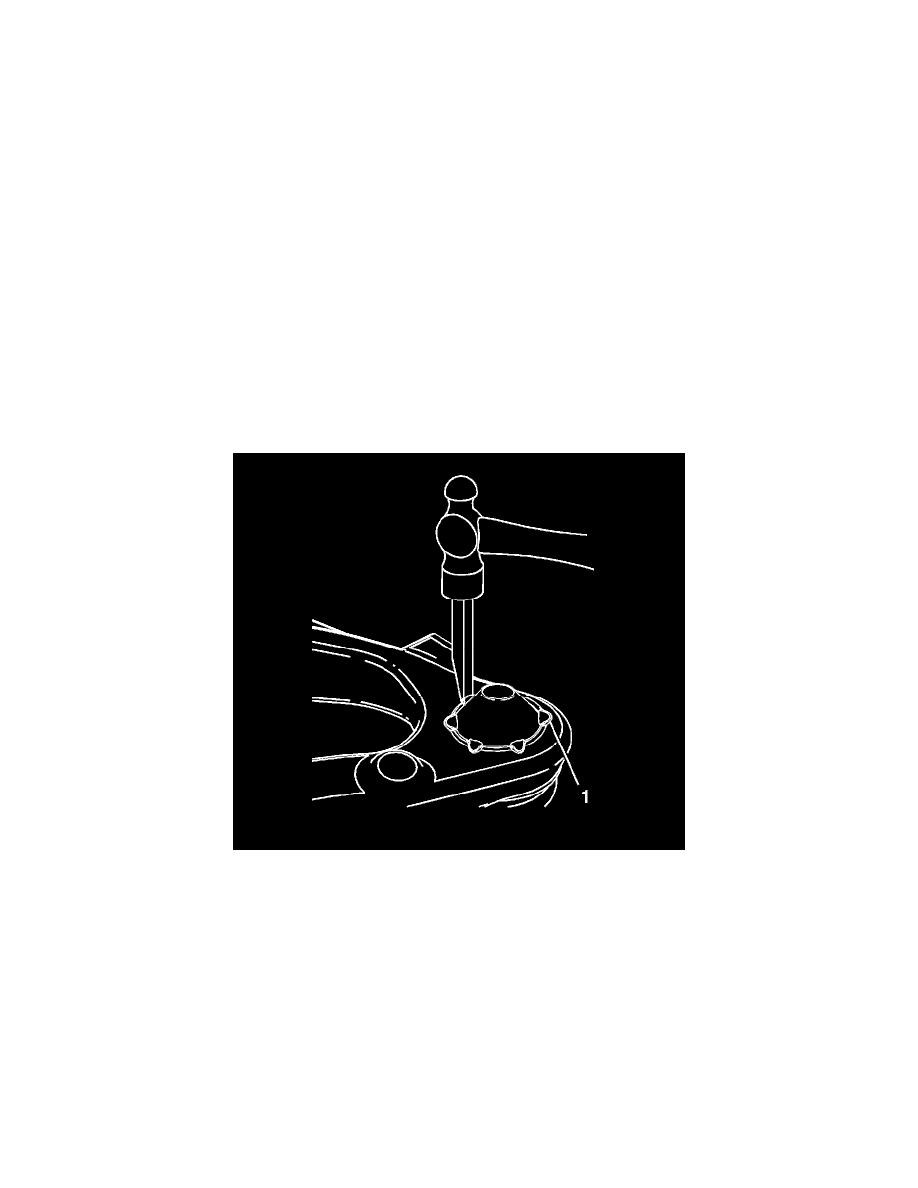
4. Using a hammer chisel, remove the locking tabs (1) from the ball joint body.
