
Sierra 3500 4WD V8-8.1L VIN G (2006)
10.7.
Install a new fastener GM P/N 03530297.
Installation Procedure
1. Remove any dirt, grease, or other contaminants from the mounting surface.
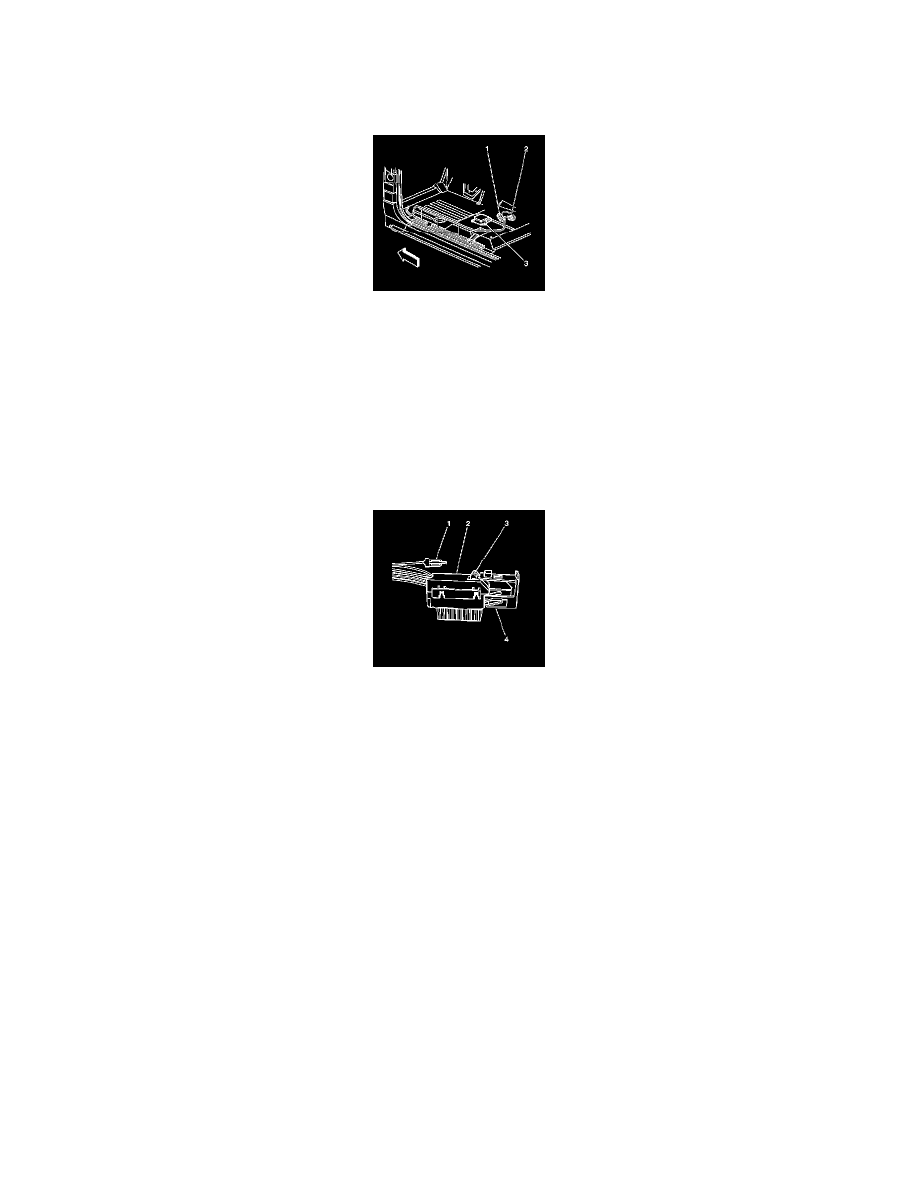
2. Install the SDM (3) horizontally to the vehicle.
3. Point the arrow on the SDM toward the front of the vehicle.
Notice: Refer to Fastener Notice in the Preface section.
4. Install the SDM mounting fasteners.
Tighten
Tighten fasteners to 10 N.m (89 lb in).
5. Connect the SDM wiring harness connector (1) to the SDM.
6. Push down the flex lock button (3) and slide the connector locking cover (4) to the close position.
7. Install the connector position assurance (CPA) (1) to the inflatable restraint SDM wiring harness connector (2).
8. Position the carpet to cover the inflatable restraint SDM.
9. Install the door sill plate. Refer to Front Side Door Sill Trim Plate Replacement.
10. Install the driver seat. Refer to Front Seat Replacement - Bucket.
Important: The AIR BAG indicator may remain ON after the SDM has been replaced. DTC B1001 may set requiring the SDM part number to be
set in multiple modules. If the indicator remains ON after enabling the SIR system, perform the diagnostic system check and follow the steps
thoroughly to ensure that the SDM is set properly.
11. Enable the SIR system. Refer to SIR Disabling and Enabling.
Important: Use the scan tool to perform the vehicle theft deterrent (VTD) relearn. Do not use the 30 minute manual learn procedure.
12. Reprogram the VTD system.
13. Refer to Control Module References for programming and setup information.