Suburban 3/4 Ton 4WD V8-305 5.0L (1986)

6.
Carefully pry dust boot out of bore.
7.
Using a small piece of wood or plastic, remove piston seal from bore.
CAUTION: Do not use a metal tool of any kind to remove seal as it may damage bore.
8.
Remove bleeder screw.
ASSEMBLY
NOTICE: Clean all parts in denatured alcohol or brake parts cleaner before assembly and dry the parts with dry compressed air.
1. Inspect caliper bore for scoring, nicks, corrosion or wear. Replace caliper housing if bore will not clean up with crocus cloth.
2. Lubricate caliper piston bore and new piston seal with clean brake fluid. Position seal in bore groove.
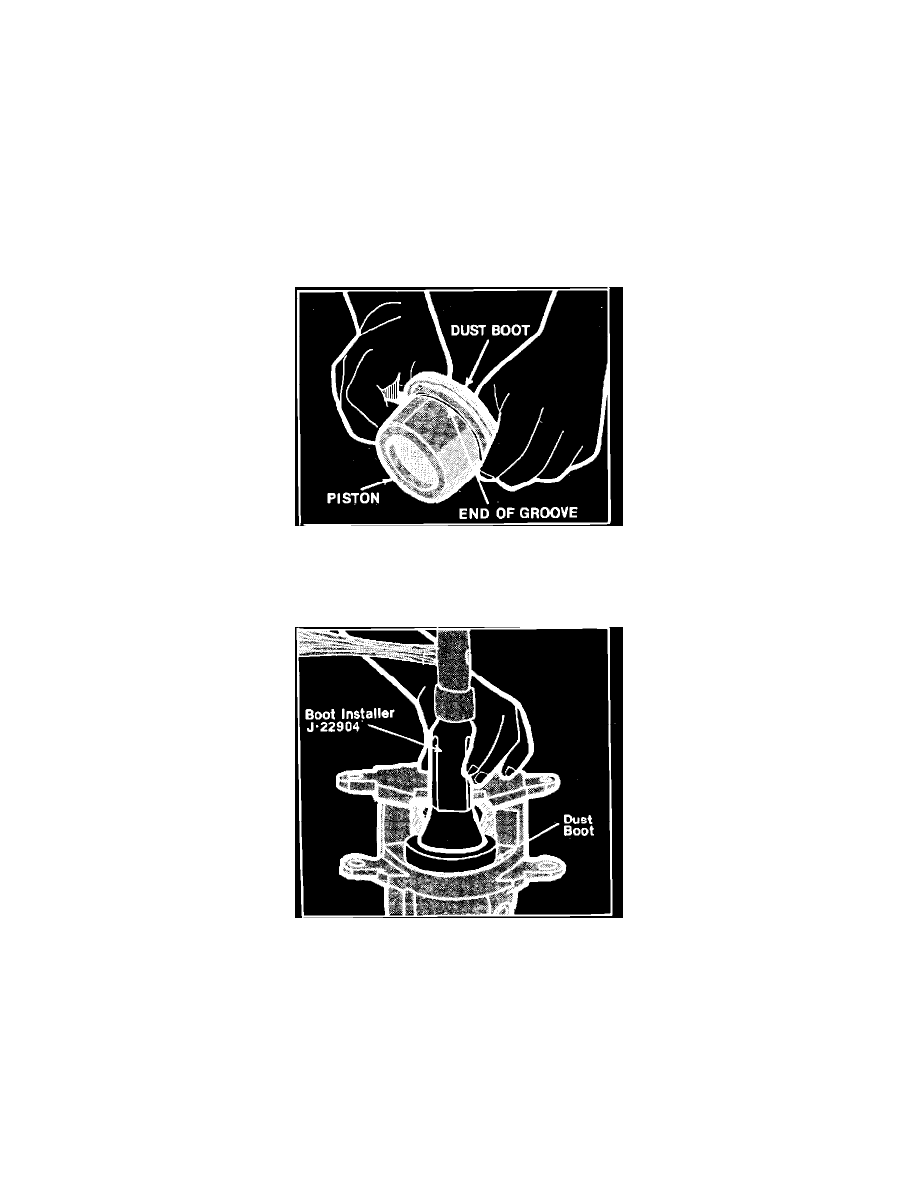
Fig. 6 Installing boot to piston
3. Lubricate piston with clean brake fluid and assemble a new boot into the groove in the piston so the fold faces the open end of the piston, Fig. 6.
4. Using care not to unseat the seal, insert piston into bore and force the piston to the bottom of the bore.
Fig. 7 Installing boot to caliper
5. Position dust boot in caliper counterbore and install, Fig. 7. Check the boot installation to be sure the retaining ring molded into the boot is not
bent and that the boot is installed below the caliper face and evenly all around. If the boot is not fully installed, dirt and moisture may enter the
bore and cause corrosion.
6. Install the brake hose in the caliper using a new copper gasket.
7. Install pads and caliper assembly.
Installation
For additional information see Installation Notes. See: Fundamentals and Basics
