
Suburban 3/4 Ton 4WD V8-305 5.0L (1986)
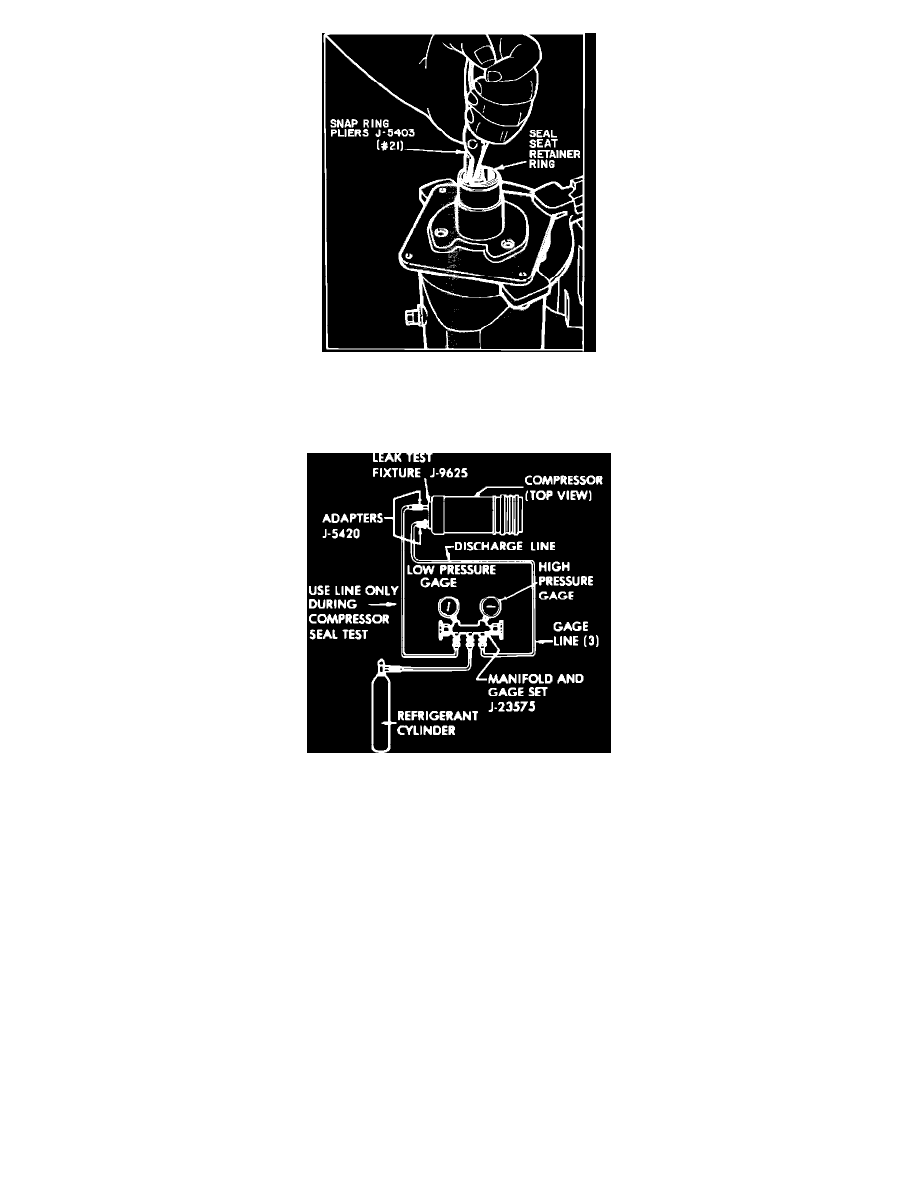
Fig. 6 Removing seal seat retaining ring
5.
Using snap ring pliers J-5403 (No. 21), install seal seat retainer ring, Fig. 6. Use sleeve from tool J-23128 to press on seal seat retainer so it snaps
into place. Remove seal protector J-22974.
Fig. 12 Leak testing compressor seal
6.
Install Compressor Leak Test Fixture J-9625 and connect gauge charging lines, Fig. 12. Pressurize suction side of compressor to drum pressure.
Temporarily install shaft nut and with compressor horizontal and sump down, rotate compressor shaft several times in normal direction of rotation
checking for leaks around seal area using a torch type leak detector. Correct any leaks found, remove and discard shaft nut.
7.
Remove any excess oil from shaft and inside compressor neck area.
8.
Install new absorbent sleeve by rolling material into a cylinder, then slipping sleeve into compressor neck with overlap at top of compressor. Using
a small screwdriver, carefully spread sleeve to remove overlap, so that in its final position, ends butt together at top vertical center line.