
Suburban 3/4 Ton 4WD V8-305 5.0L (1986)
Ensure compressor neck and shaft area are free from lint, dirt, or other foreign material before installing new seal parts.
1.
Lubricate seal seat O-ring in refrigerant oil and assemble onto tool J-33011, Fig. 7.
2.
Insert tool J-33011 into compressor neck until bottomed and install seal in proper position.
3.
Assemble seal onto seal installer J-23128-A by rotating tool handle clockwise, then push seal protector J-34614 into seal lip. Ensure the stamped
steel case side of the lip seal is engaged with knurled tangs on installer with flared out side of lip seal is facing and installed towards compressor.
Seal protector should be handled carefully as seal damage may occur if installed with a nicked or damaged protector.
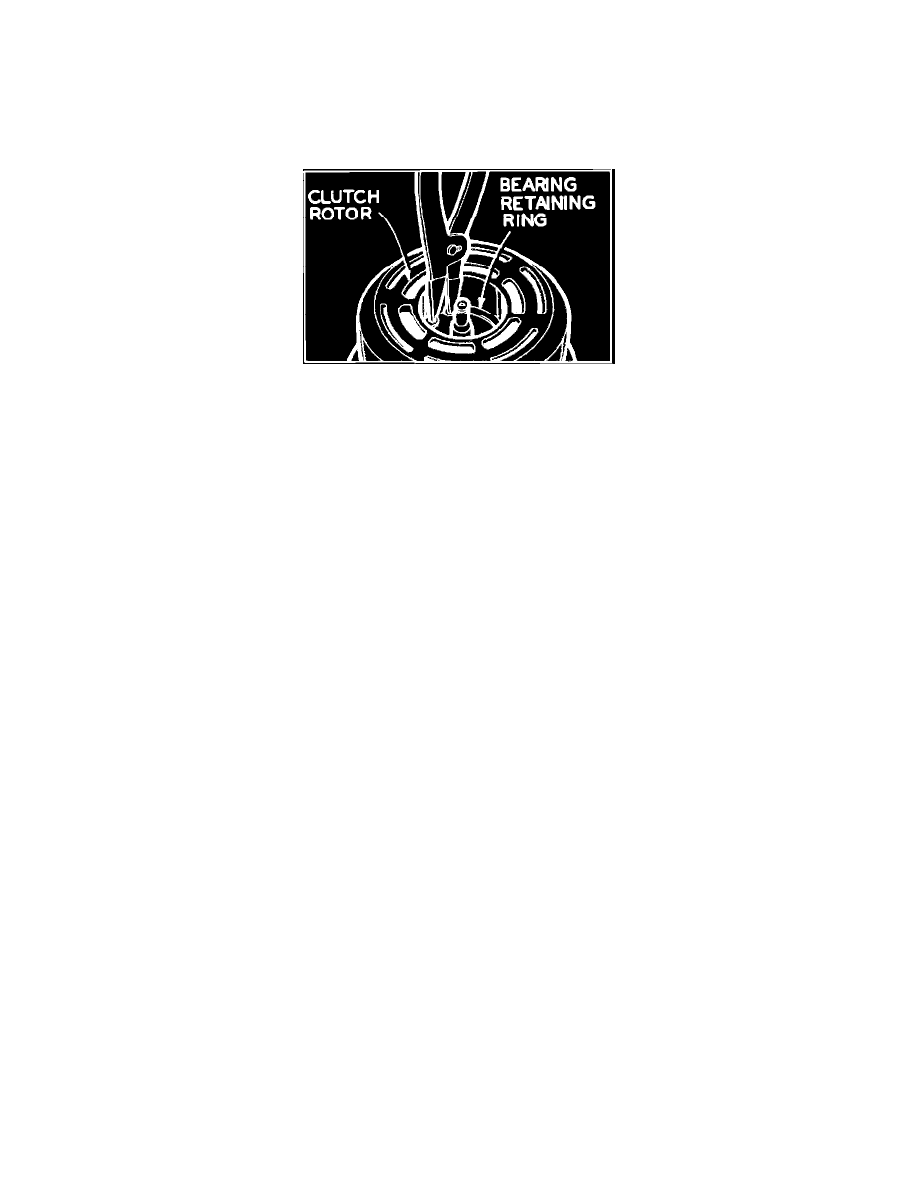
Fig. 8 Removing rotor & bearing assembly retaining ring
4.
Install new seal seat retainer ring with flat side against seal seat using suitable snap ring pliers, Fig. 8. Press in on seal seat retainer ring until it
snaps in groove, using sleeve from O-ring installer tool No. J-33011.
5.
Leak test seal at low pressure side.
6.
Remove excess oil resulting from installing new seal parts, from shaft side and from inside compressor neck.
7.
Install clutch plate and hub assembly, then install compressor belt and tighten bracket.
8.
Evacuate and charge refrigerant system.