
Suburban 3/4 Ton 4WD V8-305 5.0L (1986)
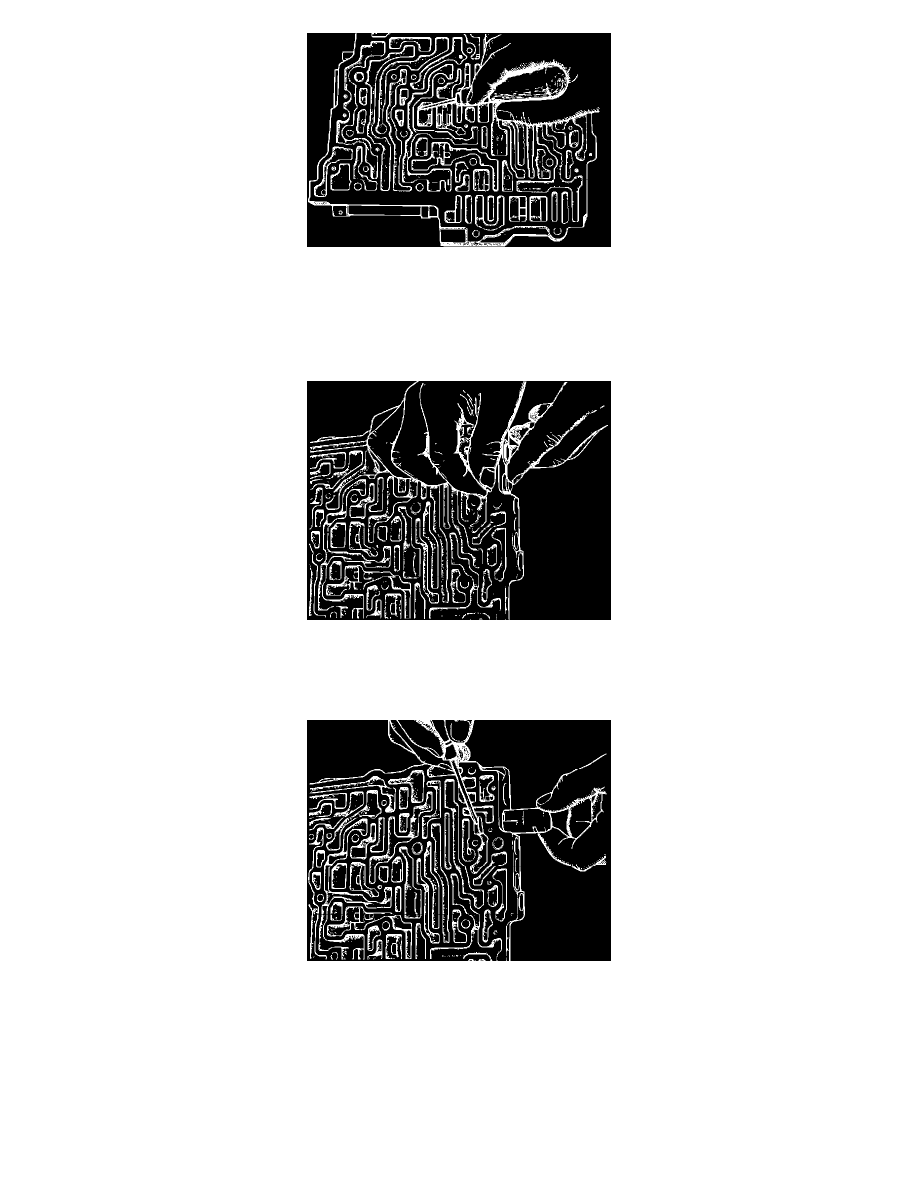
Figure No. 1
5.
Inspect the casting and fluid passages for foreign materials that may have accumulated in pockets. Remove the foreign material with a small
screwdriver or an awl. (Refer to Figure No. 1)
6.
As necessary, repeat the washing and drying procedures as described in steps #3 and #4 until all foreign materials are removed.
Figure No. 2
7.. While applying a slight pressure with your finger against spring force in the valve train, remove the coiled spring pin, sleeve or clip that retains the
valve train. (Refer to Figure No. 2)
Figure No. 3
8.
Slowly release pressure on the valve train and remove it from the valve body. A small flat blade screwdriver may. used to remove the bushing from
the bore. (Refer to Figure No.3).
DO NOT USE EXCESS FORCE TO REMOVE VALVES OR BUSHINGS
9.
Place the valve train on a clean surface in the exact sequence as it was removed from the valve body. Follow the procedures in steps #7, #8
and #9 to remove all valves and bushings from the valve body. (Layout of the valves, springs and bushings on a clean, lint free towel will help
to keep parts organized.)