
Yukon/Denali 2WD V8-4.8L VIN V (2005)
1. Remove the door trim panel.
2. Remove the screws (1) retaining the speaker to the mounting bracket.
3. Disconnect the electrical connector from the speaker.
4. Remove the speaker from the mounting bracket.
5. Remove the bolts (2) retaining the speaker mounting bracket to the door, if required.
6. Remove the speaker mounting bracket.
INSTALLATION PROCEDURE
1. Install the speaker mounting bracket.
2. Install the bolts (2) retaining the speaker mounting bracket to the door, if removed.
NOTE: Refer to Fastener Notice in Service Precautions.
Tighten the bolts to 6 N.m (53 lb in).
3. Install the speaker to the mounting bracket.
4. Connect the electrical connector to the speaker.
5. Install the screws (1) that retain the speaker to the mounting bracket.
Tighten the screws to 2 N.m (53 lb in).
6. Install the door trim panel.
7. Verify the component operation.
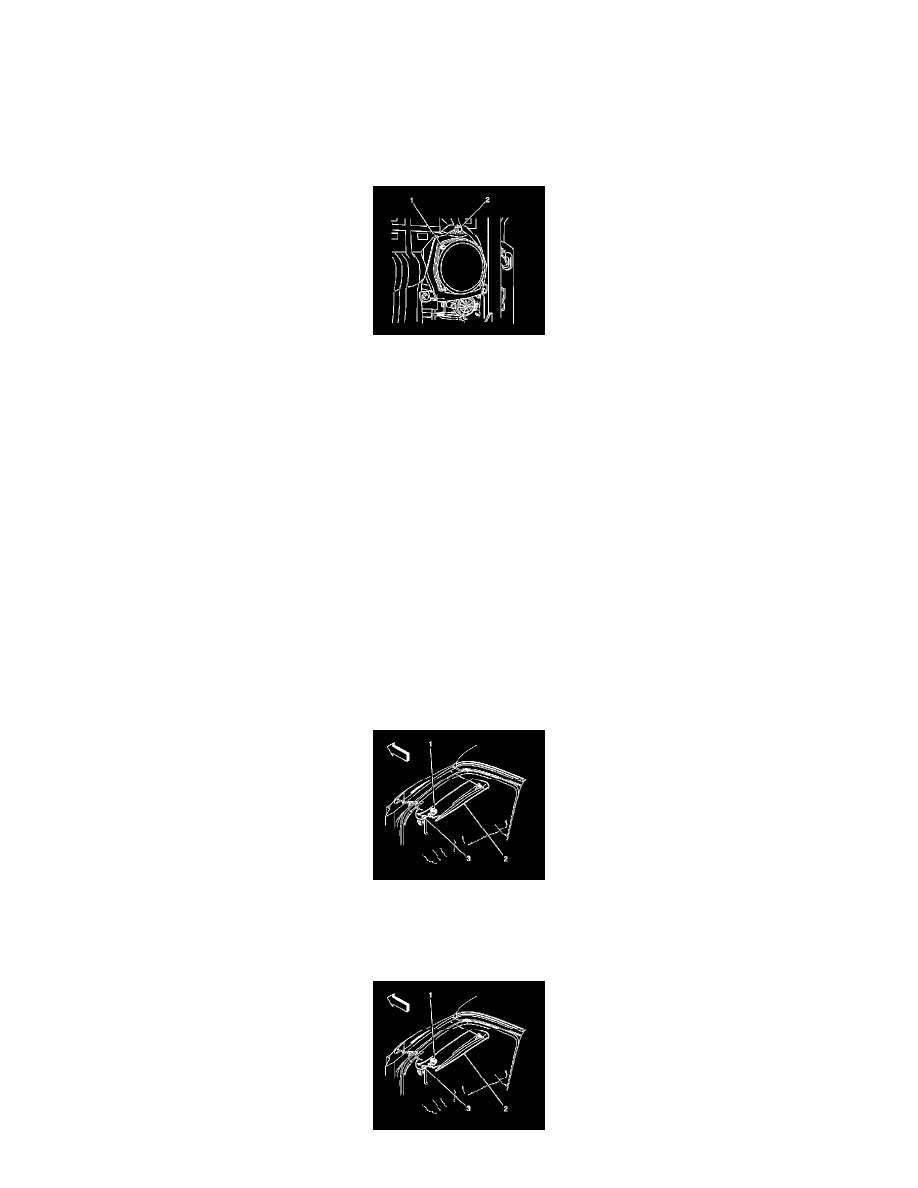
Front (Windshield Pillar Speaker)
SPEAKER REPLACEMENT - FRONT (WINDSHIELD PILLAR SPEAKER)
REMOVAL PROCEDURE
1. Remove the windshield garnish molding (2).
2. Disconnect the electrical connector (3) to the speaker.
3. Remove the speaker (1) by press until it is out of the molding.
INSTALLATION PROCEDURE