
Yukon Denali 4WD V8-6.0L Hybrid (2011)
Differential Carrier: Service and Repair
Differential Carrier Assembly Replacement
Removal Procedure
1. Turn the steering wheel all the way to the left.
2. Raise the vehicle. Refer to Lifting and Jacking the Vehicle See: Maintenance/Vehicle Lifting/Service and Repair.
3. Place jack or utility stands at the rear end of the vehicle.
4. Remove the engine protection shield. Refer to Engine Shield Replacement See: Body and Frame/Frame/Skid Plate/Service and Repair/Engine
Shield Replacement.
5. Remove the oil pan skid plate, if equipped. Refer to Oil Pan Skid Plate Replacement .
6. Drain the differential carrier assembly. Refer to Front Axle Lubricant Replacement See: Fluid - Differential/Service and Repair/Removal and
Replacement/Front Drive Axle.
7. Disconnect the front propeller shaft from the differential carrier assembly. Refer to Front Propeller Shaft Replacement See: Drive/Propeller
Shafts, Bearings and Joints/Drive/Propeller Shaft/Service and Repair/Front Propeller Shaft Replacement.
8. Remove the relay rod. Refer to Relay Rod Replacement See: Steering and Suspension/Steering/Center Link/Service and Repair.
9. Support the differential carrier assembly with a transmission jack or equivalent.
10. Remove the wheel drive shaft inboard flange bolts from the inner axle shaft, both sides.
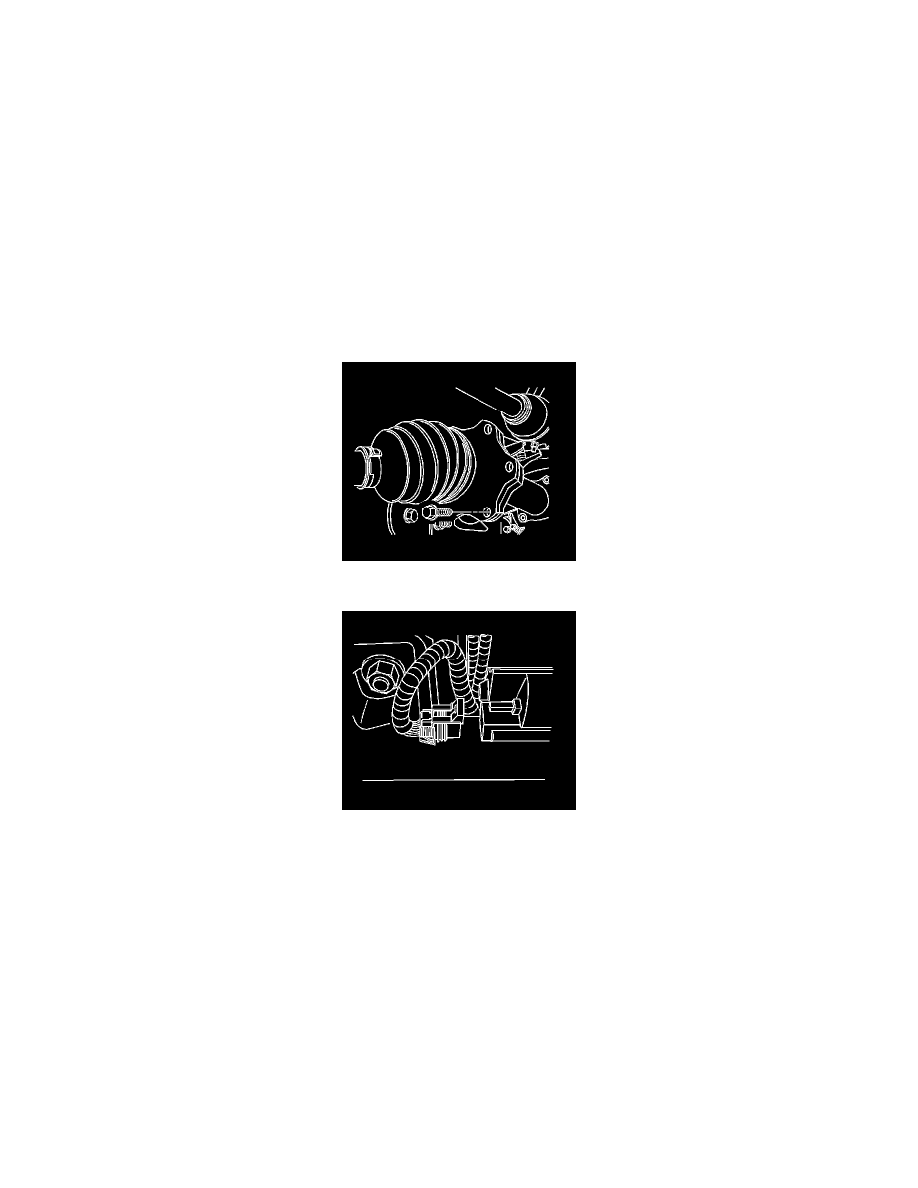
11. Disconnect the electrical connector from the front axle actuator, S4WD axle only.