
Yukon XL 4WD V8-5.3L (2011)
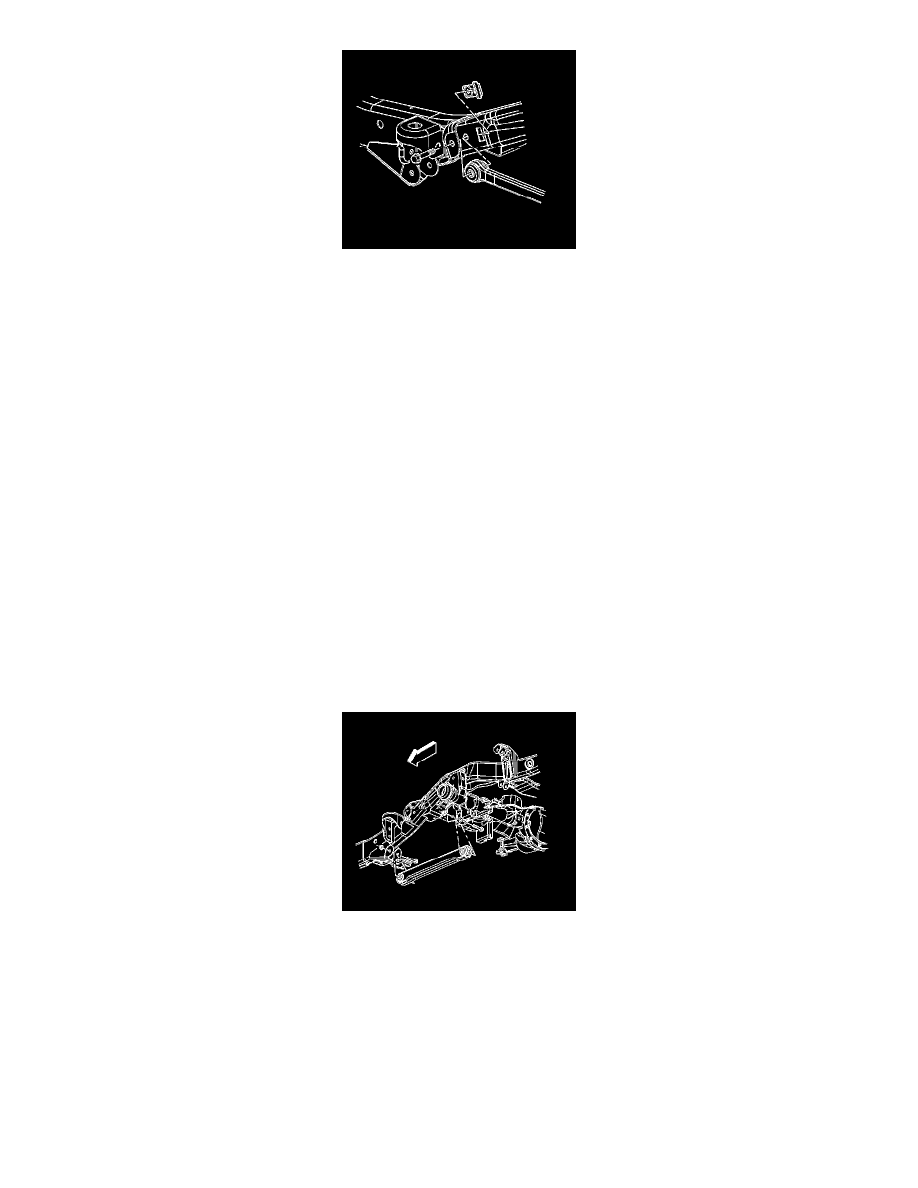
3. Install the upper control arm retaining bolt to the frame bracket.
Caution: Refer to Fastener Caution See: Service Precautions/Vehicle Damage Warnings/Fastener Caution.
Note: Do not tighten the bolts unless the suspension is at the curb height position.
4. Install the upper control arm nut and bolt, then tighten the bolt to:
*
First Pass: 100 Nm (74 lb ft)
*
Final Pass: plus 55 degrees
5. Connect the ESC sensor, if equipped. Refer to Electronic Suspension Rear Position Sensor Replacement - Left Side See: Sensors and Switches -
Suspension/Ride Height Sensor/Service and Repair/Electronic Suspension Rear Position Sensor Replacement - Left Side or Electronic Suspension
Rear Position Sensor Replacement - Right Side See: Sensors and Switches - Suspension/Ride Height Sensor/Service and Repair/Electronic
Suspension Rear Position Sensor Replacement - Right Side.
6. Lower the vehicle.
Rear Axle Lower Control Arm Replacement
Rear Axle Lower Control Arm Replacement
Removal Procedure
1. Raise and support the vehicle. Refer to Lifting and Jacking the Vehicle See: Wheels and Tires/Vehicle Lifting/Service and Repair.
2. Support the vehicle at curb height.
3. Remove the lower control arm retaining nuts.
4. Remove the lower control arm retaining bolt.
5. Remove the lower control arm.
Installation Procedure