
Accord L4-1751cc 1800 EK1 (1982)
Purge Control Thermovalve: Testing and Inspection
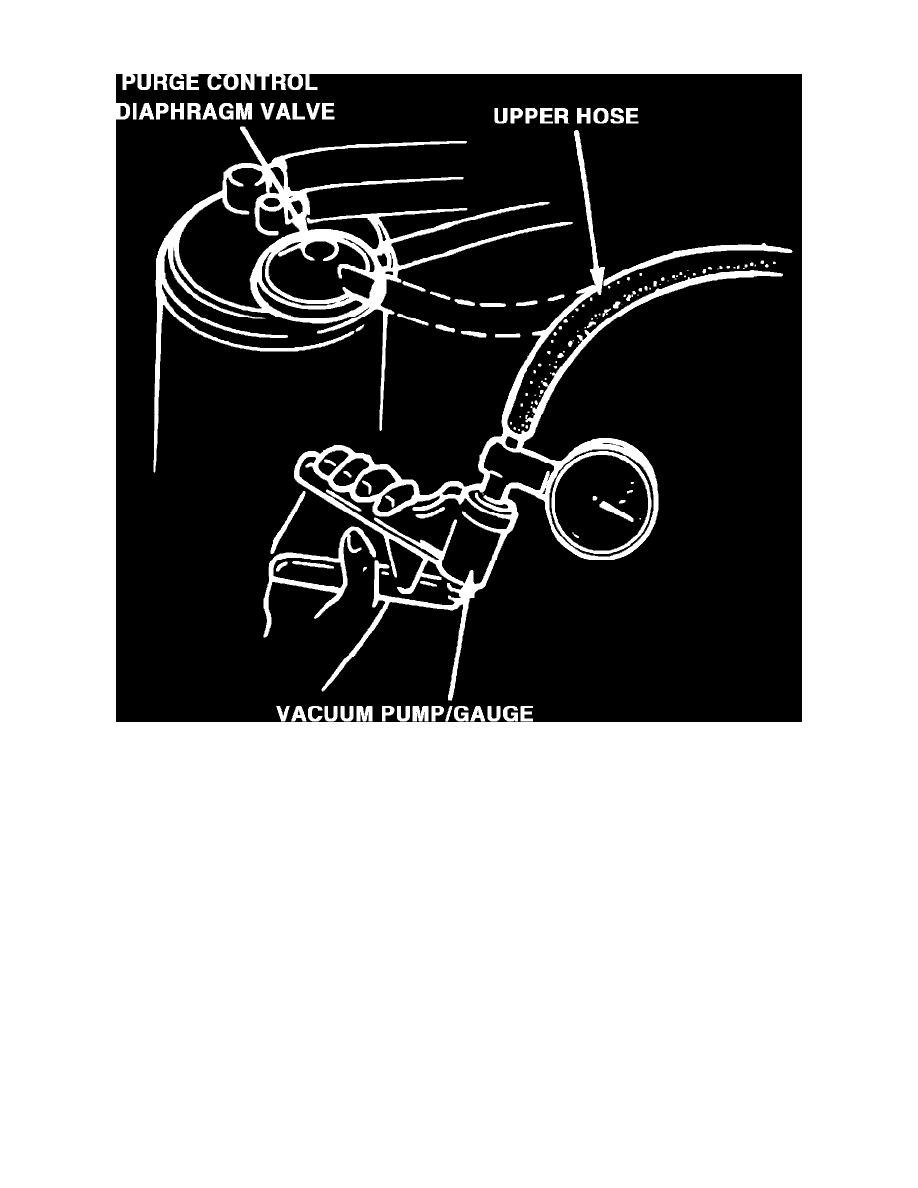
Fig. 23 Purge control diaphragm valve check. Typical
WITH ENGINE COLD
1.
Ensure that coolant temperature is below set temperature of thermovalve.
2.
Disconnect upper hose at purge control diaphragm valve and connect vacuum gauge to hose, Fig. 23.
3.
Start engine and run at idle.
4.
If there is no vacuum, disconnect vacuum gauge and reconnect hose.
5.
On 1982-83 models, if there is vacuum, test thermovalve as follows:
a. On all but 1983 Prelude, drain coolant until its level is lower than distributor holder.
b. On all but 1983 Prelude, remove distributor holder from cylinder head, then remove thermovalve.
c. On 1983 Prelude, remove thermovalve from right side of intake manifold.
d. Suspend thermovalve in container of cold water with hand vacuum pump attached to lower port and place thermometer in container without
allowing it to touch bottom of container.
CAUTION: Do not allow water to enter vacuum ports of thermovalve.
e. Draw a vacuum on thermovalve, then slowly heat water while observing gauge and thermometer.
f.
Ensure that thermovalve does not hold vacuum below 97-111 deg. F, but does hold vacuum above 115-129 deg. F.
6.
On 1984-86 models, if there is vacuum, replace thermovalve.
WITH ENGINE HOT
1.
Disconnect upper hose at purge control diaphragm valve and connect vacuum gauge to hose.