
Accord L4-2.4L (2005)
Oil Pan: Service and Repair
Oil Pan Removal
Oil Pan Removal
1. If the engine is out of the vehicle, go to step 19.
2. Drain the engine oil.
3. Make sure you have the anti-theft codes for the radio and navigation system, then write down the frequencies for the radio's preset buttons.
4. Disconnect the negative cable from the battery first, then disconnect the positive cable. Remove the battery.
5. Remove the air cleaner housing.
6. Remove the harness clamp. Remove the two bolts, and loosen the two bolts securing the battery base, then remove the battery base.
7. Remove the clutch slave cylinder, and clutch line bracket mounting bolt (M/T).
8. Remove the ground cable, then remove the transmission upper mount/bracket assembly.
9. Remove the front mount stop, then remove the front mount bolt.
10. Remove the rear mount stop, then remove the rear mount bolt.
11. Raise the vehicle on the hoist to full height.
12. Remove the front tires/wheels.
13. Disconnect the stabilizer links.
14. Remove the left side damper fork.
15. Disconnect the left side suspension lower arm ball joint.
16. Remove the left side driveshaft. Coat all precision-finished surfaces with clean engine oil. Tie plastic bag over the driveshaft end.
17. Remove the nuts securing the transmission lower front mount and transmission lower rear mount.
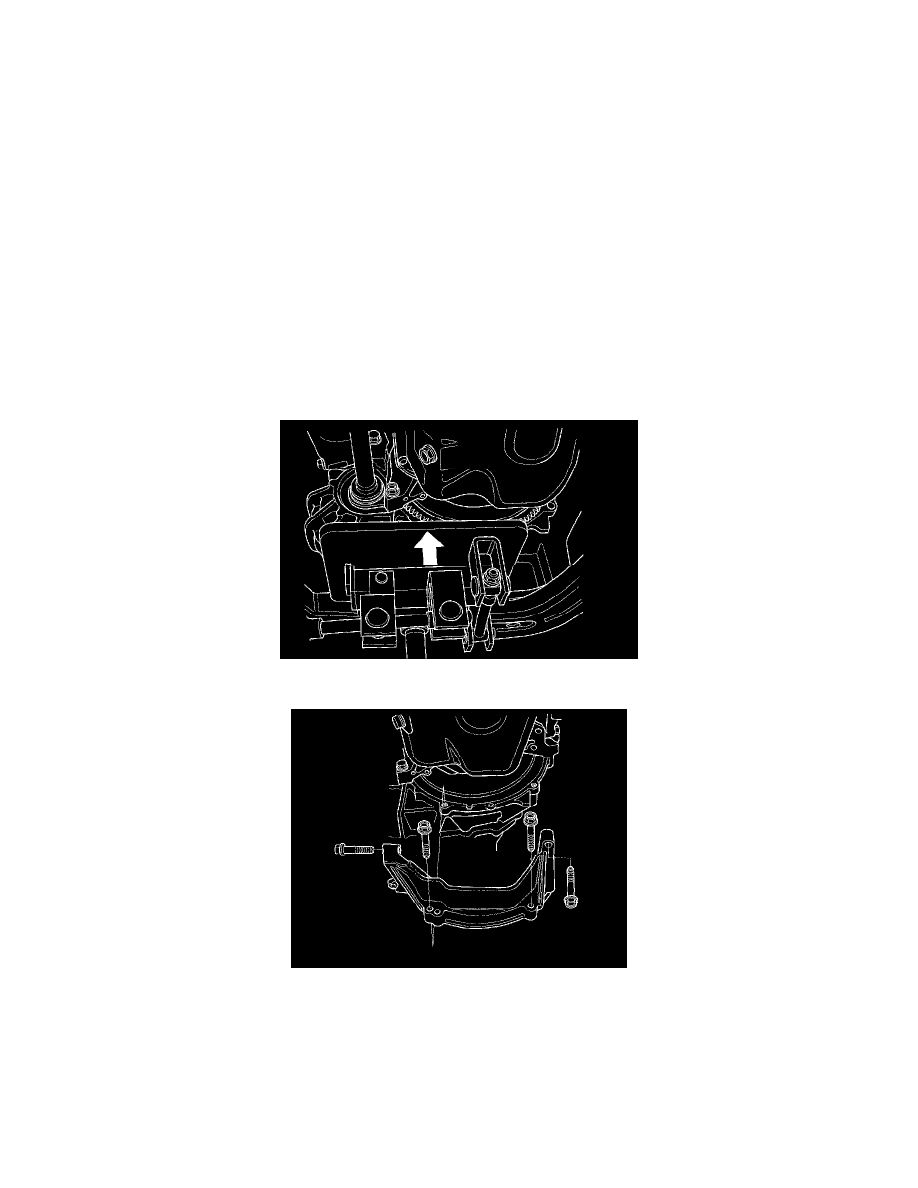
18. Use a transmission jack to lift the transmission 40 - 55 mm (1.6 - 2.2 inch).
19. Remove the stiffener.
20. Remove the bolts/nuts securing the oil pan.
21. Drive an oil pan seal cutter between the oil pan and engine block.