
Accord V6-3.5L (2010)
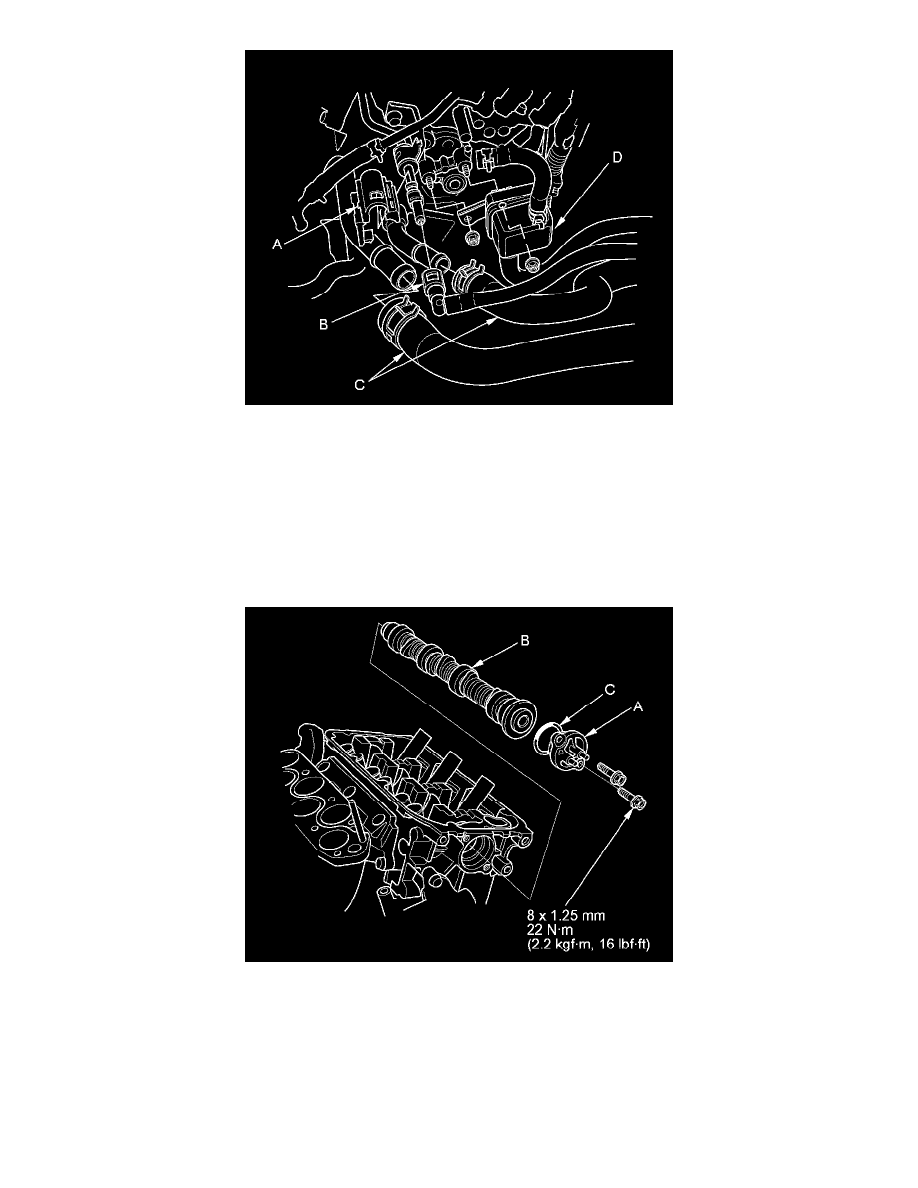
6. Disconnect the heater hoses (C) and remove the evaporative emission (EVAP) canister purge joint (D) with the bracket.
7. Remove the timing belt See: Timing Components/Timing Belt/Service and Repair/Timing Belt Removal (J35Z2 Engine).
8. Remove the rear rocker arm assembly See: Rocker Arm Assembly/Service and Repair/Removal and Replacement/Rocker Arm Assembly Removal
(J35Z2 Engine).
9. Remove the rear camshaft pulley.
10. Remove the thrust cover (A), then remove the rear camshaft (B).
11. Install the rear camshaft in the reverse order of removal. Always use a new O-ring (C). Apply new engine oil to the journals and the cam lobes.
12. Apply new engine oil to the threads of the camshaft pulley mounting bolt, then install the rear camshaft pulley See: Camshaft, Rocker Arm
Assembly, Camshaft Seal, and Pulley Installation (J35Z2 Engine).
13. Install the rear rocker arm assembly, then tighten the mounting bolts See: Camshaft, Rocker Arm Assembly, Camshaft Seal, and Pulley Installation
(J35Z2 Engine).
14. Install the timing belt See: Timing Components/Timing Belt/Service and Repair/Timing Belt Installation (J35Z2 Engine).