
Accord V6-3.5L (2010)
Air Bag Control Module: Service and Repair
SRS Unit Replacement
SRS Unit Replacement
Removal
1. Do the battery terminal disconnection procedure See: Starting and Charging/Battery/Service and Repair/Procedures, then wait at least 3 minutes
before starting work.
2. Remove the driver's and passenger's dashboard center lower cover See: Body and Frame/Interior Moulding / Trim/Dashboard / Instrument
Panel/Service and Repair/Removal and Replacement/Dashboard Center Lower Cover Removal/Installation.
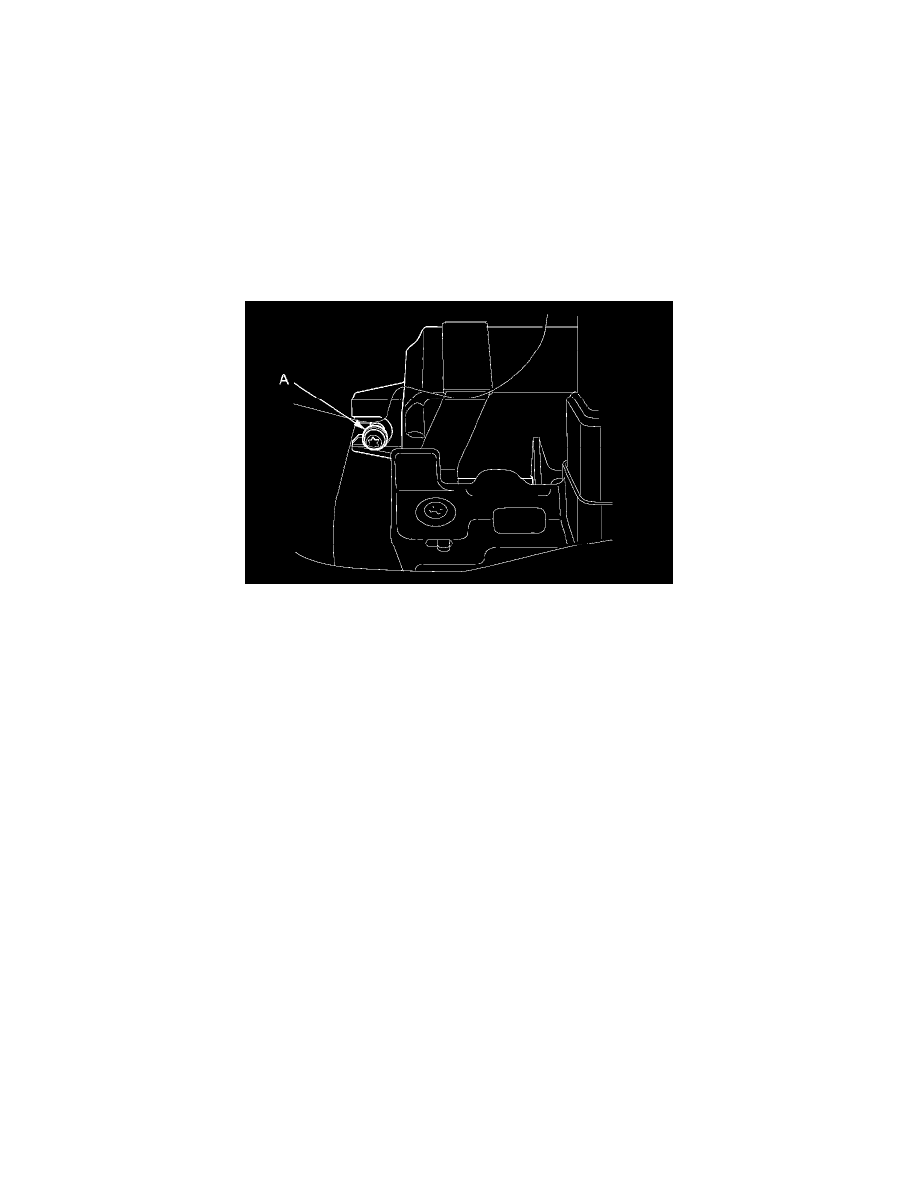
3. Remove the TORX bolt (A) using a TORX T30 bit.
4. Remove the audio disc changer (with navigation system) See: Accessories and Optional Equipment/Radio, Stereo, and Compact Disc/Compact
Disc Player (CD)/CD Changer/Service and Repair or center pocket (without navigation system) See: Body and Frame/Interior Moulding /
Trim/Dashboard / Instrument Panel/Service and Repair/Removal and Replacement/Dashboard Center Pocket Removal/Installation (Without
Navigation).
5. Disconnect SRS unit connectors A (39P) and B (39P) from the SRS unit (C).
NOTE: The SRS unit connectors have lever locks. Release the locks before disconnecting the connectors See: Body and Frame/Interior Moulding /
Trim/Dashboard / Instrument Panel/Air Bag(s) Arming and Disarming/Service and Repair.