
Accord LX Coupe V6-3.0L (2001)
5. Remove the driver's door panel, and disconnect the 20P connector from the door unit.
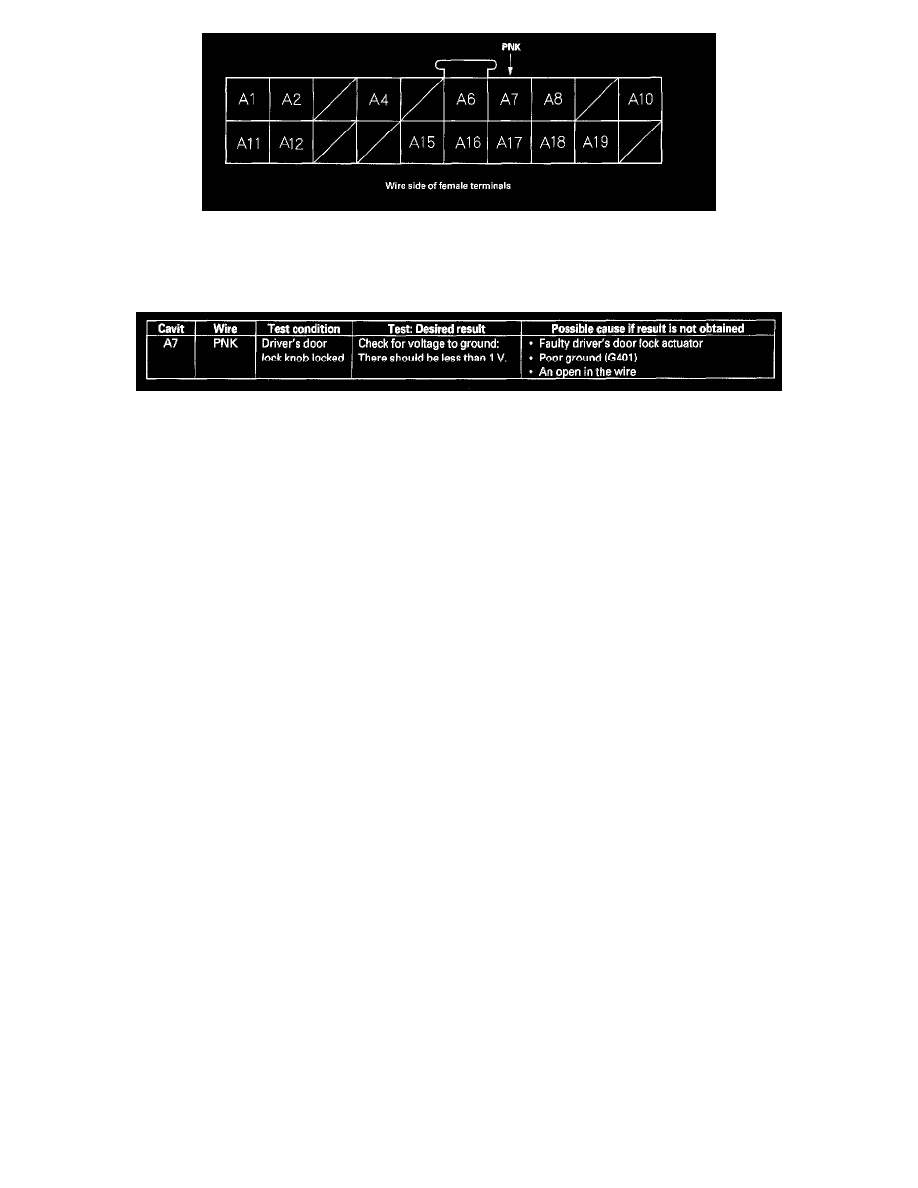
6. Inspect the connector and socket terminals to be sure they are all making good contact.
-
If the terminals are bent, loose or corroded, repair them as necessary, and recheck the system.
-
If the terminals look OK, go to step 7.
7. Reconnect the connectors to the unit, and make this input test.
-
If a test indicates a problem, find and correct the cause, then recheck the system.
-
If all the input tests prove OK, go to step 8.
8. If all the input tests prove OK, one of the control units must be faulty. Substitute a known-good control unit for the one that is most likely at fault,
then recheck the system. If the system works properly, the original control unit is faulty; replace it. If there is still a malfunction, substitute a
known-good control unit for the next most likely unit to be at fault, and recheck. If the system works properly, the original unit is faulty; replace it.