Civic L4-1.3L Hybrid (2008)

Brake Bleeding: Service and Repair
Brake System Bleeding
NOTE:
^
Do not reuse the drained fluid. Use only clean Honda DOT 3 Brake Fluid from an unopened container. Using a non-Honda brake fluid can cause
corrosion and shorten the life of the system.
^
Do not mix different brands of brake fluid; they may not be compatible.
^
Make sure no dirt or other foreign matter is allowed to contaminate the brake fluid.
^
Do not spill brake fluid on the vehicle, it may damage the paint; if brake fluid does contact the paint, wash it off immediately with water.
^
When you turn the ignition switch to ON (II), the power unit may operate (you can hear the motor sound).
Brake Fluid Level Inspection
1. Turn the ignition switch to ON (II).
2. Press the brake pedal several times.
3. Turn the ignition switch to LOCK (0), then turn it to ON (II) again.
4. Wait several seconds for the brake fluid in the subreservoir (A) to stabilize.
NOTE: Do not operate the brake pedal while doing this procedure.
5. Check that the brake fluid level in the reservoir is at the MAX (upper) level line (B).
Fluid Removal
NOTE: Because the conventional brake system and the AHB system use the same brake fluid reservoir, fluid removal is necessary in order to purge
old fluid from the AHB system.
1. Turn the ignition switch to LOCK (0).
2. Press the brake pedal 20 times to release the pressure in the accumulator.
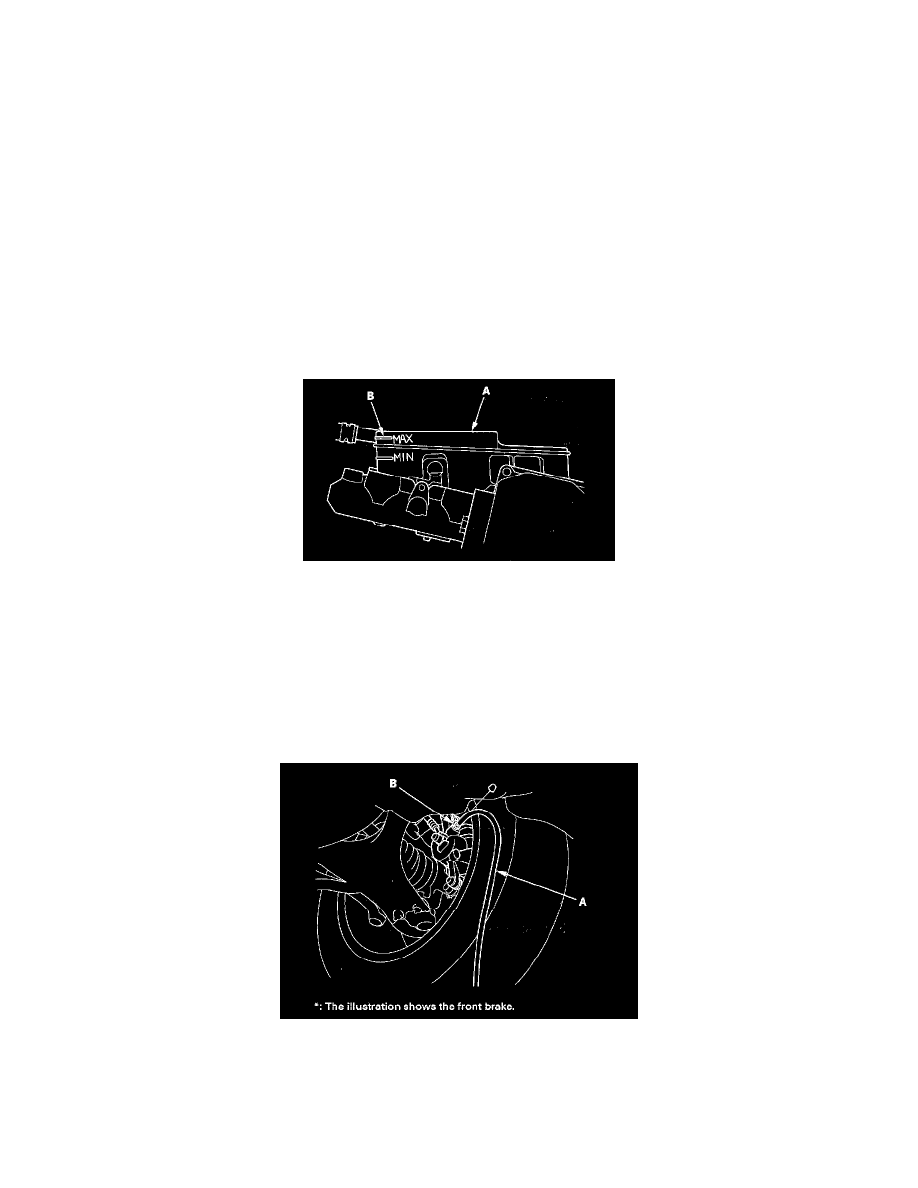
3. Attach a length of drain tube (A) to the bleed screw (B) on the caliper or wheel cylinder.
4. Loosen the bleed screw, and pump the brake pedal until brake fluid stops coming out.
5. Remove the air cleaner.
6. Remove the IMA system power cable clamp (A).
