Civic L4-1.3L Hybrid (2008)

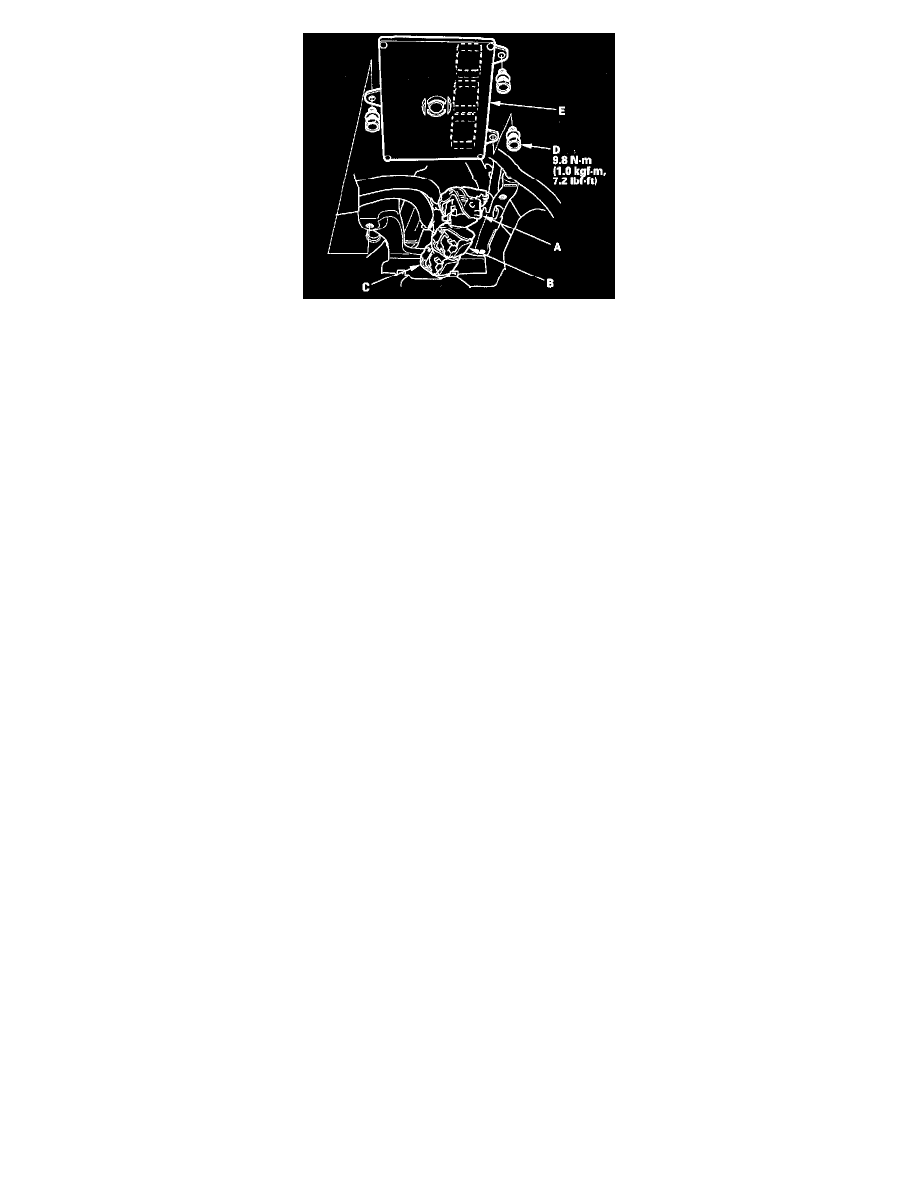
13. Disconnect PCM connectors A, B, and C.
NOTE: PCM connectors A, B, and C have symbols (A=Square, B=Triangle, C=Circle) embossed on them for identification.
14. Install a known-good PCM and the battery in the reverse order of removal.
NOTE: If the IMA battery level indicator (BAT) on the gauge indicates zero level, start the engine, and hold it between 3,500 rpm and 4,000 rpm
without load (in Park or neutral) until the IMA battery level indicator (BAT) indicates at least three segments.
15. Turn the ignition switch to ON (II).
NOTE: DTC P0630 "VIN Not Programmed or Mismatch" may be stored because the VIN has not been programmed into the PCM; ignore it, and
continue this procedure.
16. Manually input the VIN to the PCM with the HDS.
17. Update the PCM if it does not have the latest software.
18. Select the IMMOBI SYSTEM with the HDS.
19. Enter the immobilizer code with the PCM replacement procedure in the HDS; it allows you to start the engine.
20. Reset the PCM with the HDS.
21. If the TP POSITION CHECK failed in steps 6, clean the throttle body.
22. Do the PCM idle learn procedure.
23. Do the CKP pattern learn procedure.
24. Enter the anti-theft code for the audio system or the navigation system (if equipped), then enter the audio presets. Set the clock (on vehicles
without navigation).
