
Civic L4-1668cc 1.7L SOHC MFI (2003)
Brake Caliper: Service and Repair
Removal and Installation
Front Inspection and Replacement
CAUTION: Frequent inhalation of brake pad dust, regardless of material composition, could be hazardous to your health.
^
Avoid breathing dust particles.
^
Never use an air hose or brush to clean brake assemblies. Use an OSHA-approved vacuum cleaner.
Replacement
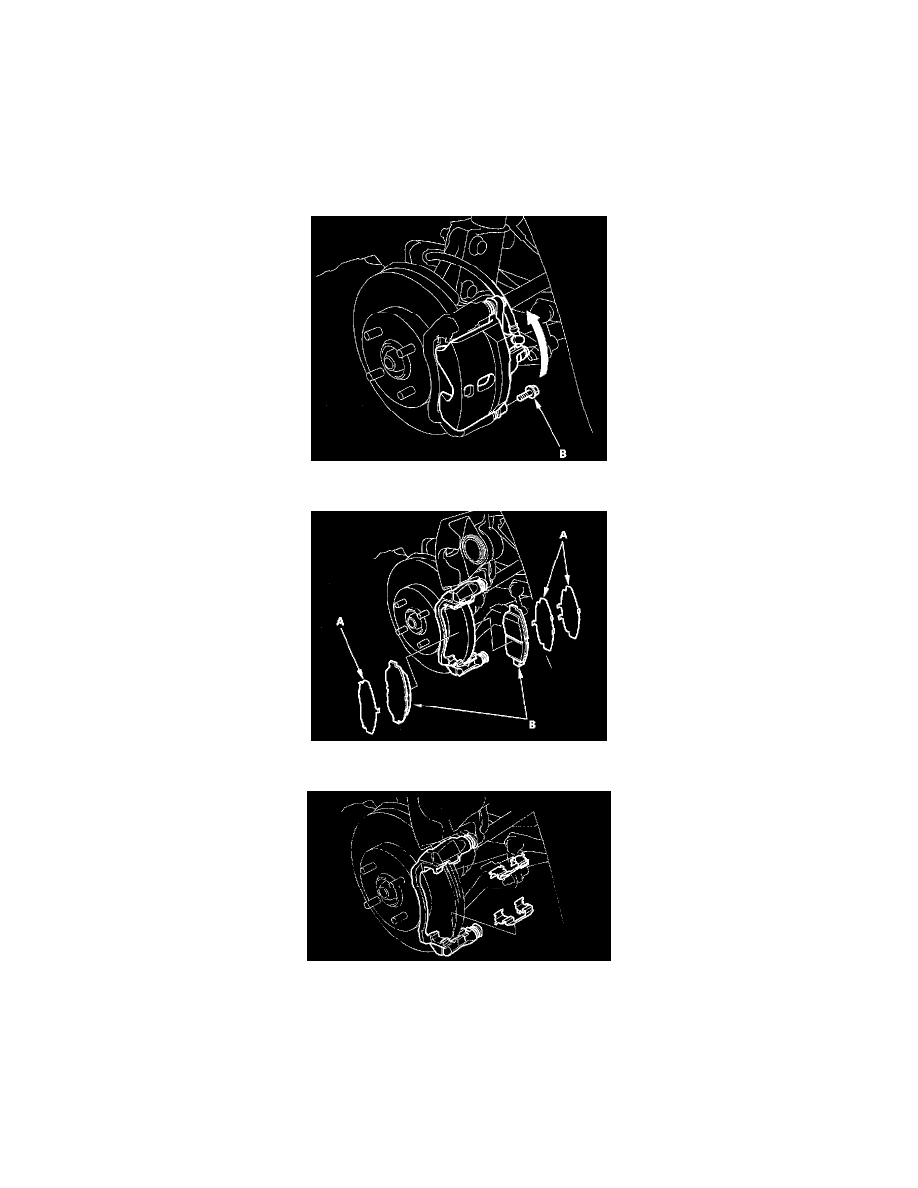
1. Remove the bolt (B), and pivot the caliper (C) up out of the way. Check the hose and pin boots for damage and deterioration.
2. Remove the pad shim (A) and pads (B).
3. Remove the pad retainers (A).
4. Clean the caliper thoroughly; remove any rust, and check for grooves and cracks.
5. Check the brake disc for damage and cracks.
6. Apply Dow Corning Molykote M77 grease to the retainers on their mating surfaces against the caliper bracket.
7. Install the pad retainers. Wipe excess grease off the retainers. Contaminated brake discs and pads reduce stopping ability. Keep grease off the discs
and pads.