Civic VP Sedan L4-1590cc 1.6L SOHC MFI (1999)

Starter Motor: Testing and Inspection
Starter Inspection
NOTE: The air temperature must be between 59 and 100 °F (15 and 38 °C) before testing.
Recommended Procedure:
-
Use a starter system tester.
-
Connect and operate the equipment in accordance with the manufacturer's instructions.
-
Test and troubleshoot as described.
Alternate Procedure:
-
Use the following equipment:
-
Ammeter, 0 - 400 A
-
Voltmeter, 0 - 20 V (accurate within 0.1 volt)
-
Tachometer, 0 - 1,200 rpm
-
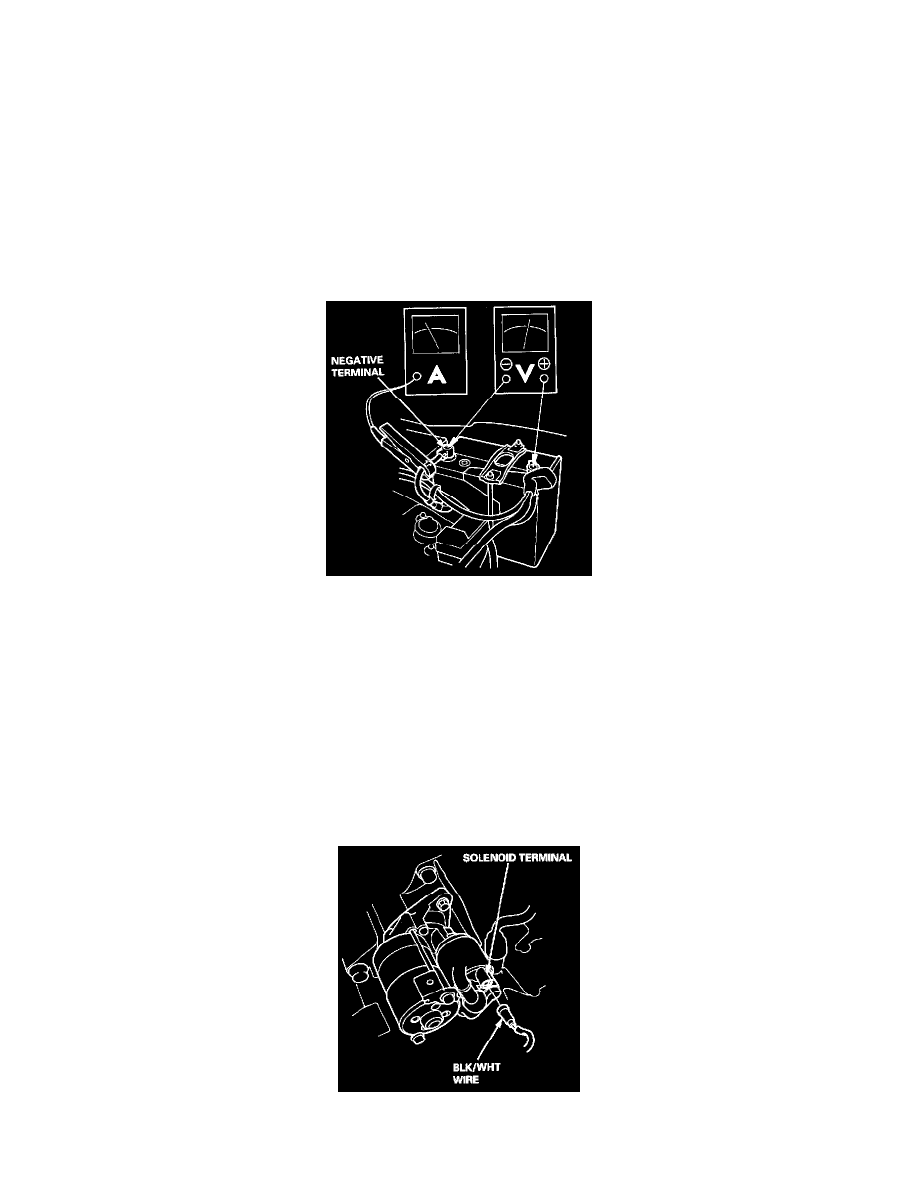
Hook up a voltmeter and ammeter as shown.
NOTE: After this test, or any subsequent repair, reset the ECM/PCM to clear any codes.
Check the Starter Engagement:
1. Remove the No.44 (15A) fuse from the under-hood fuse/relay box.
2. Turn the ignition switch to START (III) with the shift lever in [N] or [P] position (A/T) or with the clutch pedal depressed (M/T). The starter
should crank the engine.
-
If the starter does not crank the engine, go to step 3.
-
If it cranks the engine erratically or too slowly, go to "Check for Wear and Damage".
3. Check the battery, battery positive cable, ground, starter cut relay, and the wire connections for looseness and corrosion. Test again. If the starter
still does not crank the engine, go to step 4.
4. Unplug the connector (BLK/WHT wire and solenoid terminal) from the starter.
5. Connect a jumper wire from the battery positive (+) terminal to the solenoid terminal.
The starter should crank the engine.
