
CR-V LX 2WD L4-1972cc 2.0L DOHC MFI (1998)
or reused.
Store the removed seat belt tensioner assembly on a secure flat surface away from any high heat source (exceeding 212° F/100° C) and free of any oil,
grease, detergent or water.
Follow these precautions below during removal of a tensioner.
- Before you remove the seat belt tensioner, disconnect the seat belt tensioner connectors.
- Use only the test equipment specified.
- Do not disassemble the tensioner or allow any impact to it.
Replacement
CAUTION: Removal of the airbag must be performed according to the general precautions described before.
1. Disconnect the negative battery cable, and wait at least three minutesbefore beginning work.
2. Remove the center pillar lower trim panel.
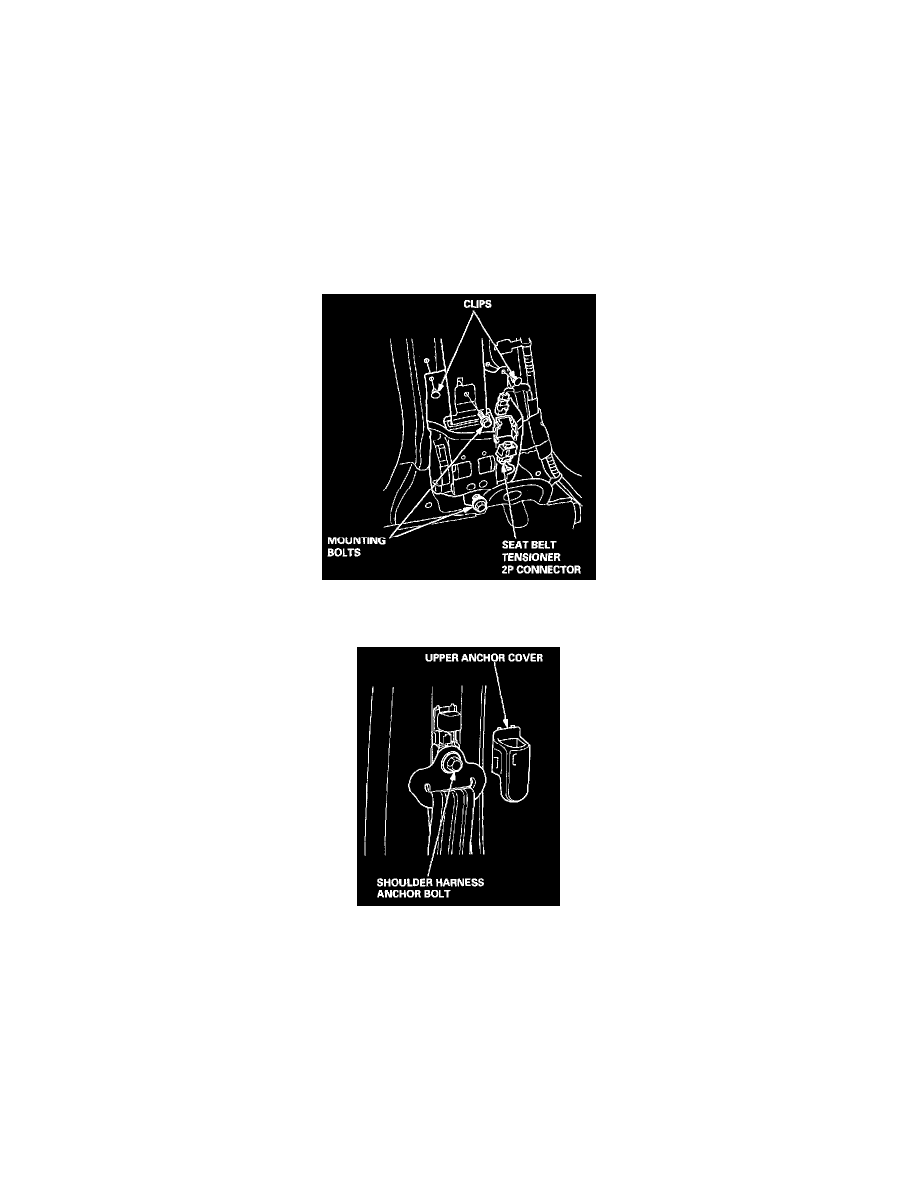
3. Remove the two clips, then disconnect the seat belt tensioner 2P connector from the side wire harness.
4. Remove the two seat belt tensioner mounting bolts and seat belt tensioner.
5. Remove the upper anchor cover and shoulder harness anchor bolt.