
CR-V SE 4WD L4-1972cc 2.0L DOHC MFI (2001)
-
Attach the vehicle to the frame straightener by tightening the underbody clamps at the horizontal pinch weld points.
NOTE: Refer safety stand location points.
-
Before cutting off the damaged sections, pull them out so that they are restored to the original shape.
-
Do not pull out more than necessary.
-
Pull out and straighten the damaged area of the lower dashboard, front pillar, and other parts.
-
After pulling, check the damper housing position using the body dimensional drawings and positioning jig.
NOTE: Check the condition of the door and hinges.
3. Peel off the undercoat. Heat the undercoat at the weld areas of the wheelhouse and front side frame with a gas torch, and peel off the undercoat
with a metal spatula.
CAUTION: Be careful not to burn the fittings inside the passenger compartment and dashboard insulator when heating.
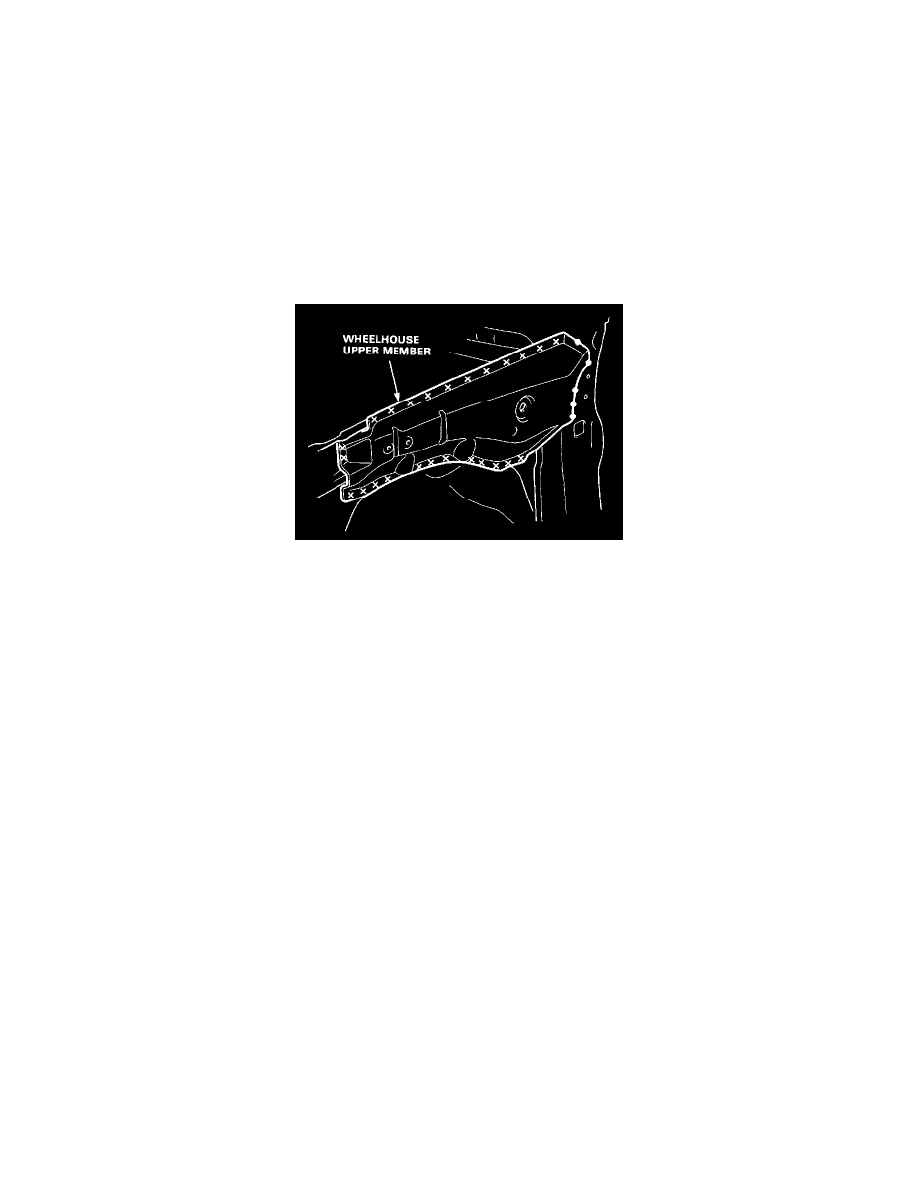
4. Remove the wheelhouse upper member.
-
Center punch around the spot weld imprints.
-
Use the special spot cutter to drill holes at the spot weld nuggets.
-
Remove the MIG weld flange with a disc sander.
WARNING: To prevent eye injury, wear goggles or safety glasses whenever sanding, cutting, or grinding.
-
Using a chisel, pry off the welded flange from the front pillar and damper housing.
NOTE: Remove the wheelhouse upper member carefully so it can be reused.
5. Remove the front wheelhouse and damper housing.
-
Center punch around the spot weld imprints on the front side frame, dashboard upper and dashboard lower.
-
Drill holes in the center punched areas using a spot cutter.
-
Using a chisel, pry off the welded flange.
-
Level and finish the burrs on the welding surfaces with a sander.