
Passport LX 4WD V6-3165cc 3.2L DOHC MFI (2001)
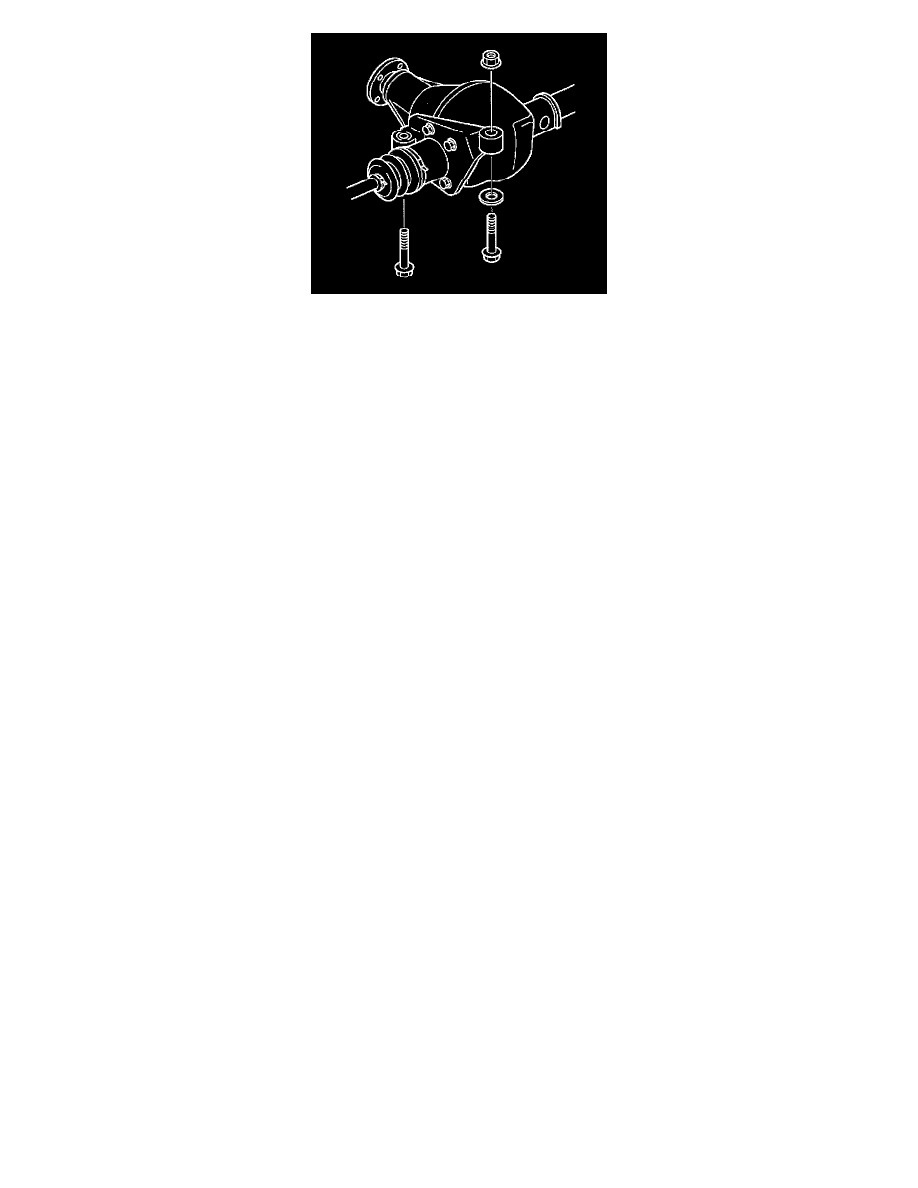
3. Tighten the mounting bolts and nuts to the specified torque.
Torque: 168 Nm (124 ft. lbs.)
4. Install the right side knuckle with lower control arm to the upper control arm.
CAUTION: Carefully insert the drive shaft into the knuckle, to avoid damaging the oil seal.
5. Align the bolt hole of the lower control arm, then install the bolts and nuts.
NOTE: Adjust the buffer clearance before tightening the bolts and nuts of the lower control arm.
6. Install the hose of the shift on the fly.
7. Install the actuator connector of the shift on the fly.
8. Install the tie-rod end of the power steering unit to the knuckle, tighten the nut to the specified torque.
Torque: 118 Nm (87 ft. lbs.)
9. Install lower bolts and nuts of the shock absorber, tighten it to the specified torque.
Torque: 93 Nm (69 ft. lbs.)
10. Install lower nuts of the stabilizer link, tighten it to the specified torque.
11. Install the suspension crossmember.
12. Install the torsion bar.
13. Install the front propeller shaft.
14. Install the hub and disc assembly and adjust the bearing preload.
15. Install the wheel speed sensor of the antilock brake system.
16. Install the brake caliper. Tighten the bolt of the caliper bracket to the specified torque.
Torque: 50 Nm (37 ft. lbs.)
17. Install the stone guard.
18. Install the tire and wheel.
19. Lower the vehicle, adjust the trim height.
20. Tighten the bolts and nuts of the lower control arm to the specified torque.