
Pilot 4WD V6-3.5L (2008)
Braking Sensor/Switch: Adjustments
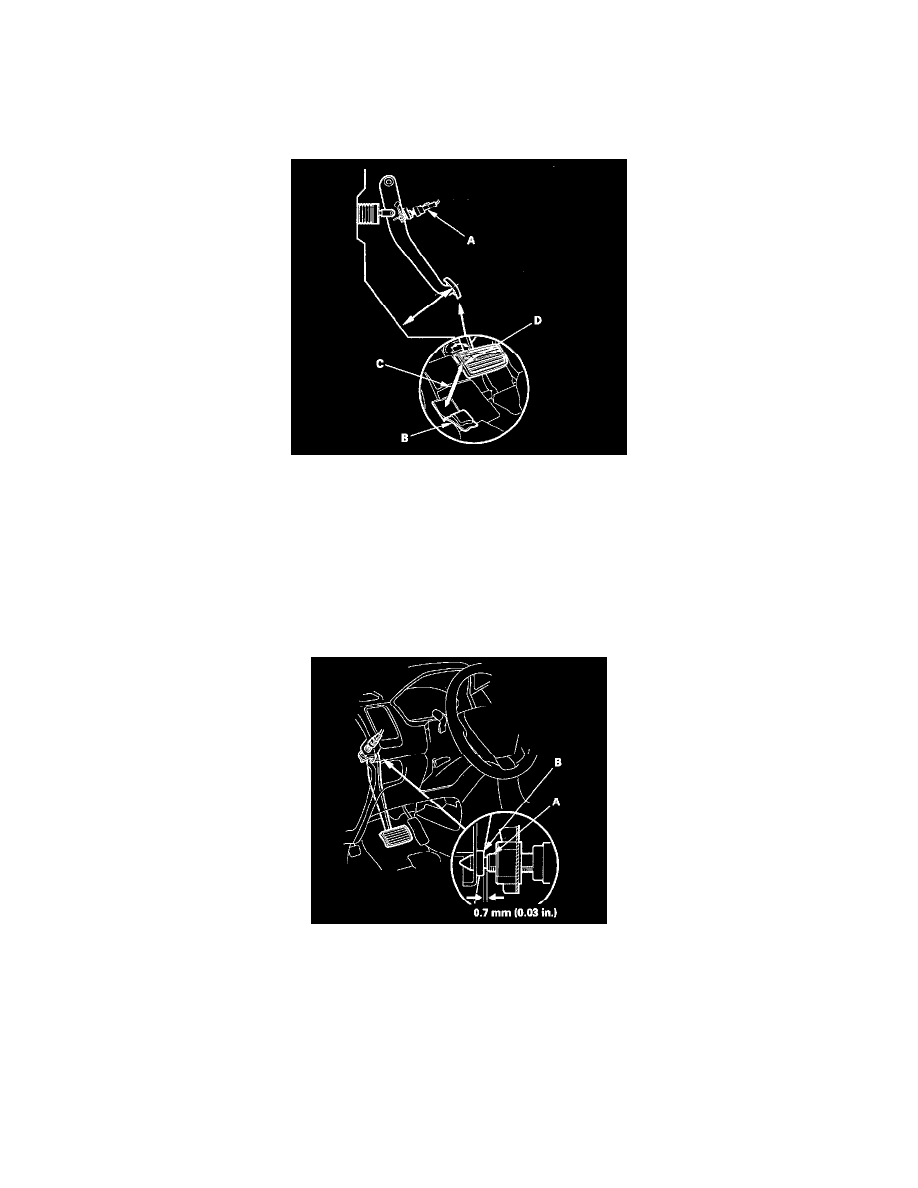
Brake Pedal and Brake Pedal Position Switch Adjustment
Pedal Height
1. Turn the brake pedal position switch (A), counterclockwise, and pull it back until it is no longer touching the brake pedal.
2. Pull back the carpet and find the cutout (B) in the insulator. Measure the pedal height (C) at the middle of the left side center of the pedal pad (D)
to the floor.
Standard pedal height (with carpet removed): 155 mm (6 1/8 in.)
Brake Pedal Position Switch Clearance
3. Lift up on the brake pedal by hand. Push in the brake pedal position switch until its plunger is fully pressed (threaded end (A) touching the pad (B)
on the pedal arm). Turn the switch 45° clockwise to lock it. The gap between the brake pedal position switch and the pad is automatically adjusted
to 0.7 mm (0.03 in.) by locking the switch. Make sure the brake lights go off when the pedal is released.
4. Check the brake pedal free play.
Pedal Free Play
1. With the engine off, inspect the play (A) at the brake pedal pad (B) by pushing the brake pedal by hand. If the brake pedal free play is out of
specification, adjust the brake pedal position switch ((C). If the brake pedal free play is insufficient, it may result in brake drag.
Free play: 1 - 5 mm (1/16 - 3/16 in.)