
S2000 L4-2.2L (2004)
Timing Chain: Service and Repair
Timing Chain Removal
Timing Chain Removal
Special Tools Required
-
Holder handle 07JAB-001020A
-
Holder attachment, 50 mm 07JAB-001040A
-
Socket, 19 mm 07JAA-001020A or a commercially available 19 mm socket
NOTE:
-
Use fender covers to avoid damaging painted surfaces.
-
To avoid damage, unplug the wiring connectors carefully while holding the connector portion. To avoid damaging the cylinder head, wait until the
engine coolant temperature drops below 100°F (38°C) before loosening the cylinder head bolts.
-
Mark all wiring and hoses to avoid misconnection. Also, be sure that they do not contact other wiring or hoses, or interfere with other part.
-
Keep the timing chain away form magnets. A magnetized timing chain may cause false misfire DTCs.
1. Make sure you have the anti-theft code for the radio, then write down the frequencies for the radio's preset buttons.
2. Disconnect the battery negative terminal first, then the positive terminal.
3. Drain the engine coolant.
4. Drain the engine oil.
5. Disconnect the air control solenoid valve connector, then remove the vacuum hoses and the air cleaner housing/intake air duct assembly.
6. Remove the vacuum tank.
7. Loosen the water pump pulley bolts.
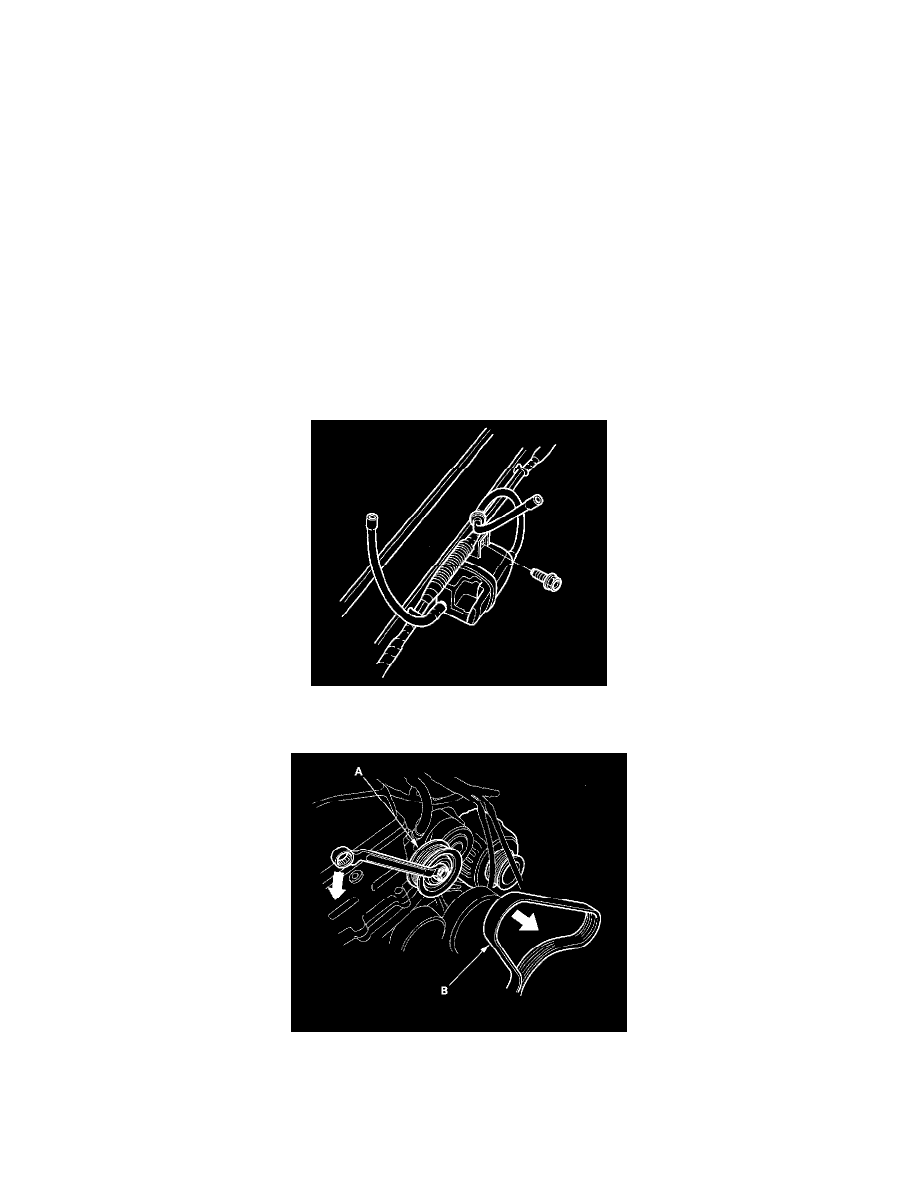
8. Move the auto-tensioner (A) to remove tension from the alternator-compressor belt (B), then remove the alternator-compressor belt.