Accent L L4-1495cc 1.5L SOHC MFI (2001)

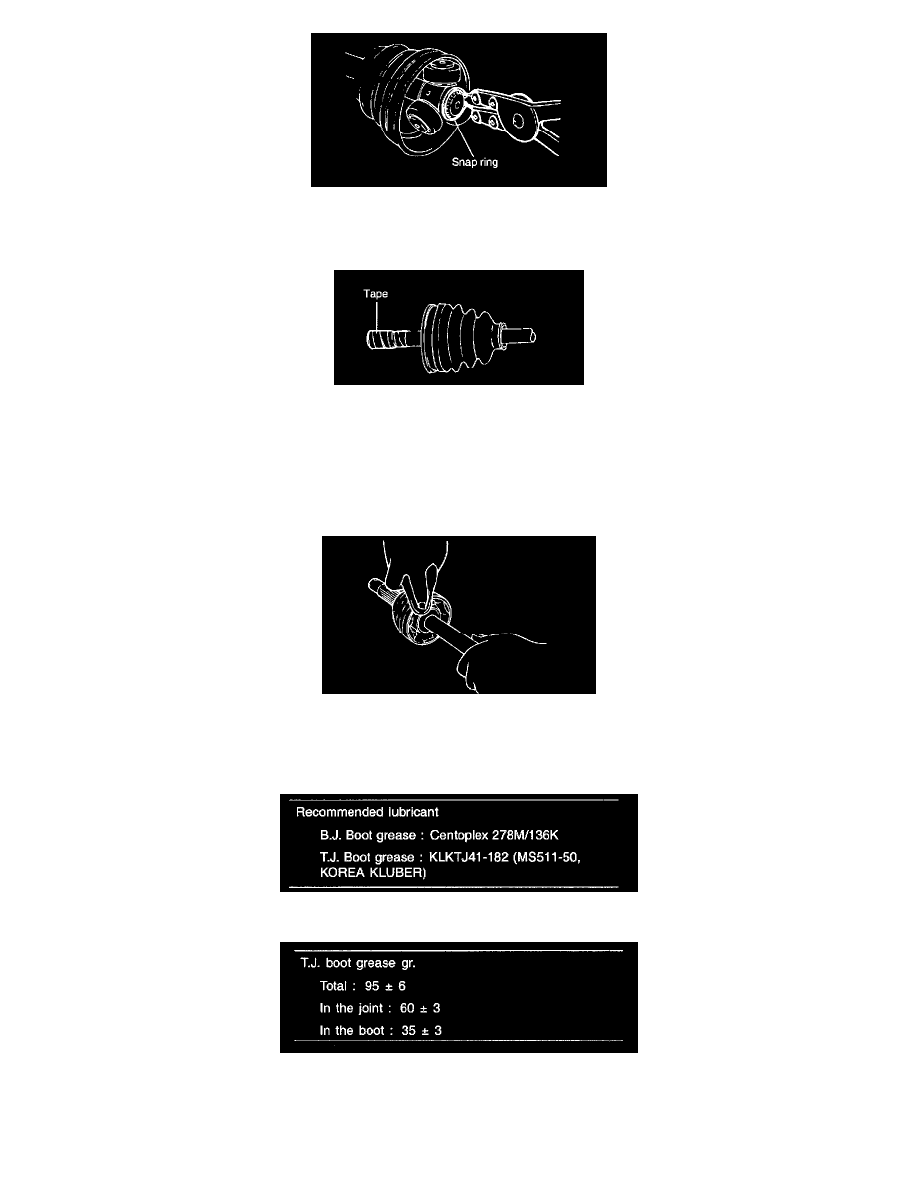
2. Remove the snap ring and spider assembly from the driveshaft.
3. Clean the spider assembly
4. Remove the B.J. boot bands and pull out the T.J. boot and B.J. boot.
NOTE If the boot is to be reused, wrap tape around the driveshaft splines to protect the boot.
INSPECTION
1. Check the driveshaft spline part for wear or damage.
2. Check for entry of water and/or foreign material into B.J.
3. Check the spider assembly for roller rotation, wear or corrosion.
4. Check the groove inside T.J. case for wear or corrosion.
5. Check the dynamic damper for damage or cracking.
REASSEMBLY
1. Wrap tape around the driveshaft splines (T.J. side) to prevent damage to the boots.
2. Apply grease to the driveshaft and install the boots.
3. Apply grease into the T.J. boot and install the boot.
4. Tighten the T.J. boot bands.
5. Add specified grease to the B.J. as much as was wiped away at the time of inspection.
6. Install the boots.
