
Drive Belt: Adjustments (page 2 of 5)
- Make
- Hyundai
- Model
- Elantra GLS Sedan
- Engine
- L4-2.0L
- Year
- 1999
- Section
- Drive Belt
Drive Belt: Service and Repair
DRIVE BELT AND PULLEY
DISASSEMBLY
1. Loosen the coolant pump pulley bolts.
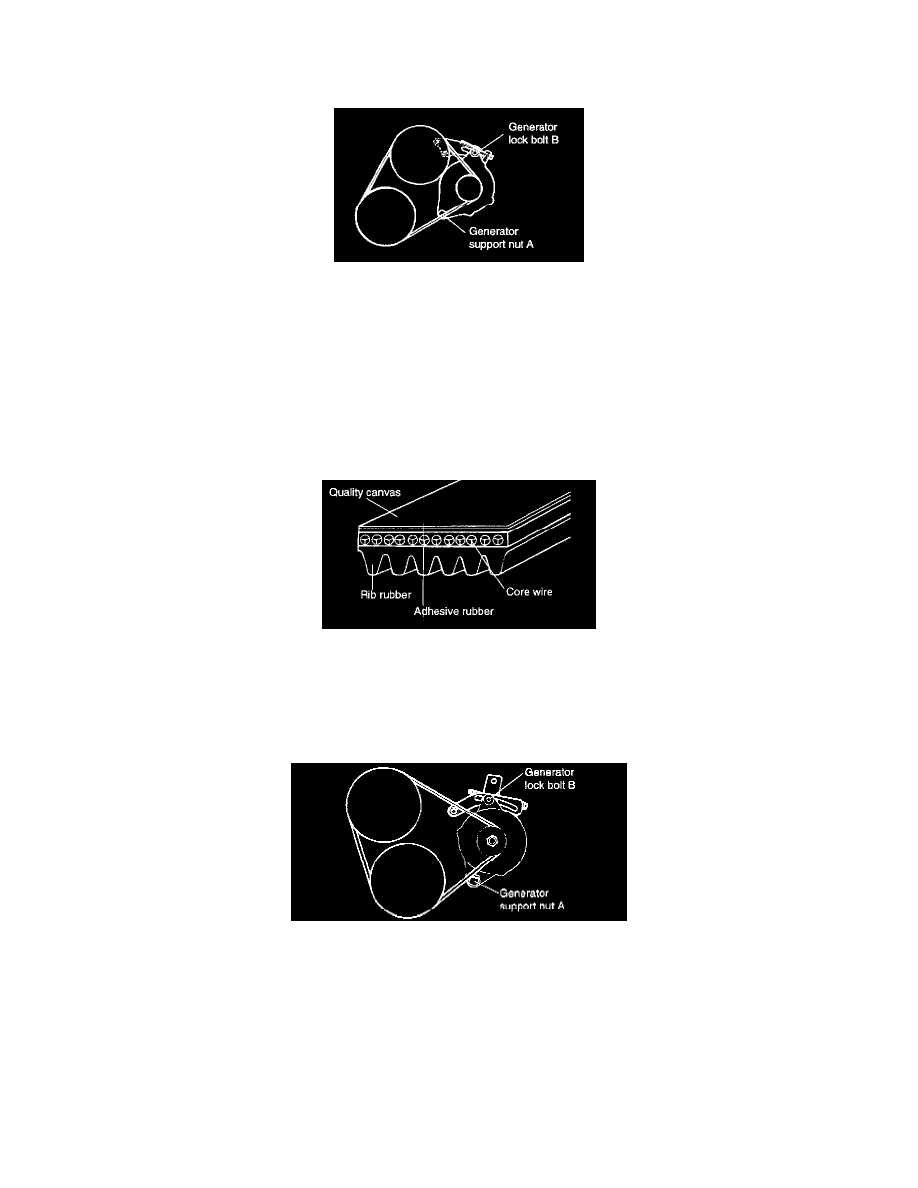
2. Loosen the generator support nut.
3. Looses the generator lock bolt, and remove the belt.
4. Remove the coolant pump pulley bolts.
Tightening torque:
Generator support nut A; 20 - 25 Nm (200 - 250 kg.cm, 14 - 18 ft. lbs.)
Generator lock bolt B: 15 - 22 Nm (150 - 220 kg.cm, 11 - 16 ft. lbs.)
Generator brace mounting bolt: 20 - 24 Nm (200 - 240 kg.cm, 14 - 17 ft. lbs.)
INSPECTION
Check the following items and replace if any case in items.
1. Check the belt surface for damage, peeling or cracks.
2. Check the belt surface for oil or grease.
3. Check the belt for worn or hardened areas.
4. Check the surface of the pulley for cracks or damage.
REASSEMBLY
1. Install the coolant pump pulley to the coolant pump pulley bracket and tighten the bolts firmly.
2. After installing the belt, adjust the belt tension.
DRIVE BELTS TENSION ADJUSTMENT
Pinch or Ctrl + scroll to zoom. Double-tap to reset.
Parts & tools for this job For 1999 Hyundai Elantra 2.0L
- PARTOil filterSearch: Hyundai Elantra 1999 2.0L oil filter
- TOOLOil filter wrenchSearch: oil filter wrench
- FLUIDEngine oilSearch: Hyundai Elantra engine oil
Links open Amazon search results in a new tab. As an Amazon Associate I earn from qualifying purchases.