
Timing Belt: Specifications (page 7 of 7)
- Make
- Hyundai
- Model
- Elantra GLS Sedan
- Engine
- L4-2.0L
- Year
- 1999
- Section
- Timing Belt
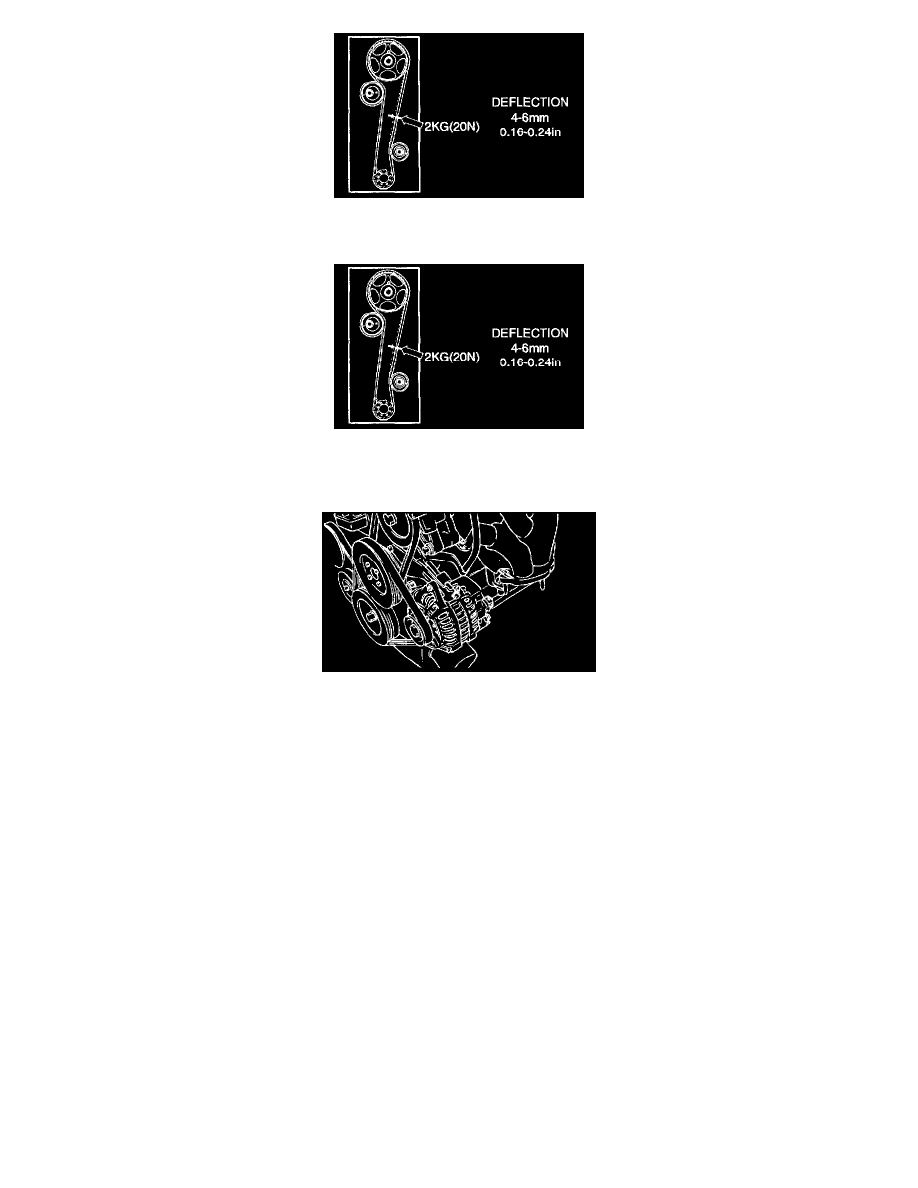
7. Then recheck the belt tension. The tension side of timing belt is pushed in horizontally with a moderate force [approximately 2 kg (20 N, 5 lbs.)],
the timing belt cog end is approximately 4 - 6 mm (0.16 - 0.24 inch) away.
8. Install the timing belt cover.
Tightening torque:
Timing belt cover bolt: 8 - 10 Nm (80 - 100 kg.cm, 6 - 7.4 ft. lbs.)
9. Install the crankshaft pulley. In this case, make sure that the crankshaft sprocket pin fits the small hole in the pulley.
Tightening torque:
Crankshaft pulley bolt: 170 - 180 Nm (1700 - 1800 kg.cm, 125 - 133 ft. lbs.)
10. Install the coolant pump pulley.
11. Install the drive belt and adjust the belt tension.
Pinch or Ctrl + scroll to zoom. Double-tap to reset.
Parts & tools for this job For 1999 Hyundai Elantra 2.0L
- PARTTiming belt kitSearch: Hyundai Elantra 1999 2.0L timing belt kit
- TOOLEngine timing tool setSearch: Hyundai engine timing tool set
- TOOLTorque wrenchSearch: 3/8 inch torque wrench
Links open Amazon search results in a new tab. As an Amazon Associate I earn from qualifying purchases.