
Santa Fe L4-2.4L (2001)
9.
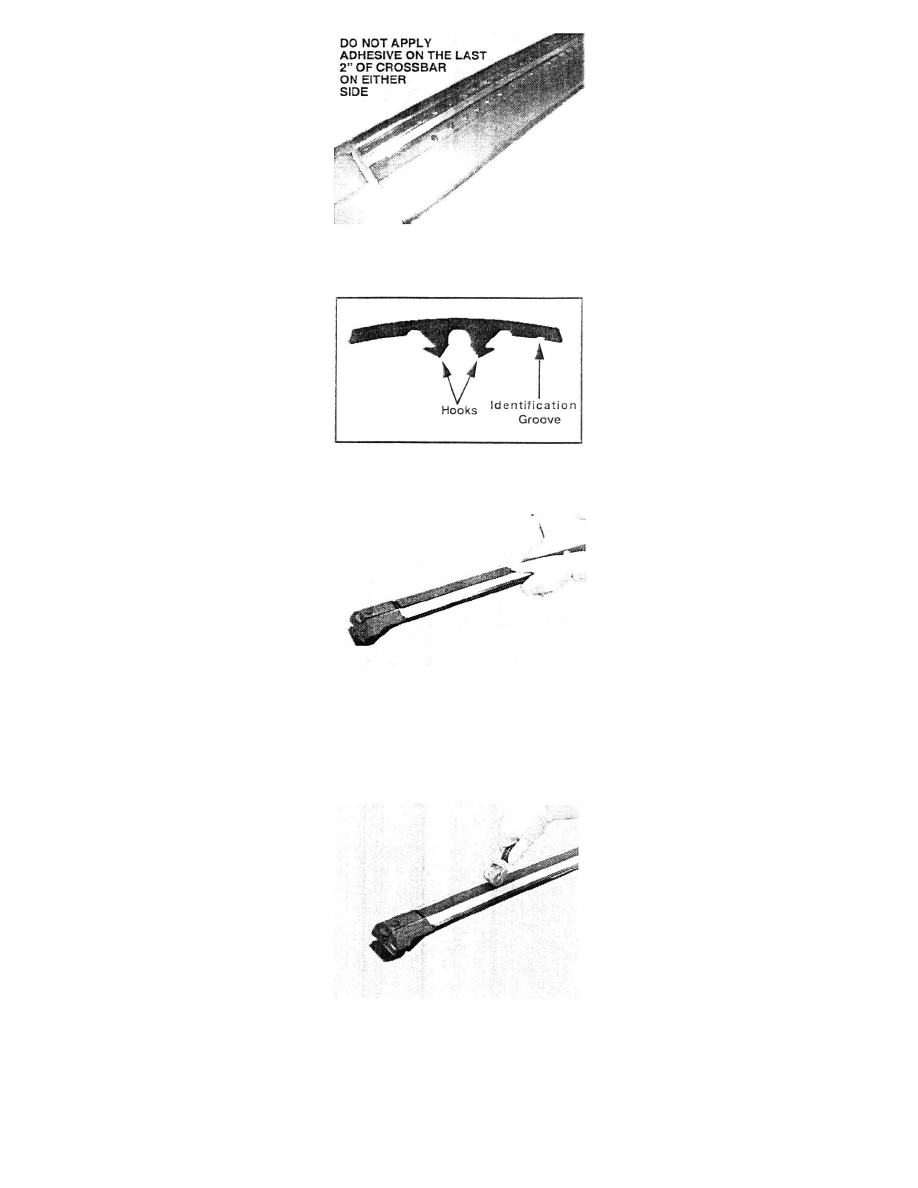
Place the buffer strip onto crossbar groove. After rubber strip contacts adhesive, you will only have approximately 20 seconds of working time
before the adhesive will prevent buffer strip movement.
10.
The buffer strip is not symmetrical. An identification groove is cut into front flap of the underside of the buffer strip. This flap should be Installed
towards front of crossbar. Front of crossbar has a wider section.
11.
Start at the center of the crossbar, push down buffer strip in center of rubber to engage hooks. You will feel a slight snap upon engagement. Slowly
move towards right end of crossbar, pushing center of strip down as you proceed.
12.
Repeat step 10 on left side of crossbar.
13.
Push front and rear flap of buffer strip completely into groove over length of crossbar.
14.
Using roller applicator (Item 4), roll entire length of crossbar, flattening any "humps" that may appear in buffer strip.
15.
Inspect crossbar to ensure buffer strip is completely flat along entire length of bar. Repeat step 13 if necessary.
16.
Remove masking tape.
17.
Repeat steps 3 through 15 on rear crossbar.