
Santa Fe L4-2.4L (2001)
4. Support the driveshaft properly.
5. While loosening the driveshaft nut, do not let the vehicle weight bear on the wheel bearing.
INSPECTION
1. Check the driveshaft boots for damage and deterioration.
2. Check the splines for wear and damage.
3. Check the ball joints for wear and operating condition.
INSTALLATION
1. Installation is the reverse of removal
NOTE
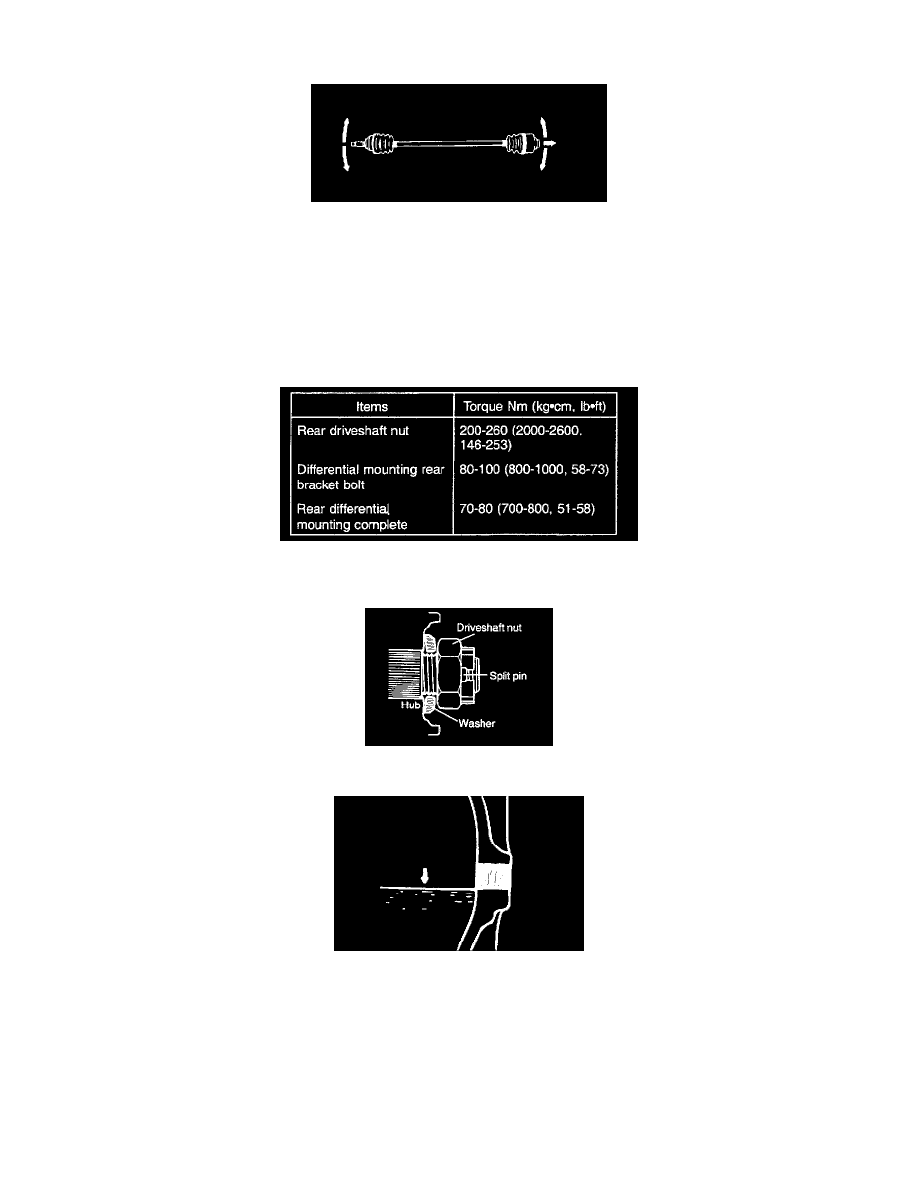
1. Tighten the components below to the specified torque.
2. Install the washer under the driveshaft nut with the convex side outward, as shown in the illustration, and tighten the nut.
3. Check the quantity of oil in the differential carrier and fill if it is insufficient.
DISASSEMBLY
CAUTION
1. Do not disassemble the B.J. assembly.
2. Special grease must be applied to the driveshaft joint. Do not substitute with another type of grease.
3. The boot band should be replaced with a new one.