
Santa Fe FWD V6-3.3L (2009)
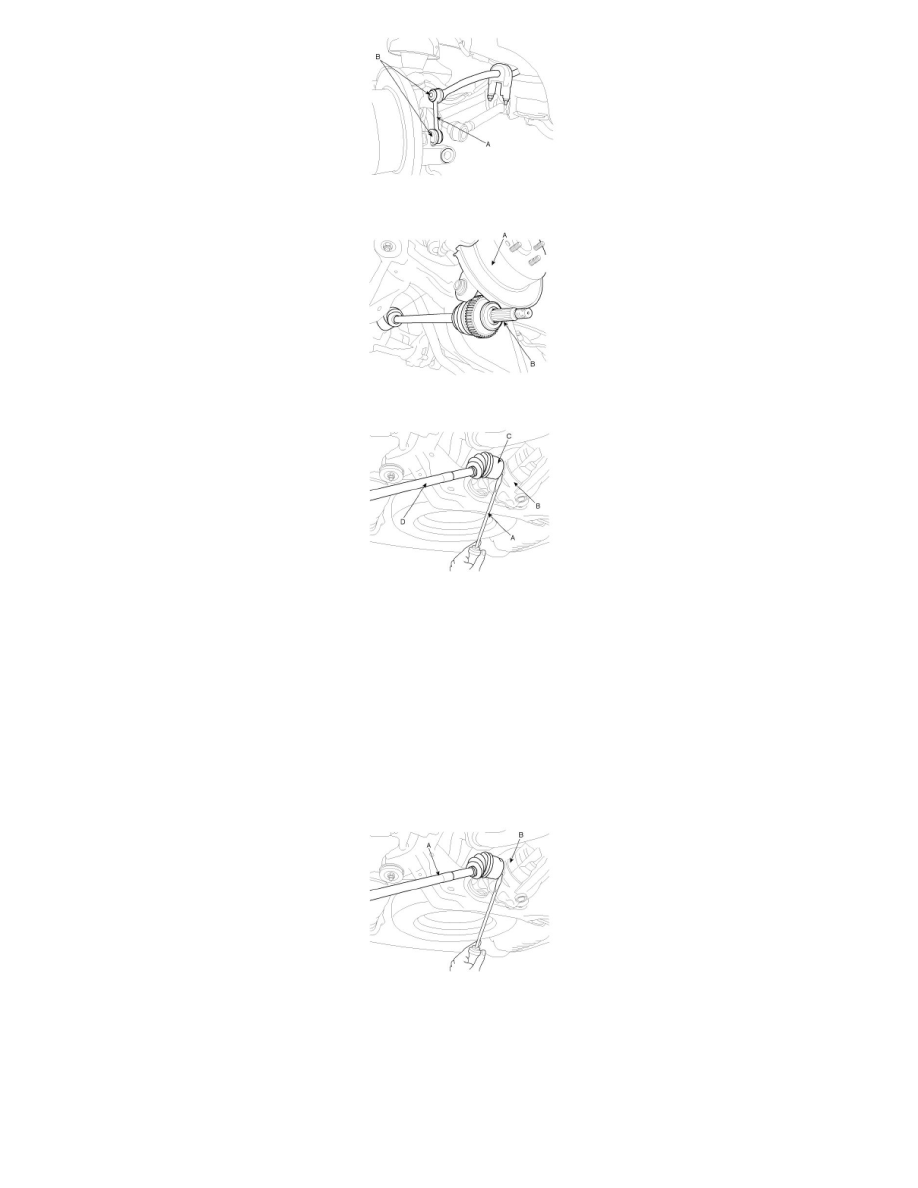
9. Push the rear axle carrier (A) outward and separate the driveshaft (B) from the axle hub (A).
10. Insert a pry bar (A) between the differential case (B) and joint case (C), and separate the driveshaft (D) from the differential case.
CAUTION:
-
Use a pry bar (A) being careful not to damage the differential and joint.
-
Do not insert the pry bar (A) too deep, as this may cause damage to the oil seal.
-
Do not pull the driveshaft by excessive force it may cause components inside the joint kit to dislodge resulting in a torn boot or a damaged
bearing.
-
Plug the hole of the differential case with the oil seal cap to prevent contamination.
-
Support the driveshaft properly.
-
Replace the retainer ring whenever the driveshaft is removed from the differential case.
-
If the rear drive shaft is damaged, replace the rear driveshaft assembly.
Installation
1. Apply gear oil on the oil seal contacting surface of differential case (B) and the driveshaft (A) splines.
2. Before installing the driveshaft(A), set the opening side of the circlip facing downward.
3. After installation, check that the driveshaft (A) cannot be removed by hand.
4. Install the driveshaft to the rear axle carrier assembly.
5. Install the rear stabilizer link (A) from the rear axle carrier.
Tightening torque Nm (kgf-m, lb-ft) :
Nut(B) : 58.8 - 78.5 (6.0 - 8.0, 43.4 - 57.9)